This guide shows how to add the Breeze application to you macOS operating systems menus. This is a onetime setup until the next time the Breeze application is updated.
Starting with Breeze 2025.1 Prediktera no longer offers a macOS edition of Breeze. This page has been left as a reference for earlier versions of Breeze.
Start by downloading Breeze.
Drag the downloaded application to the “Applications“ left panel menu.

First time the Breeze application starts you may be prompted with the following:
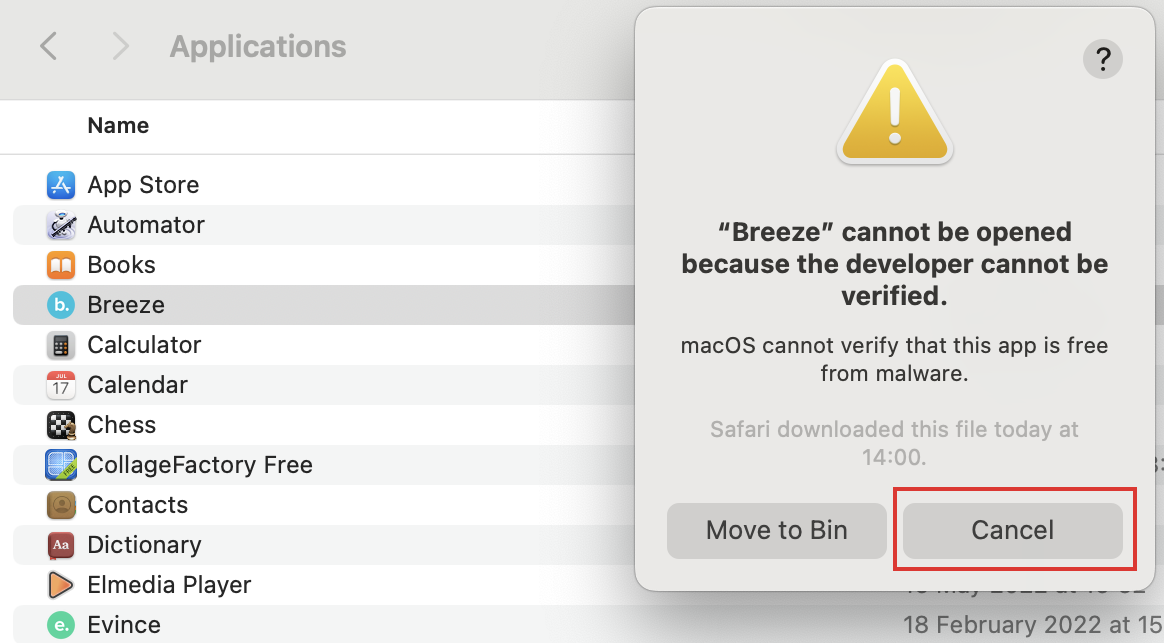
To mitigate this take the following steps:
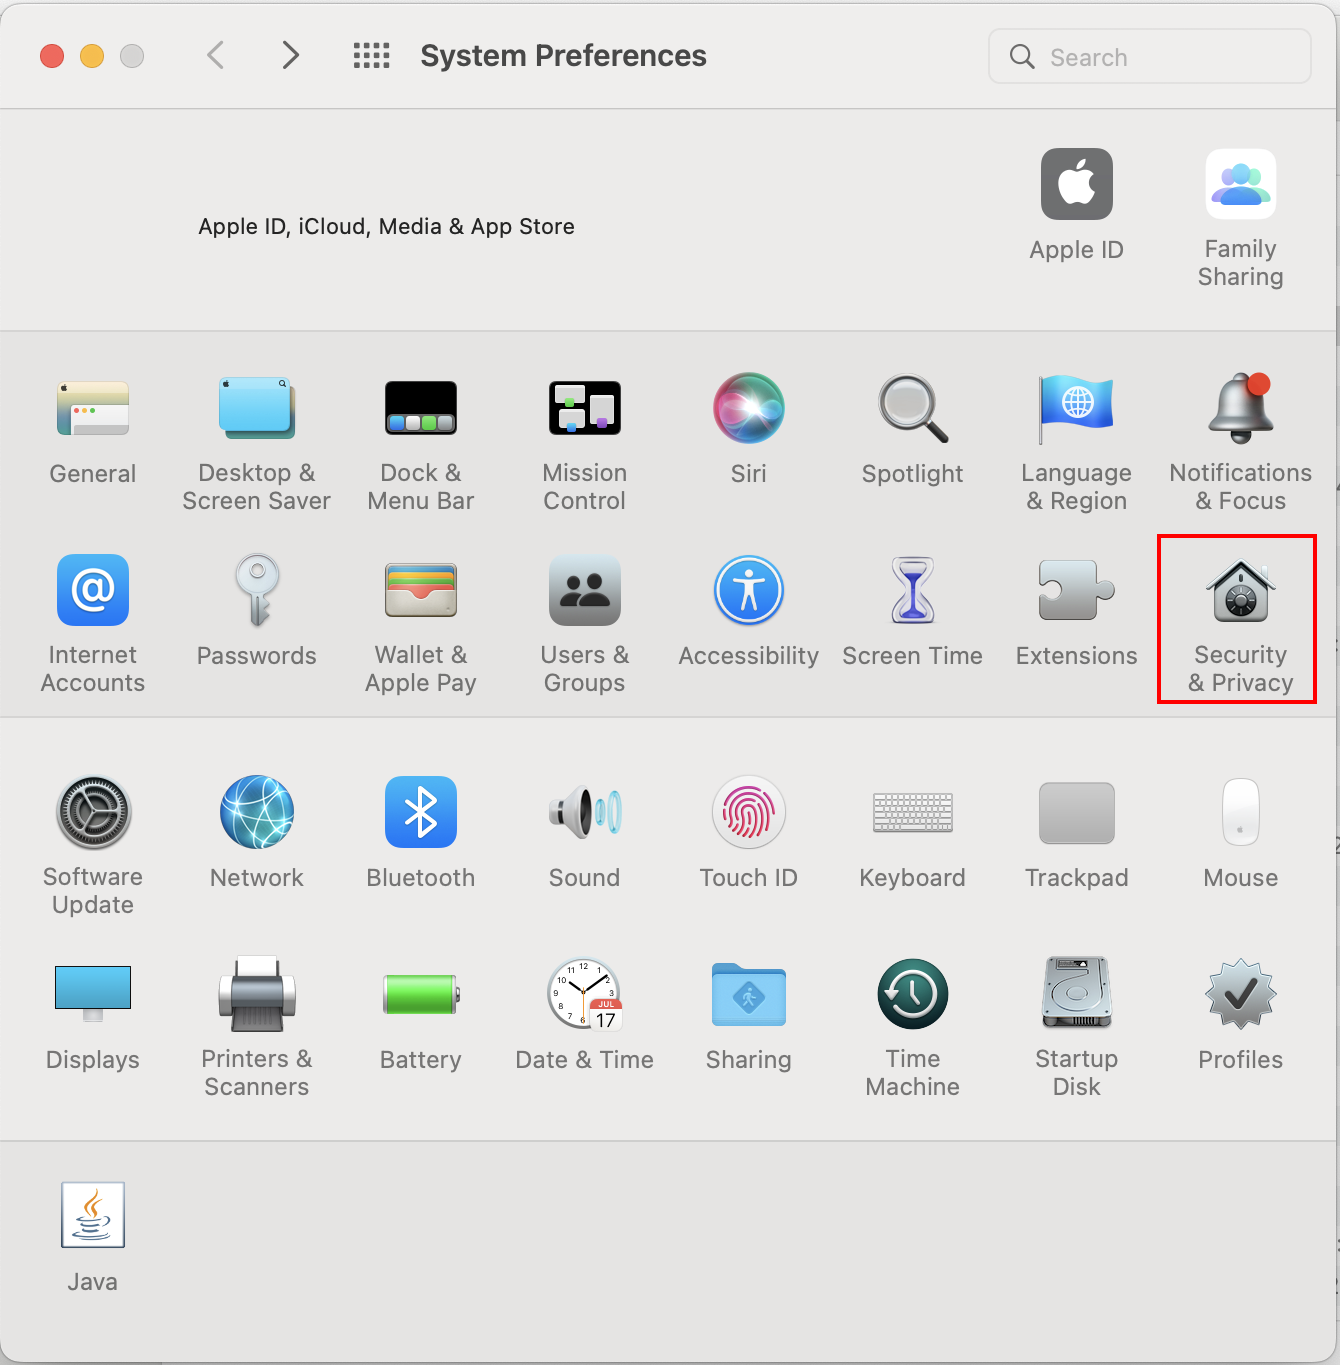
Open “System Preferences“ and select “Security & Privacy“
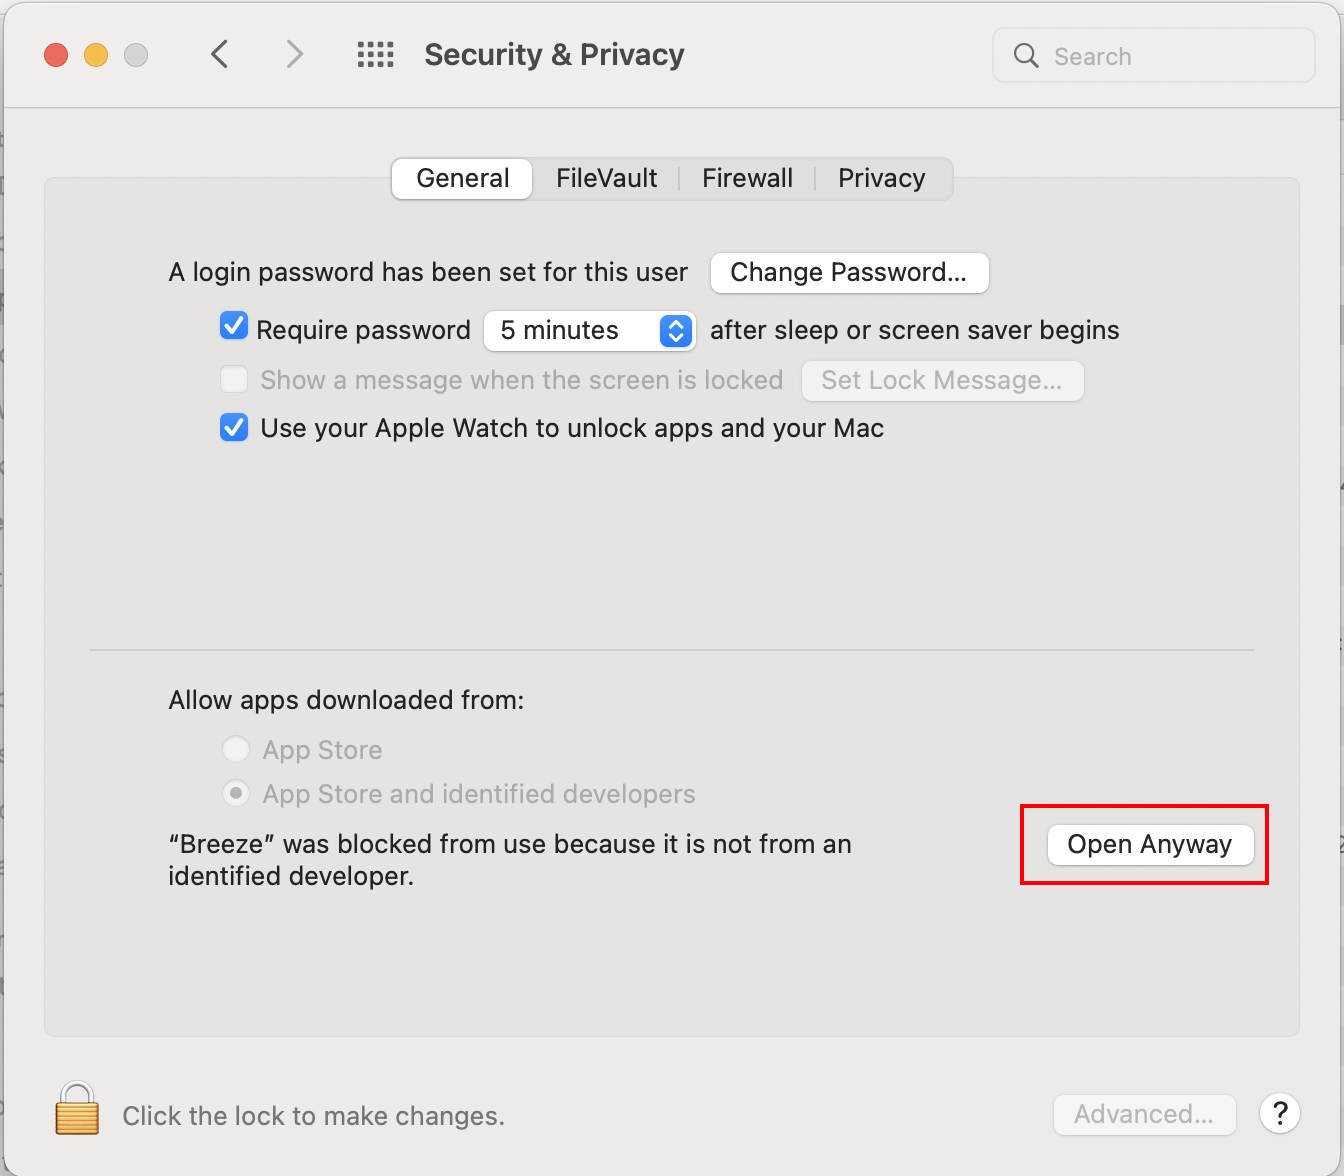
Click “Open Anyway“
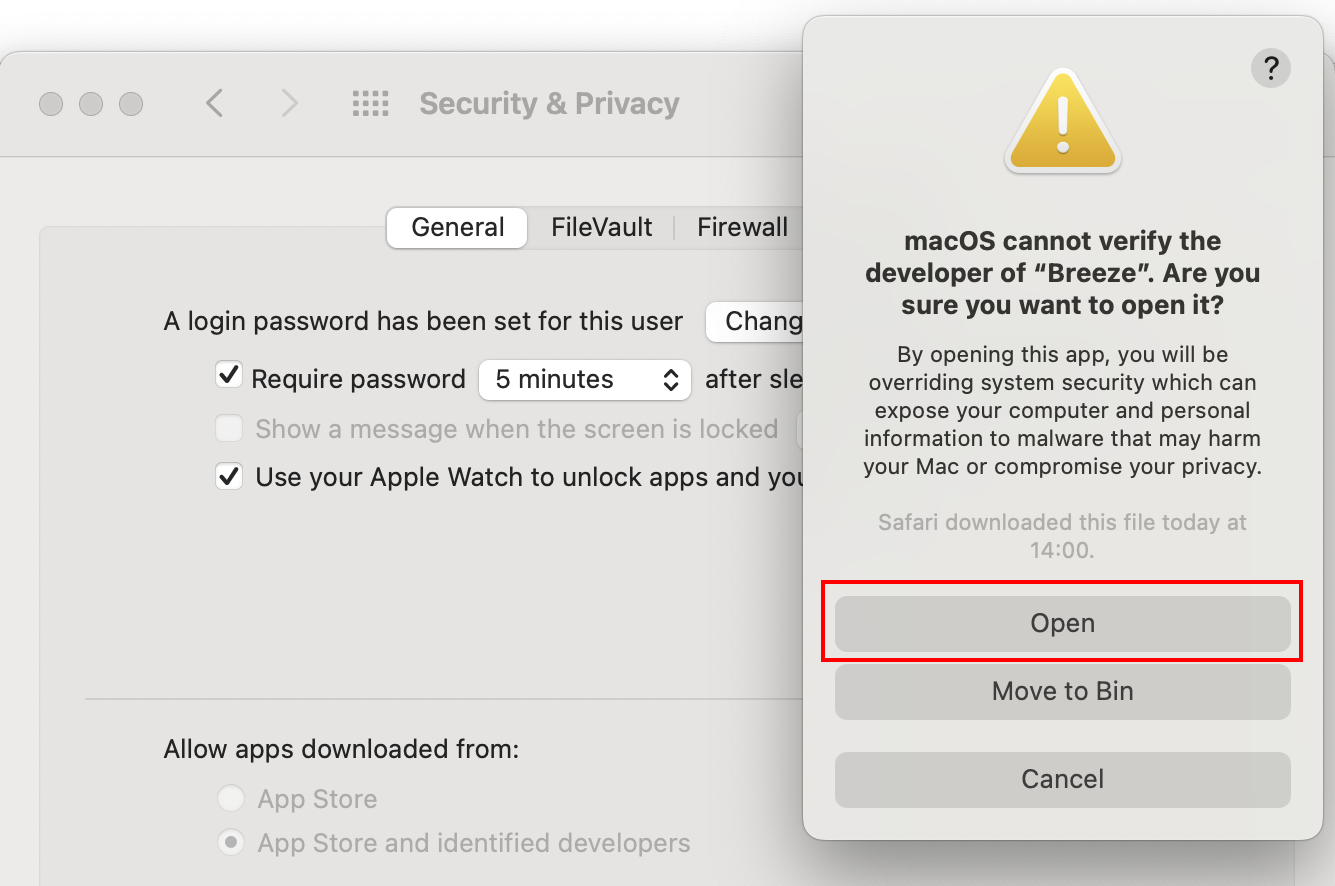
And confirm the prompted question with “Open“.
These steps should not be required to complete again until the Breeze application has been updated.