About
You can have one or more workspaces in Breeze and switch between them but only use a single workspace at the time.
Since Workspace Settings, including all settings for hardware, are stored in the workspace, you may want to create different workspaces if you use different hardware setups with Breeze.
You can also group different types of projects into different workspaces.
Since hyperspectral data is large, we recommend keeping the Breeze workspace on a separate local disk and not use the same volume as Windows is installed on (typically C). This way, if the disk fills up, Windows normal operation will not be affected. Also, system performance is better with the Breeze data on a different drive. Fast SSD drives are recommended.
Do not locate the workspace on a slow network drive. Breeze will run slowly on it and it can cause issues.
Change workspace location
When you start Breeze for the first time an empty workspace is created in the local user's folder at C:\Users\{user name}\Breeze.
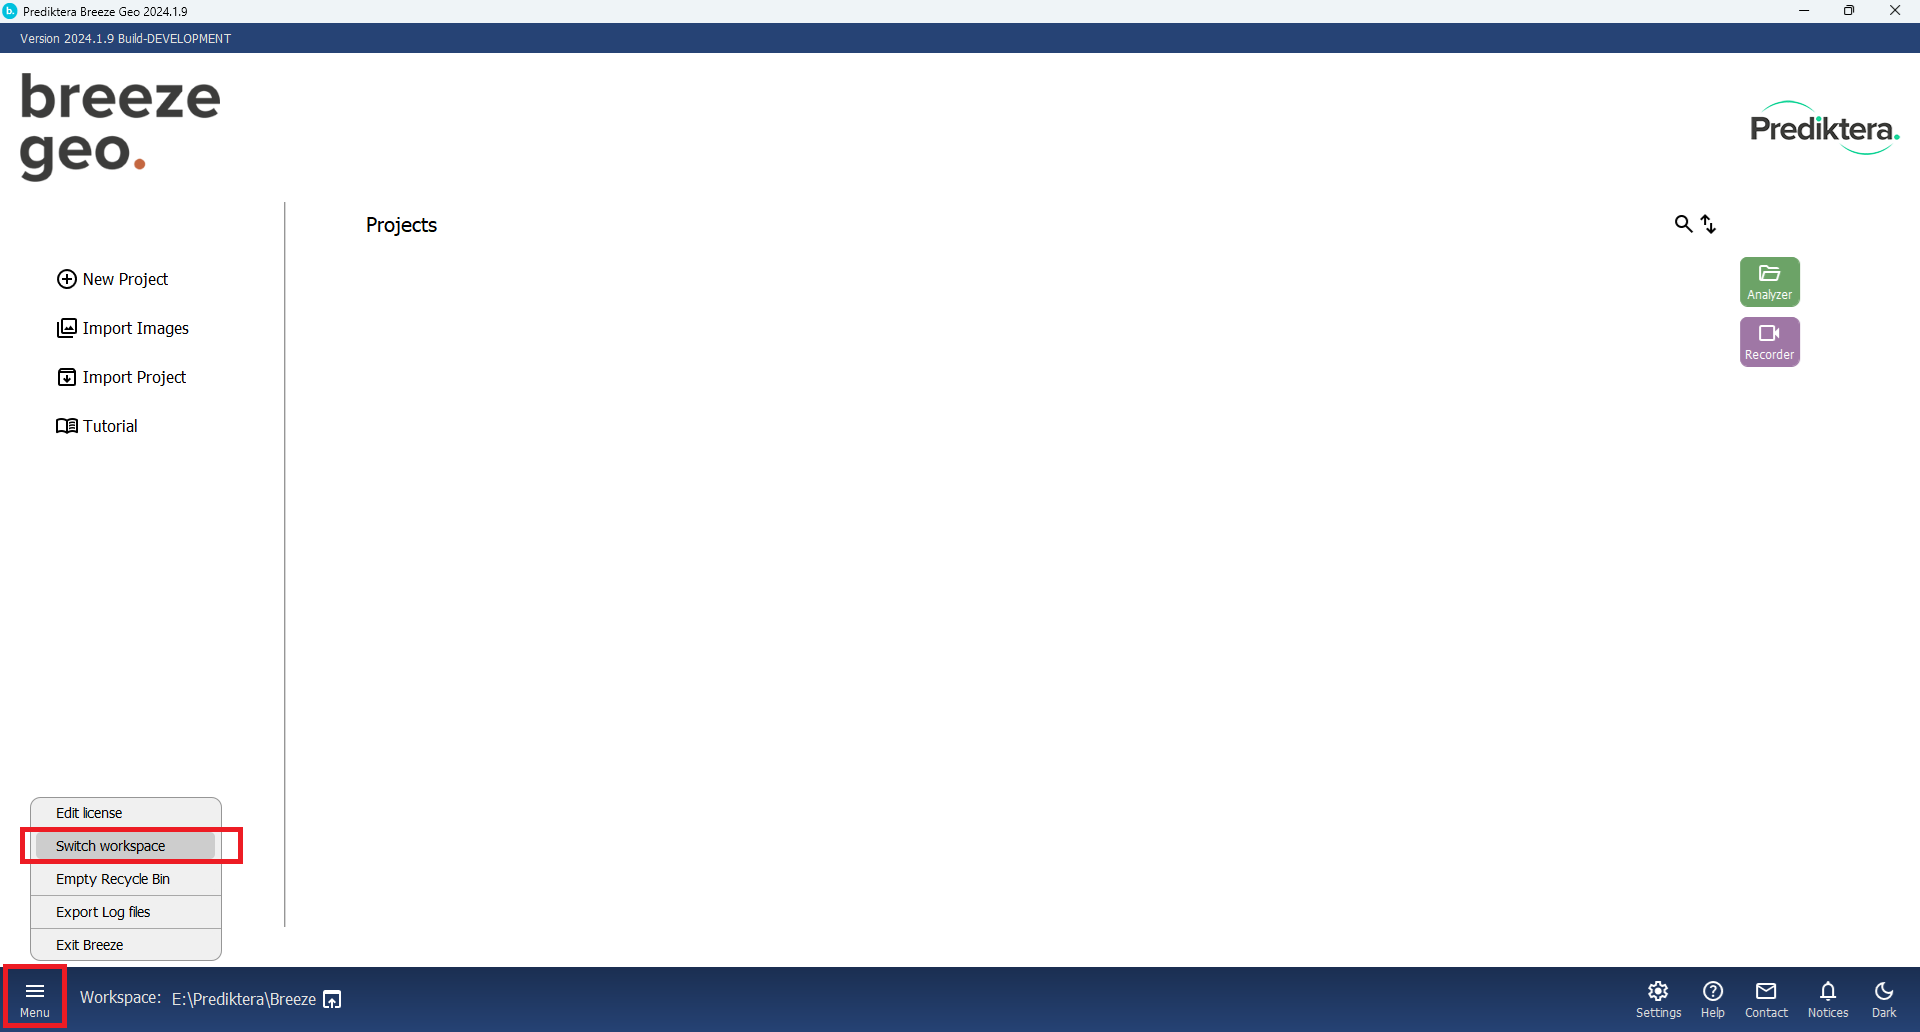
If you want to change this, use the menu button at the bottom left of the home screen and select Switch workspace:
A dialog is displayed allowing you to change the folder:
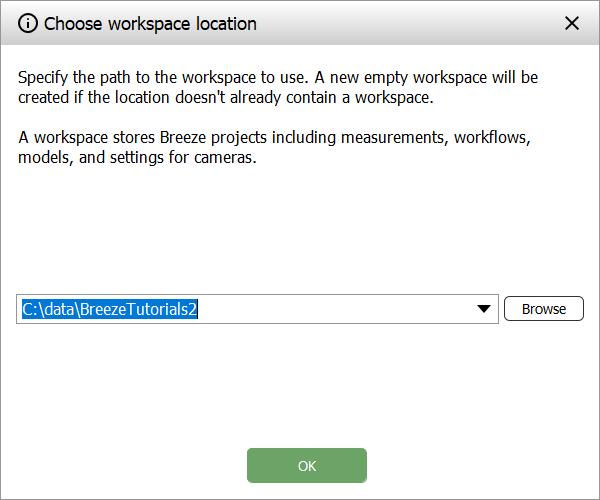
After selecting a new workspace, you must exit and restart Breeze manually to use the new location.
Recycle bin
When you delete a project, group, or measurement it will be moved to the Recycle bin instead of being deleted immediately.
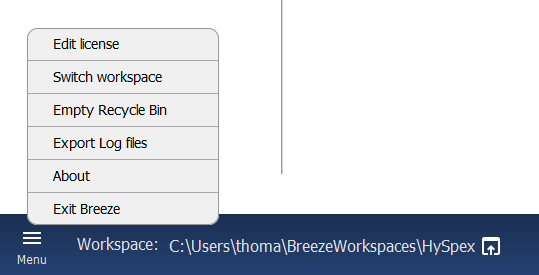
The Recycle bin can quickly start to fill up your hard drive. To empty the Recycle bin, click Menu > Empty recycle bin:
To view the contents of the Recycle bin navigate to the Data/Recycled folder in the Workspace folder.
To restore data, manually move folders to the correct location in the Workspace folder. The next section describes the Workspace folder structure.
Move the workspace to a different location
If the workspace is starting to fill its disk, or the local disk is slow, or the workspace is simply in the wrong location, it can be moved and Breeze pointed to use the new location instead.
Here is how:
-
When Breeze is running, take a note of the location of the workspace at the bottom of the home screen when Breeze is running.
-
Exit Breeze. You should not be using Breeze when copying the files in the next step.
-
In Windows File Explorer, navigate the location of the workspace, and copy or move the folder with all contents to the new location.
-
Optional but recommended: Use Notepad or another text editor and open the
Breezeproperties.xmlin the root folder of the new location. Check the file for textual references to file locations on disk that might not be correct anymore if they were located in the old workspace location and update these paths. Example of this would be if your camera uses a settings path located in the workspace itself. -
Start Breeze and change workspace location as described earlier on this page.
-
Restart Breeze to use the new location.
Cloning a workspace
Rather than redoing all settings when creating a new workspace, you can copy the current workspace’s BreezeProperties.xmlfile into the new empty folder and then switch to that folder in Breeze.
Workspace structure in the file system
The name for a Project, Model, or Workflow entry will be the same name as the folder in the file system. You can change the name in Breeze to update the name in the file system. If you exit Breeze, you can also change the name of the folders in the file system and when you restart Breeze the name has been changed also there.
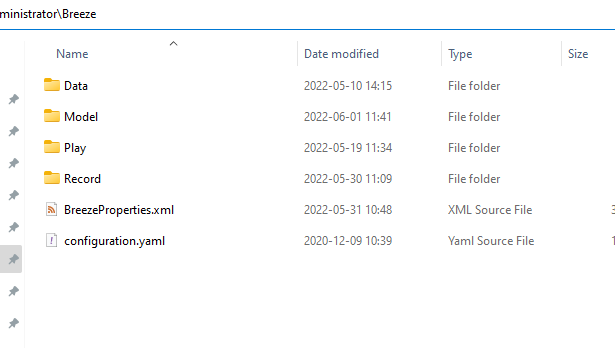
In this example of the file system, the Workspace is “C:\Users\administrator\Breeze”
Breeze data hierarchy:
-
Workspace
-
Record
-
Project
-
Group
-
Measurement
-
-
-
-
Model
-
Model
-
-
Play
-
Workflow
-
Group
-
Measurement
-
-
-
-
Data
-
Customize (Workspace specific files)
-
Download (For example tutorials are stored here)
-
Import (Default folder for import of files with variables and id data)
-
Recycled (Deleted data will be moved here)
-
Runtime (Breeze Runtime workflows)
-
Measurements (Recorded data while predicting)
-
References
-
Dark (Dark references)
-
White (White references)
-
WhiteIntensity (White intensity references)
-
-
-
Temp (Temporary runtime files)
-
-
BreezeProperties.xml
-
configuration.yaml (for Windows Service)
-