This user guide shows how to create end members using manual segmentation.
End members are the “pure” spectrum of each material you want to include in your studies. The exported end members can then be applied in, for example, the Spectral angle mapper (descriptor).
Manual segmentation
First import or record the image containing the material you want to make into end members.
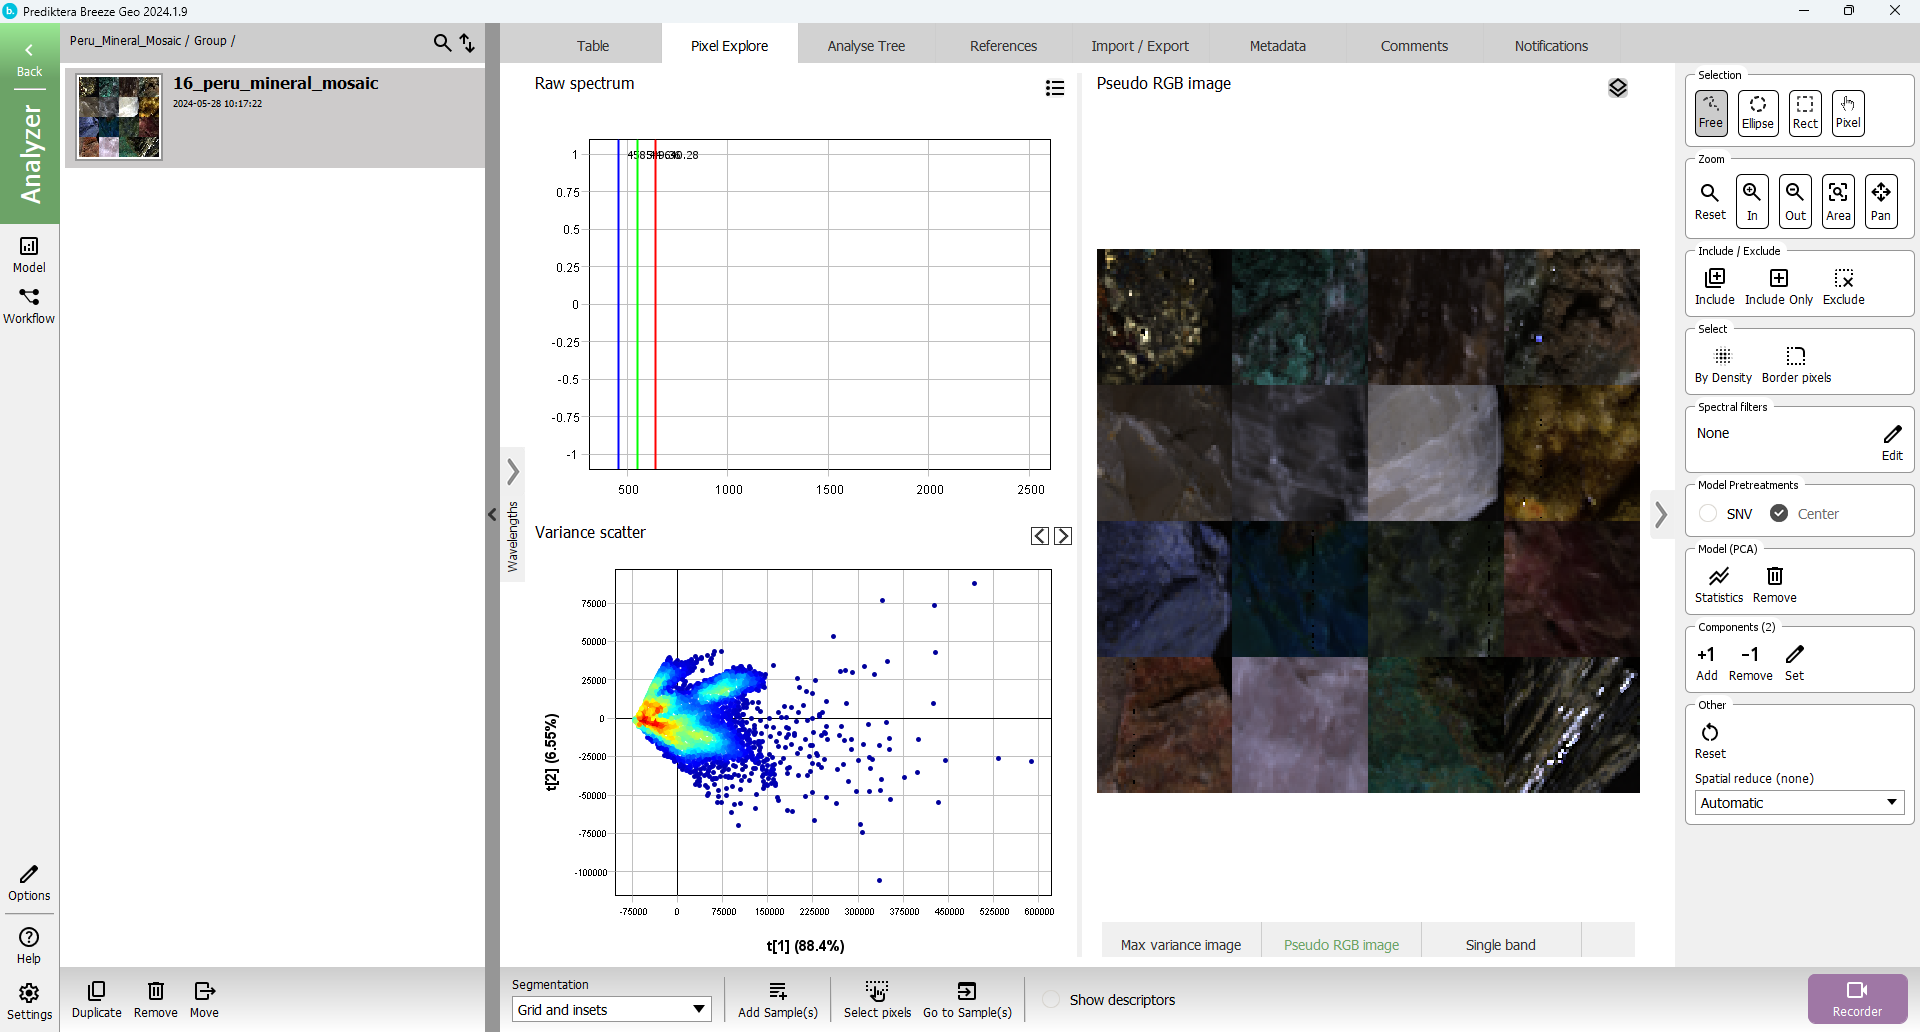
When the image/images are added to your study go to the Pixel Explore tab. Press the “Pseudo RGB image” under the images to see your images as a pseudo-RGB image which will make it easier to select the end members.
Under the “Selection tool” in the right menu, change from “free” to “Rect”.
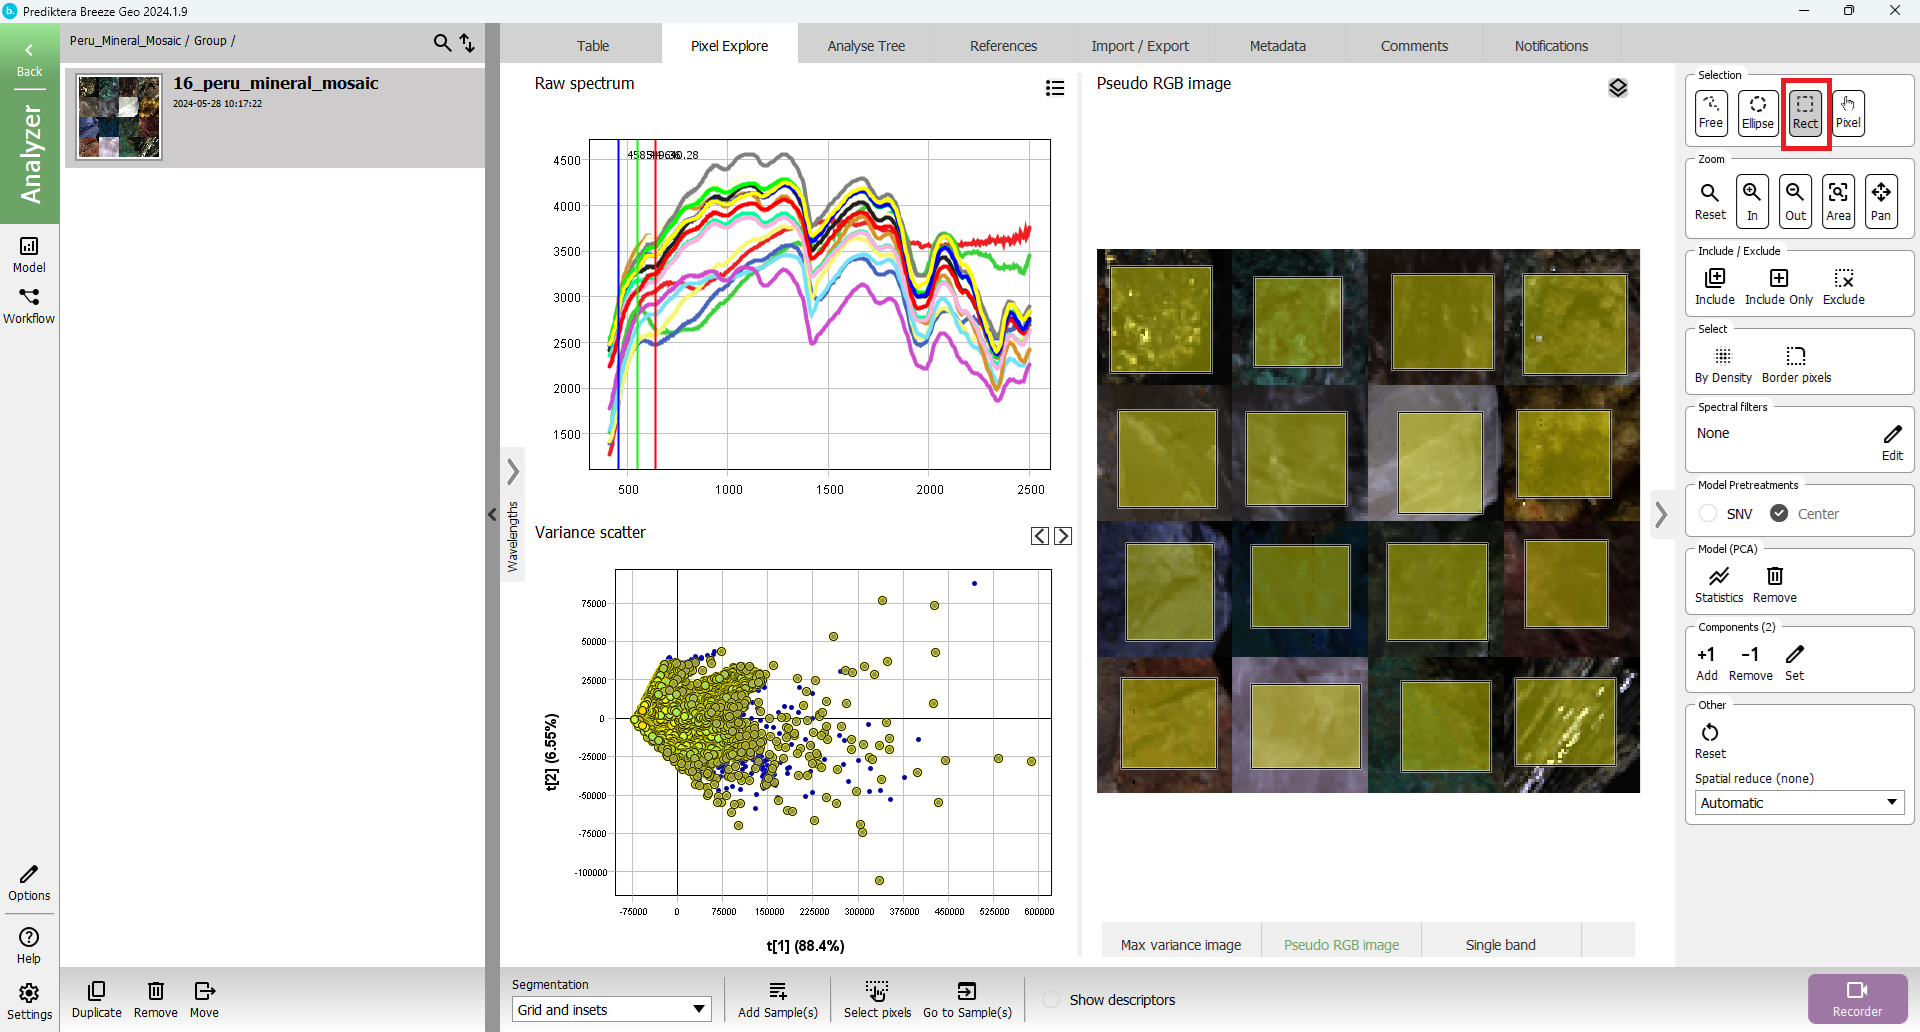
Now we can select any areas in the image you want to make into end members.
After the area is selected press the “Add Sample(s) from selection”.
If you have more than one sample in the image you want to make into an end member, press left Ctrl and select the rest of the areas in the image before pressing “Add Sample(s) from selection”.

Export to end members
Now when all of the samples are manually selected. Go to the Export tab. In the export tab select “Export to End Member” and press “Apply”.
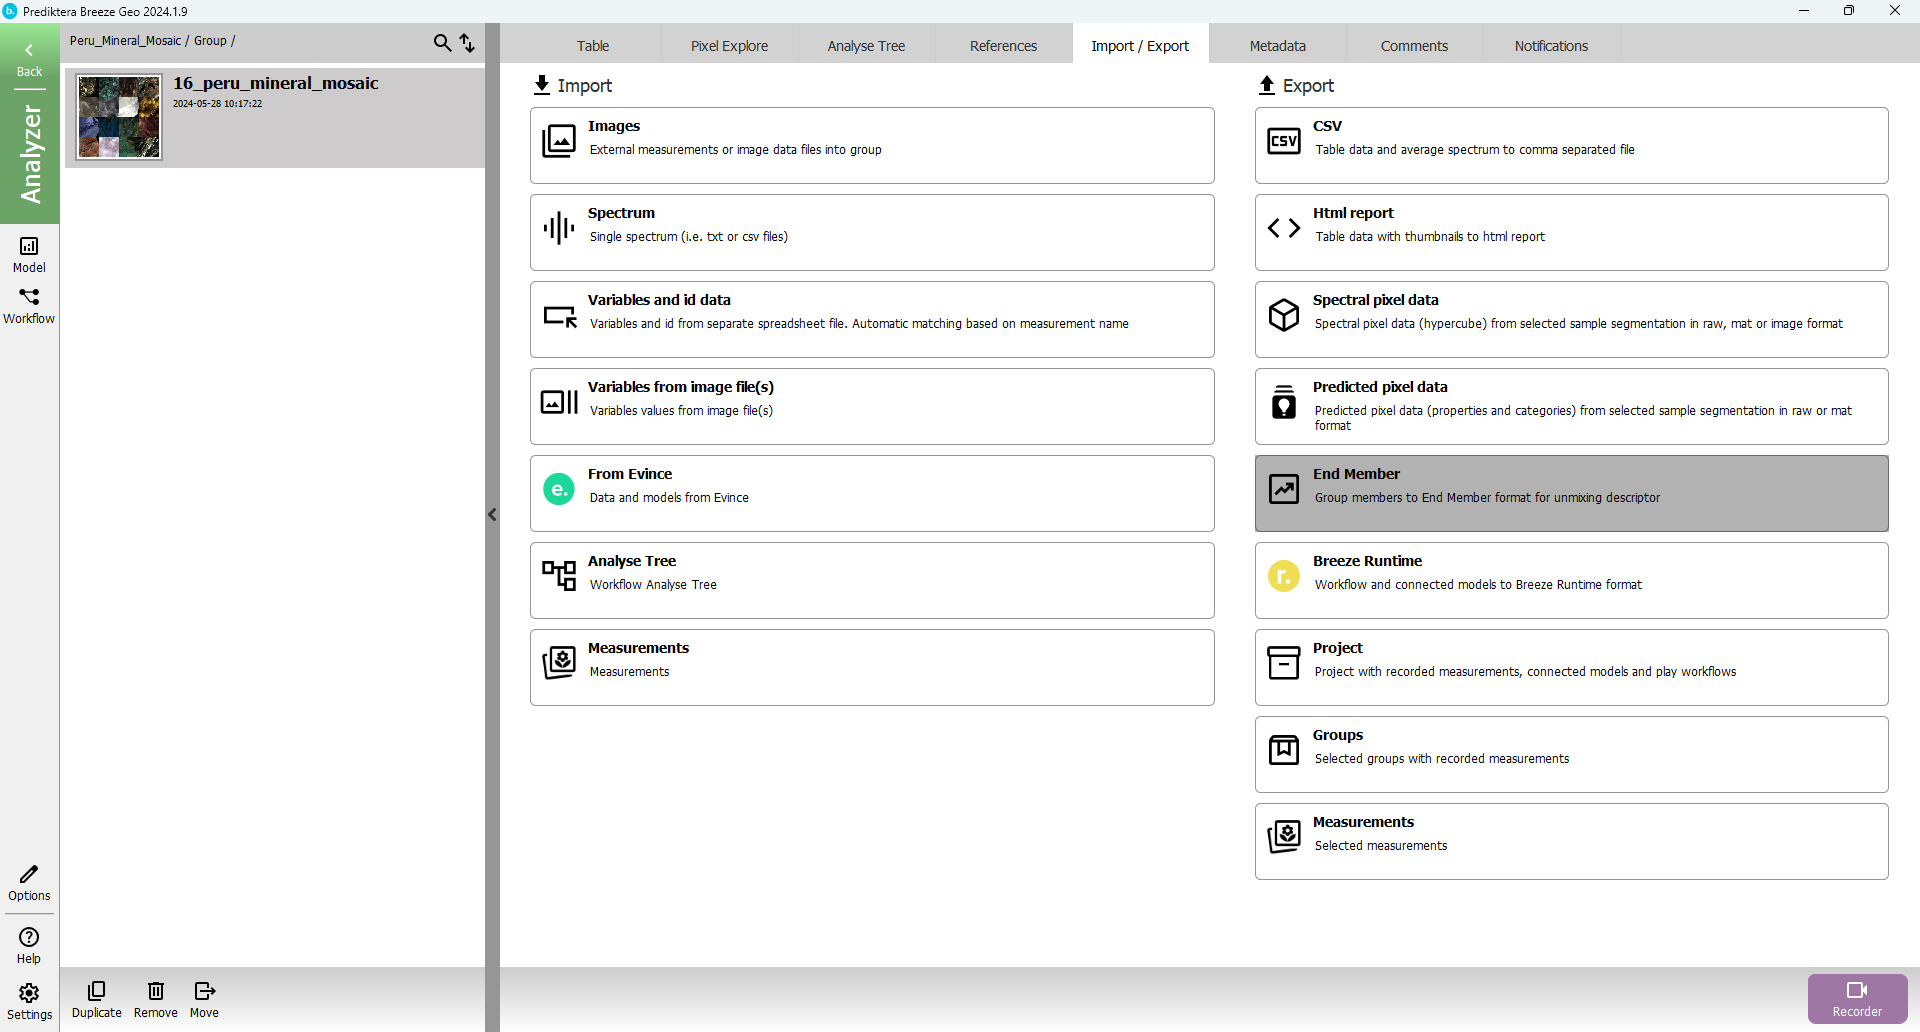
Here you can select the folder where you want to store your end members, and which segmentation level you want to create your end members from. In this case, manual segmentation should be selected. Press “Finish”, and now you have successfully exported your end memebers.