Configuration of hardware devices
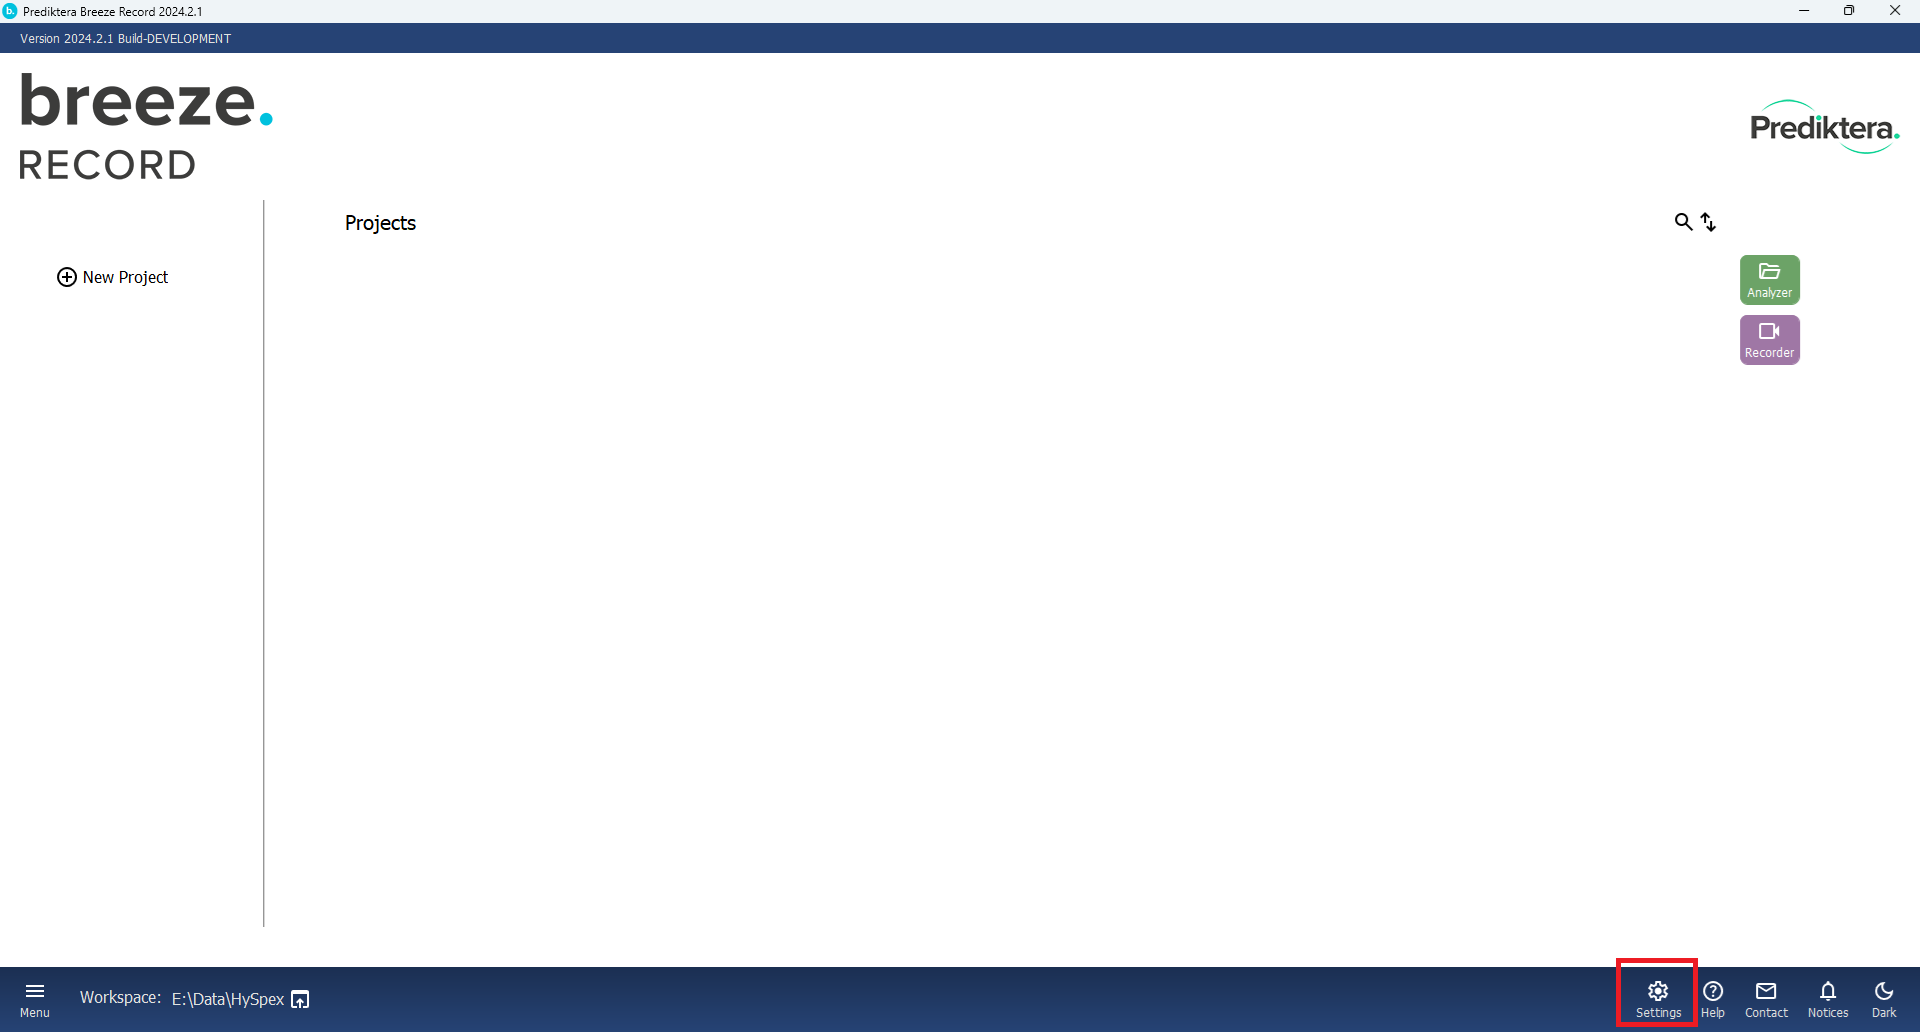
You configure camera hardware and other settings in the Workspace Settings. Click the Settings button:
Connecting a camera
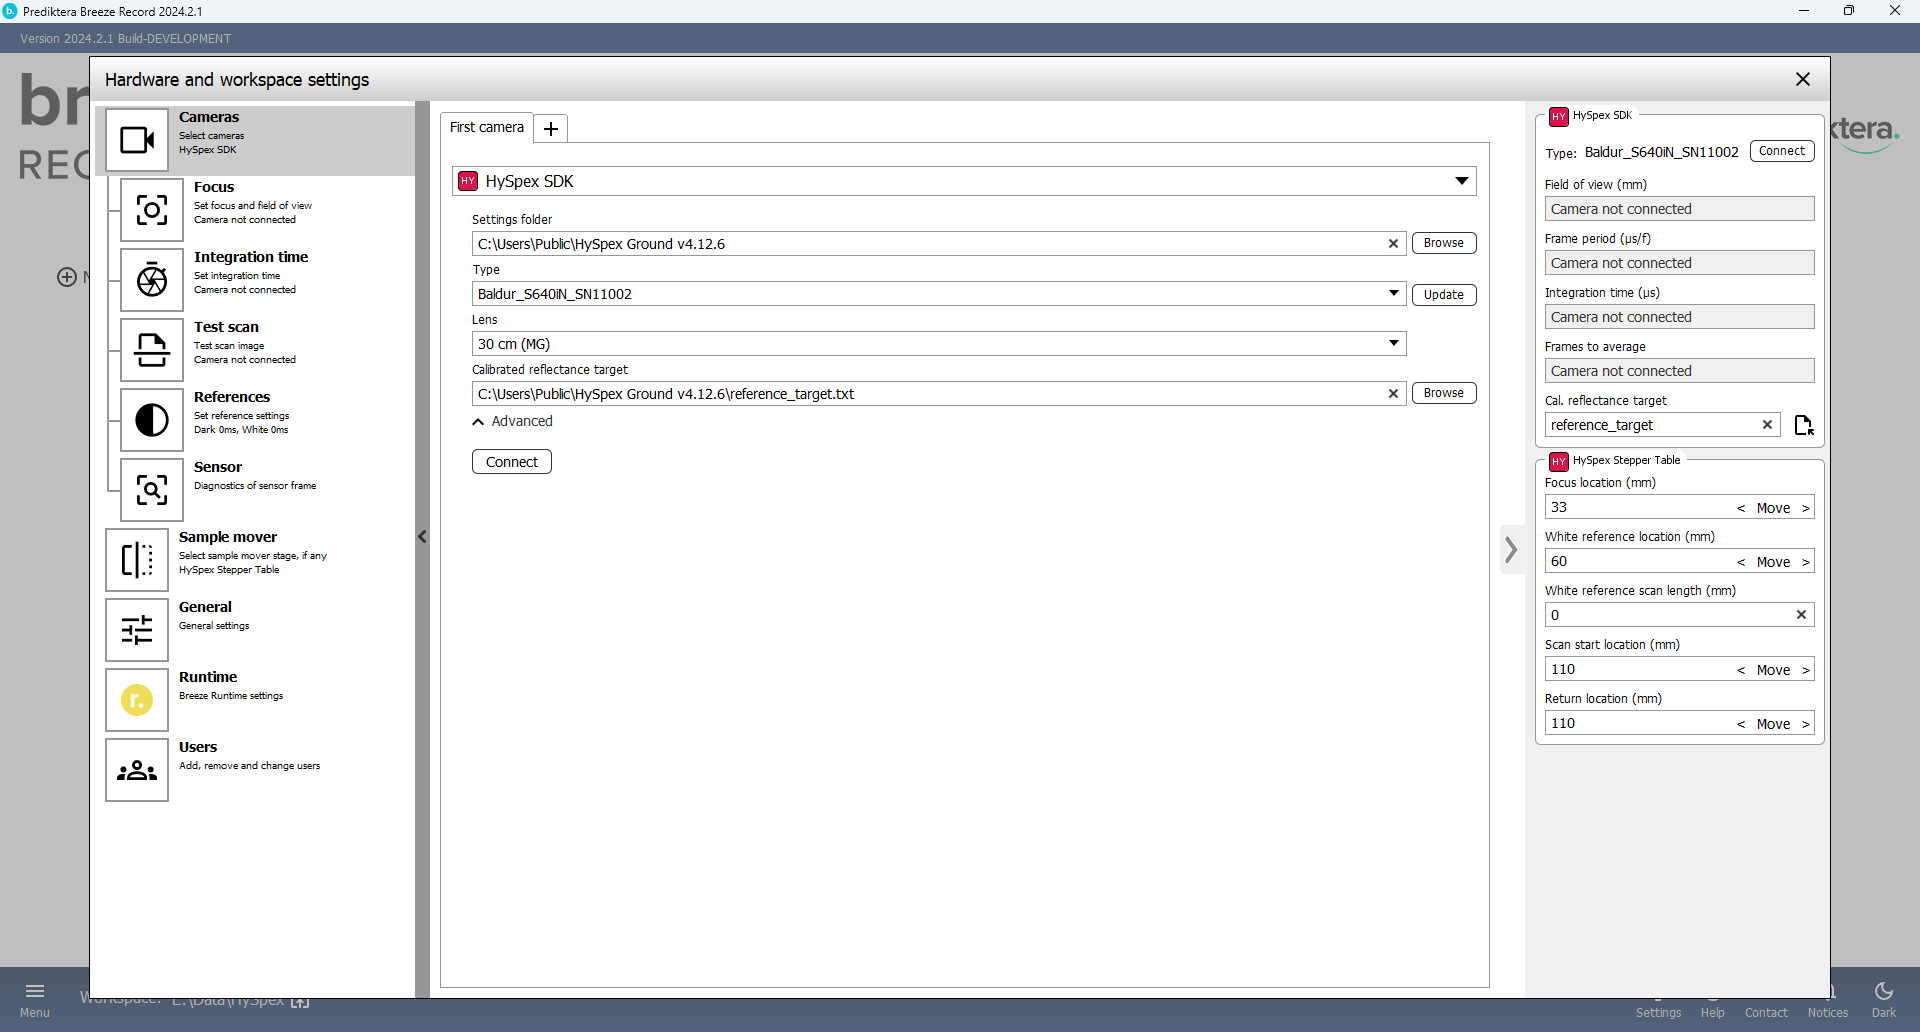
In Settings, select the Cameras tab.
It is here you add and configure the camera(s) you want to use. Each camera gets its own tab:
To be able to use a camera, it has to be connected to the PC and turned on. If the camera requires third party drivers or configuration made outside Breeze, you have to fix this before connecting to it in Breeze.
Set the camera you would like to use in the drop down of available cameras. The types of cameras you see depends on which ones you selected during installation (see Installation and getting started).
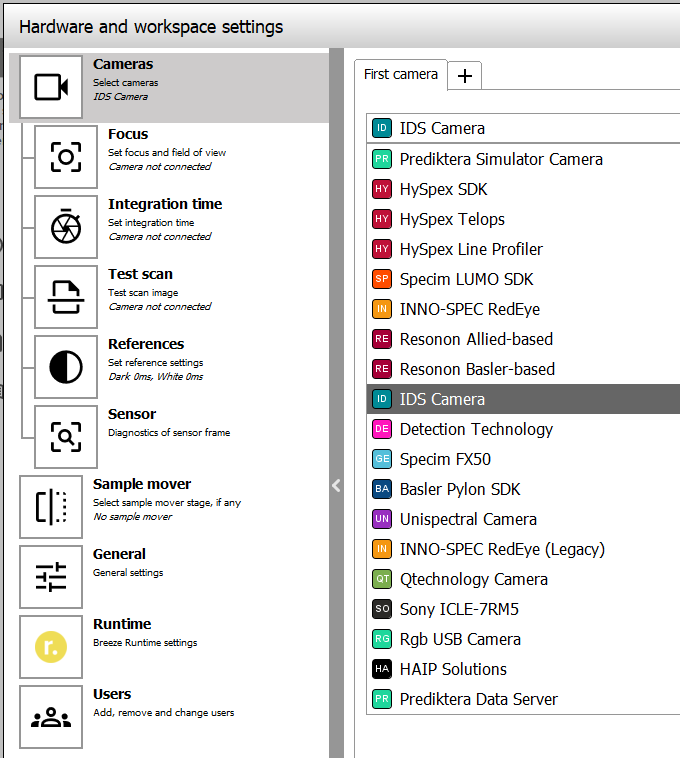
Once selected, you get to see the options available for that specific camera:
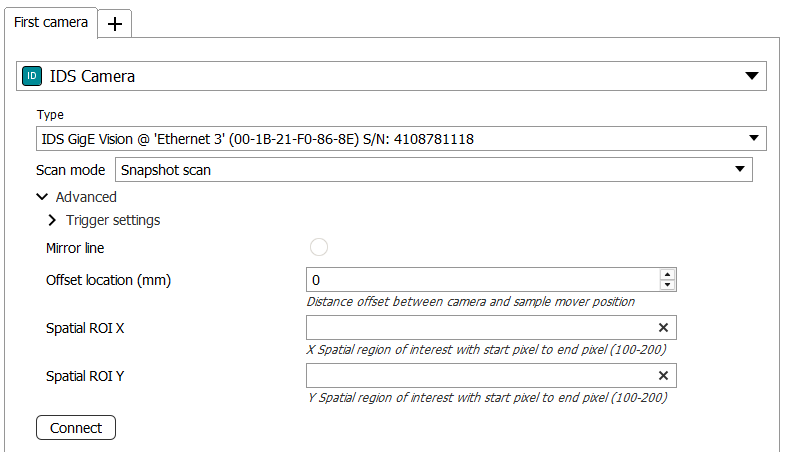
As you can see above, the camera has Advanced settings that were expanded by clicking the > icon:
Under Type select your camera type (if there are more than one).
Then click Connect to connect to the camera using the settings you’ve made:
After the camera is connected, you can expand Advanced again (when available for your camera) to see updated options for your connected camera. In this case you can control the gain for the connected camera:
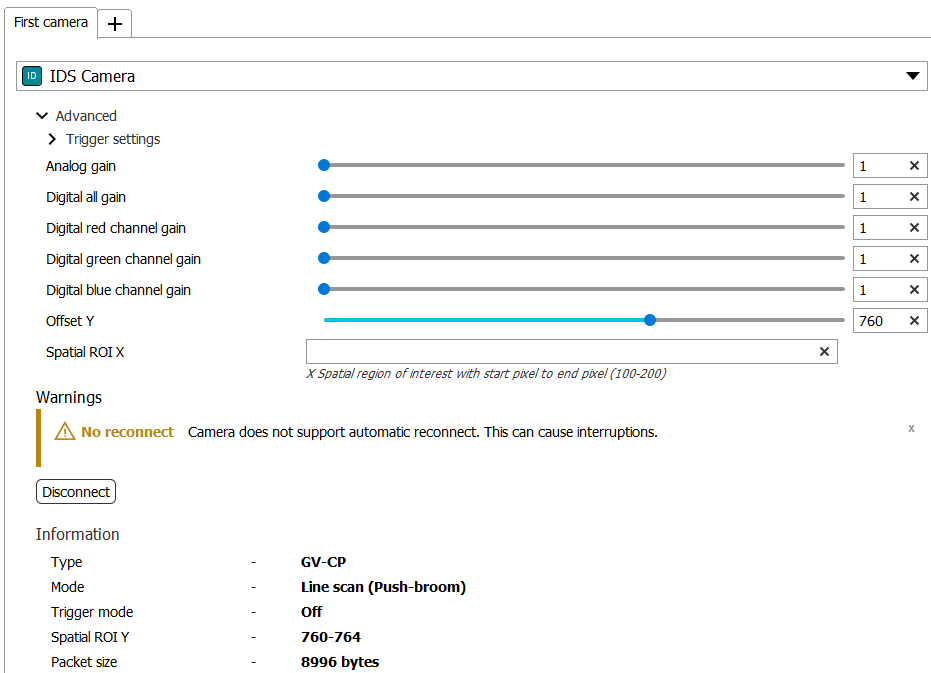
As you can see above, the page will also show Information for the connected camera.
Always exit Breeze before making hardware changes
If you have connected to a camera in Breeze (or sample mover as described below), you should not turn off the power to the hardware or do other hardware changes while Breeze is left running since this will confuse Breeze and can result in various issues.
Instead, always exit Breeze before making hardware changes.
Using a Sample Mover
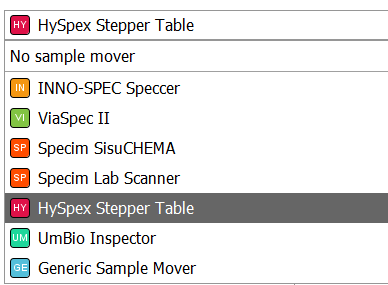
Set the Sample Mover that you want to use in the “Selected Sample Mover” drop-down
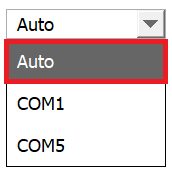
Select “Serial port” (Optional)
Sample mover locations
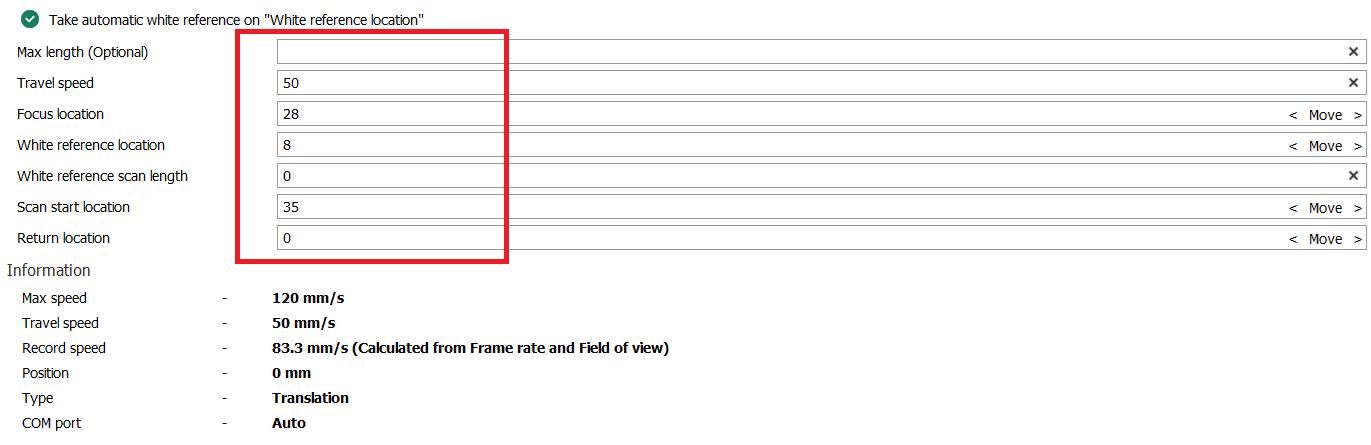
Different sample movers have different advanced options.
Press “Connect”
Using the Settings pages for cameras
Focus
To ensure a sharp image it’s important that the focus is set correctly for the lens before data acquisition. To do this you can use a focus grid that is positioned at the same height as the highest point of the sample you will analyze.
TIP Download a focus sheet here: https://prediktera.com/download/pdf/Prediktera_Breeze_Focus_Paper.pdf
Go to “Settings” and “Focus”
The “Field of view” is the width of the image you can see in focus, specified in millimeters.
Turn on the light source.
Press “Camera” and press “Focus grid”. The scanner table will move to the position for the focus grid and the camera will start capturing data.
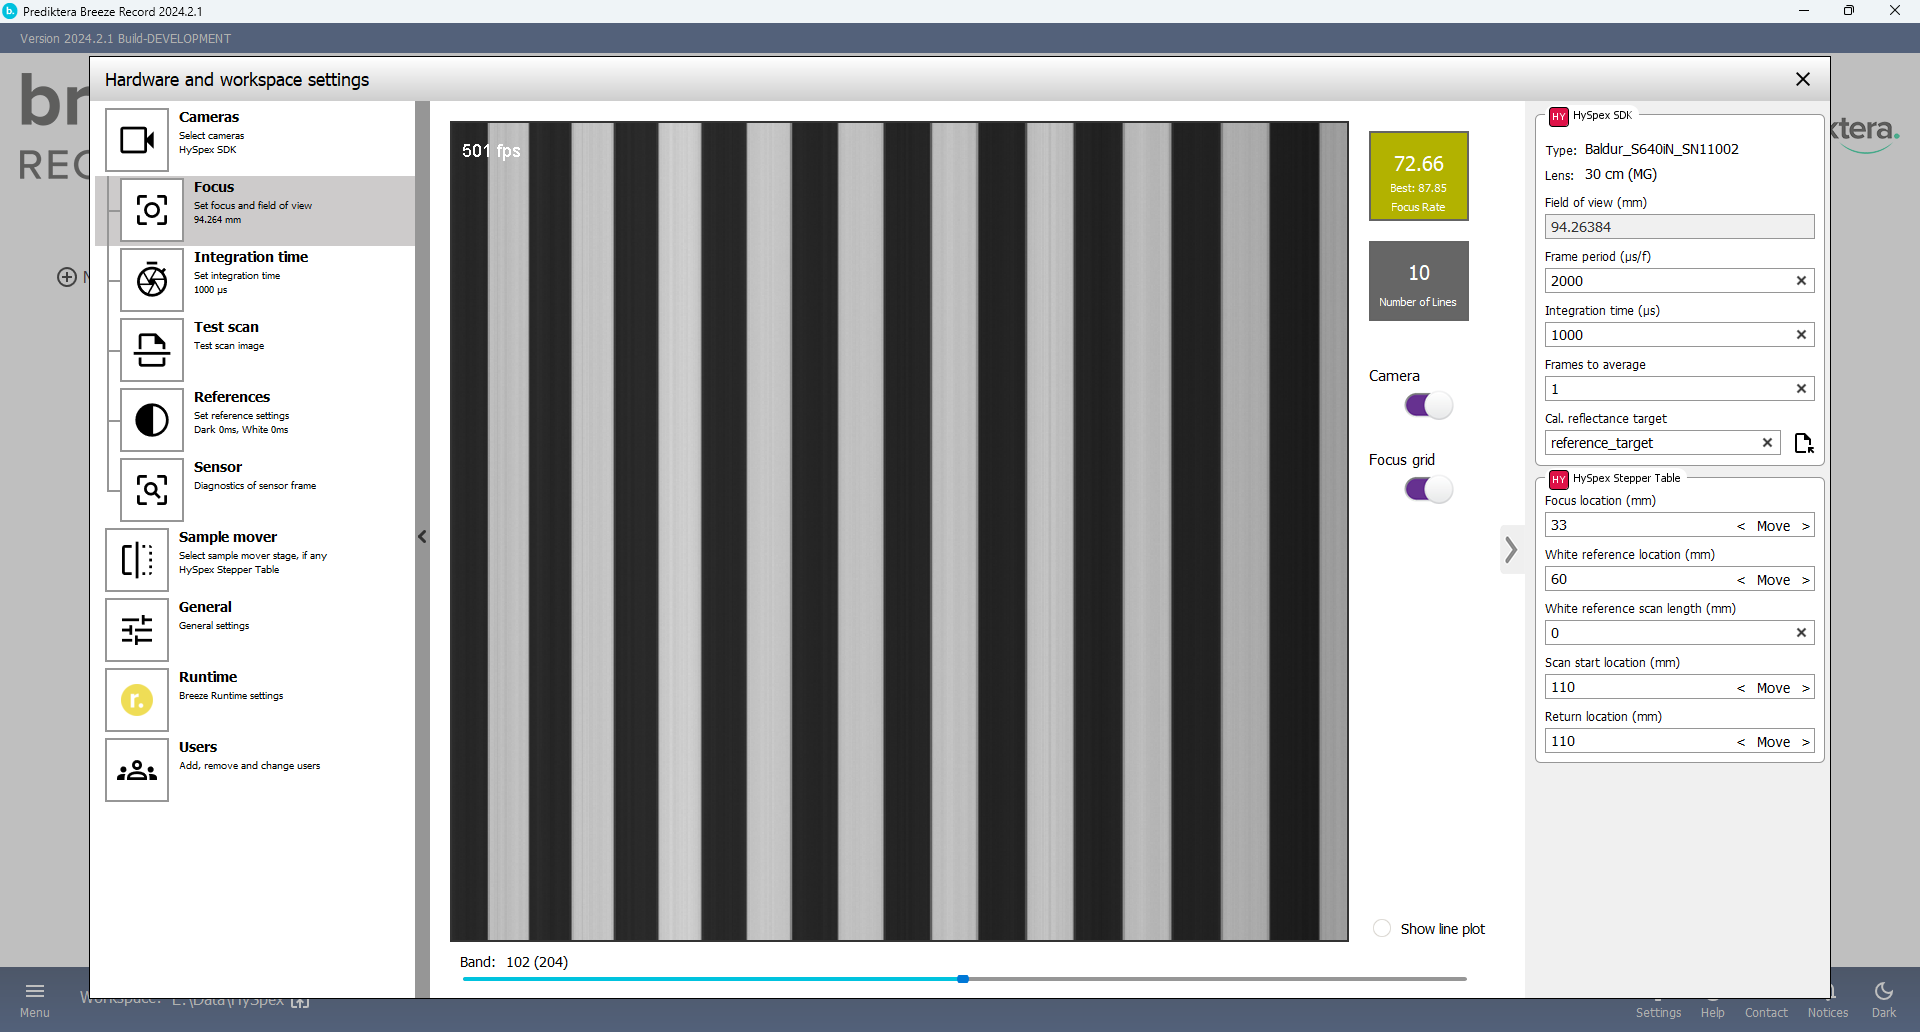
You can make use of the “Focus rate” value to get the best focus. Adjust manually the lens until you reach the highest focus rate and the lines are sharp.
The “Line plot” can also help you to set the focus. Vertical lines will indicate a sharp image.
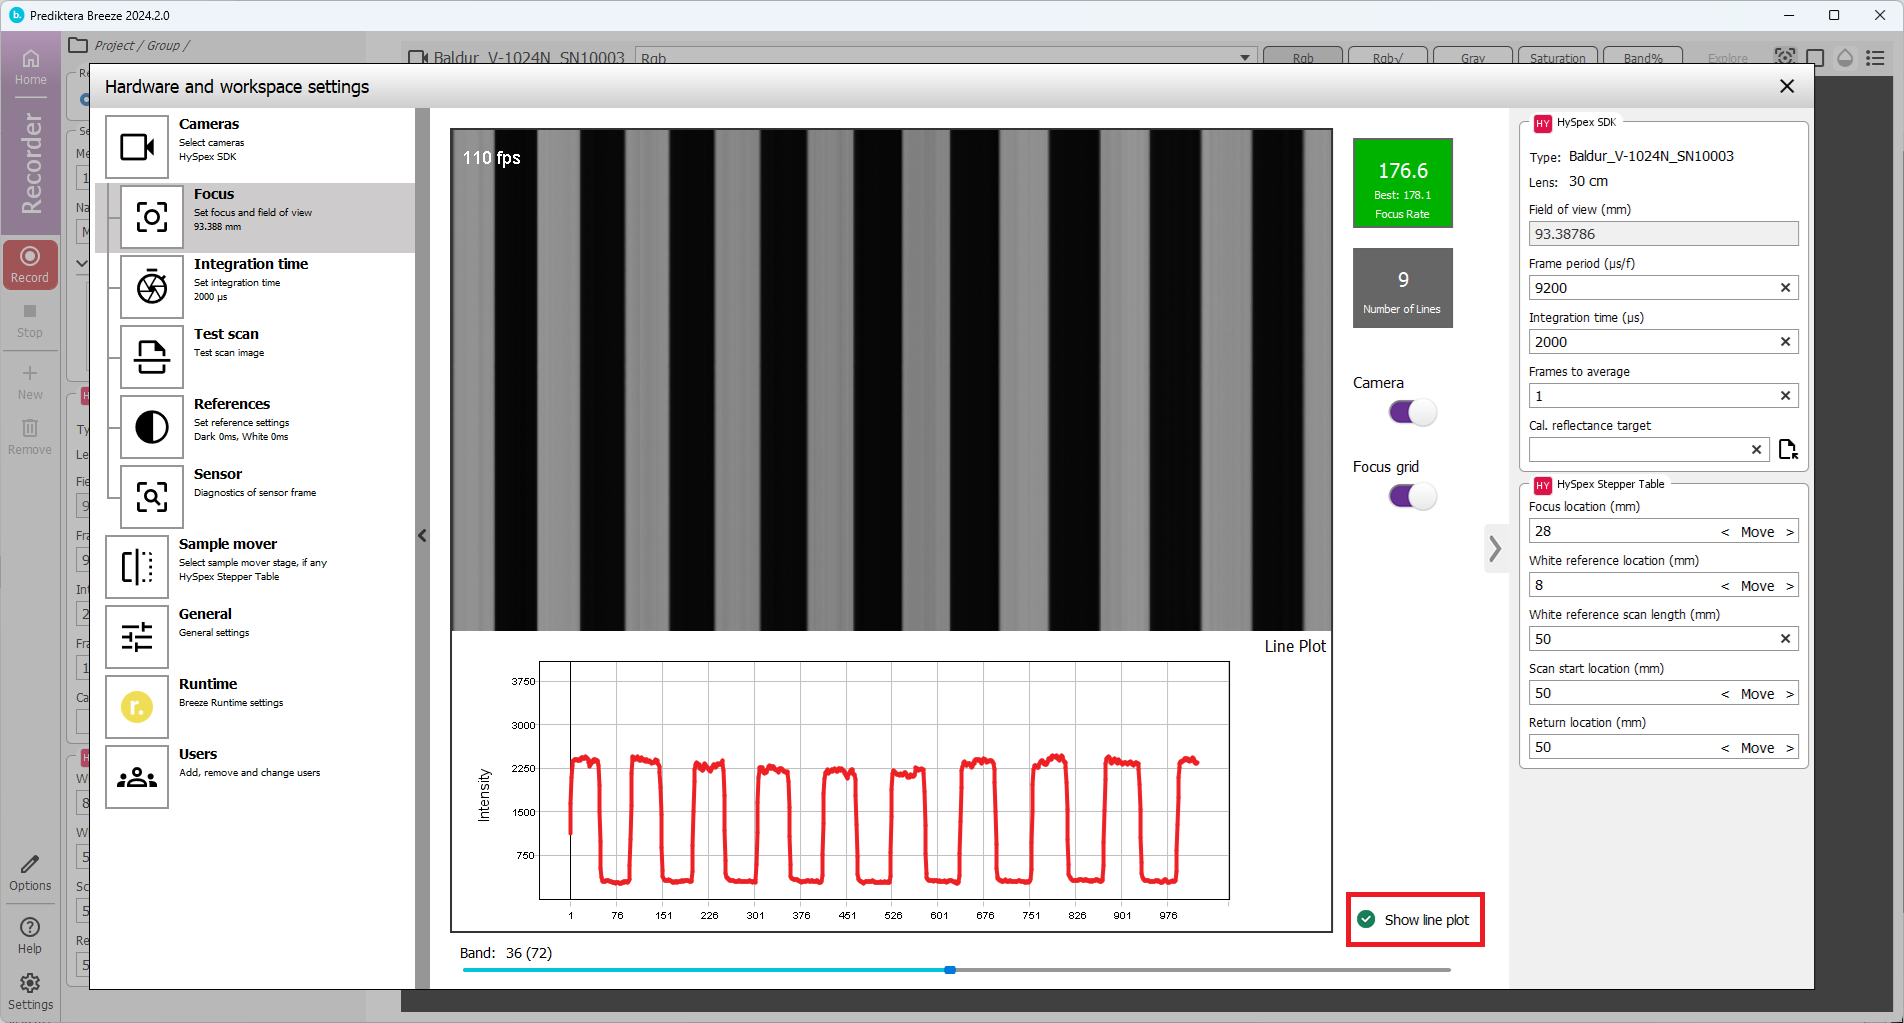
It’s optional to select different bands using the slider under the line plot.
Integration Time
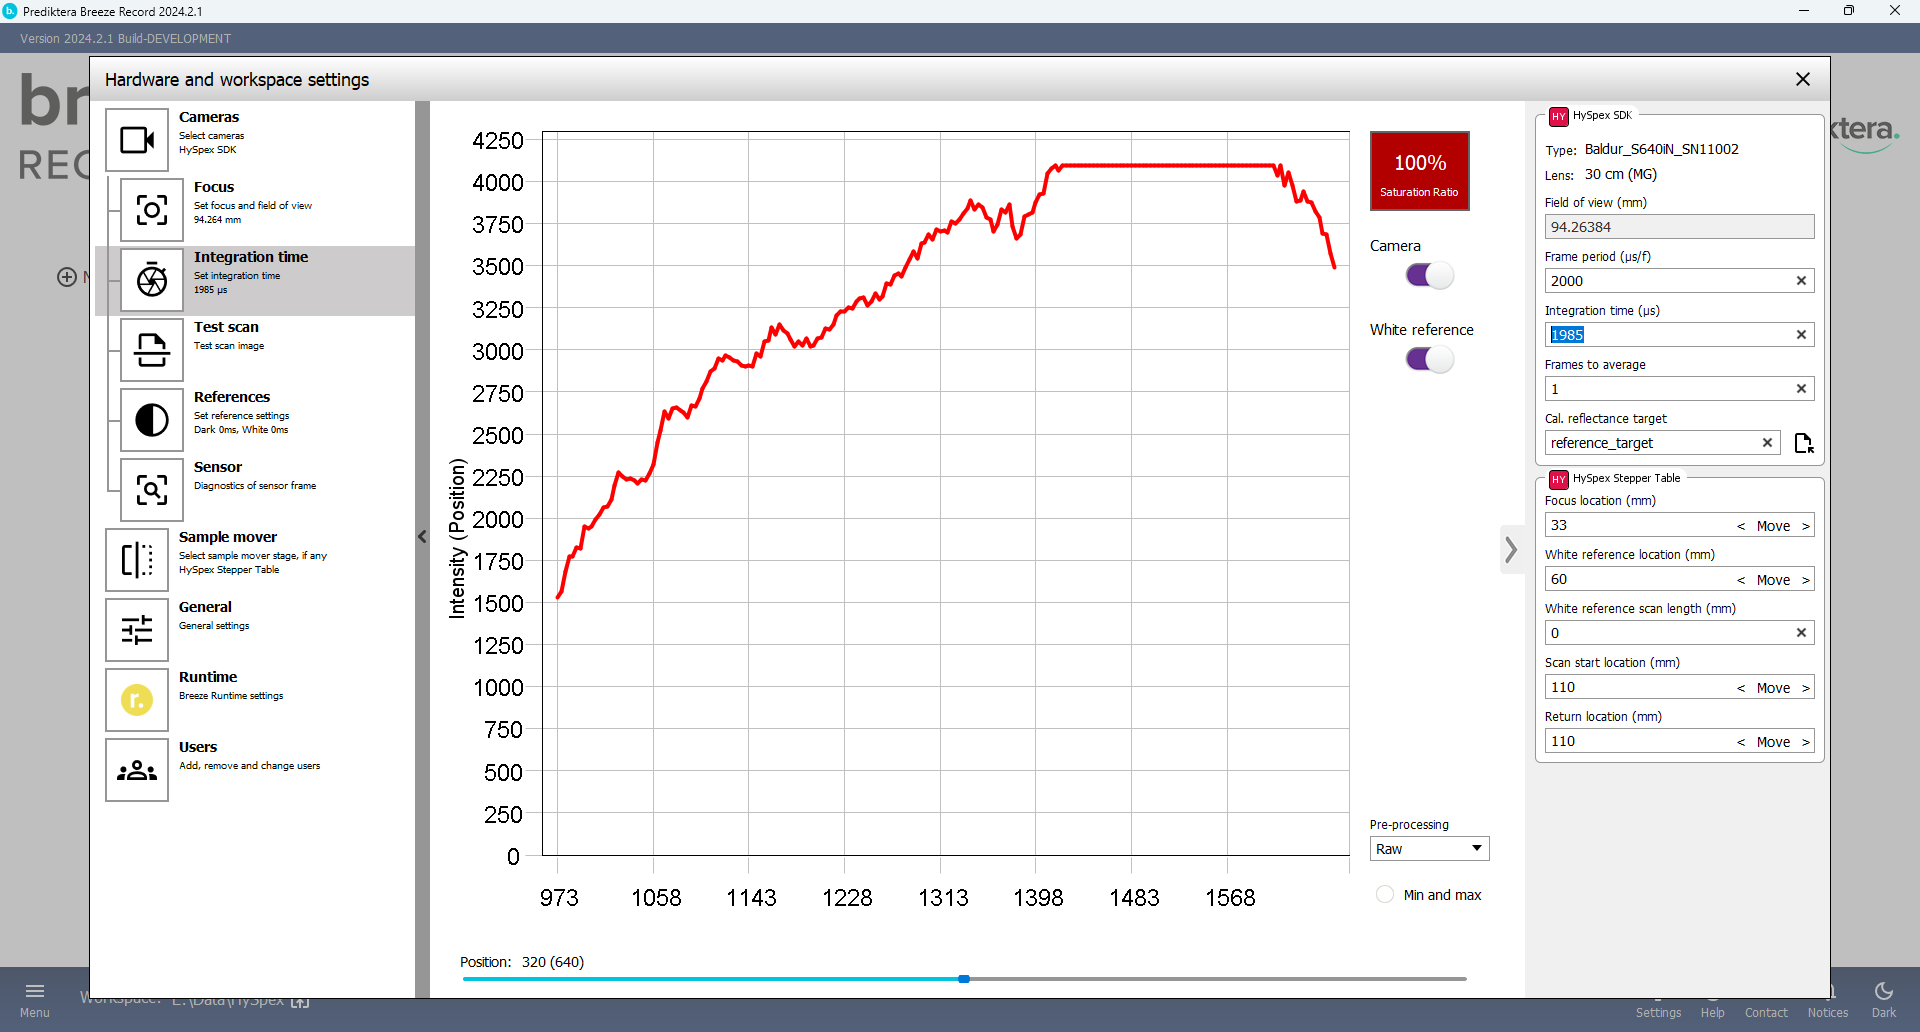
Press the “Integration time” button on the left side panel
Adjust the Integration Time in the field on right side panel. Either scroll using the up and down arrows, or write the value and press enter on your key board.
You can use the spectral signal from the white/gray reference target to adjust the integration time.
Make sure the “Camera” button is selected.
Press the “Move to White reference” button. The table will move to the position that we set as the white reference location.
Place your reference target on the table in this location under the camera. Adjust the frame period and integration time to give the correct intensity for your reference target.
In the “Saturation ratio” square you can see the signal in % compared to the max signal that is possible for your camera. The background color in this square is red if the camera max signal is high or low, and green between 80-90%.
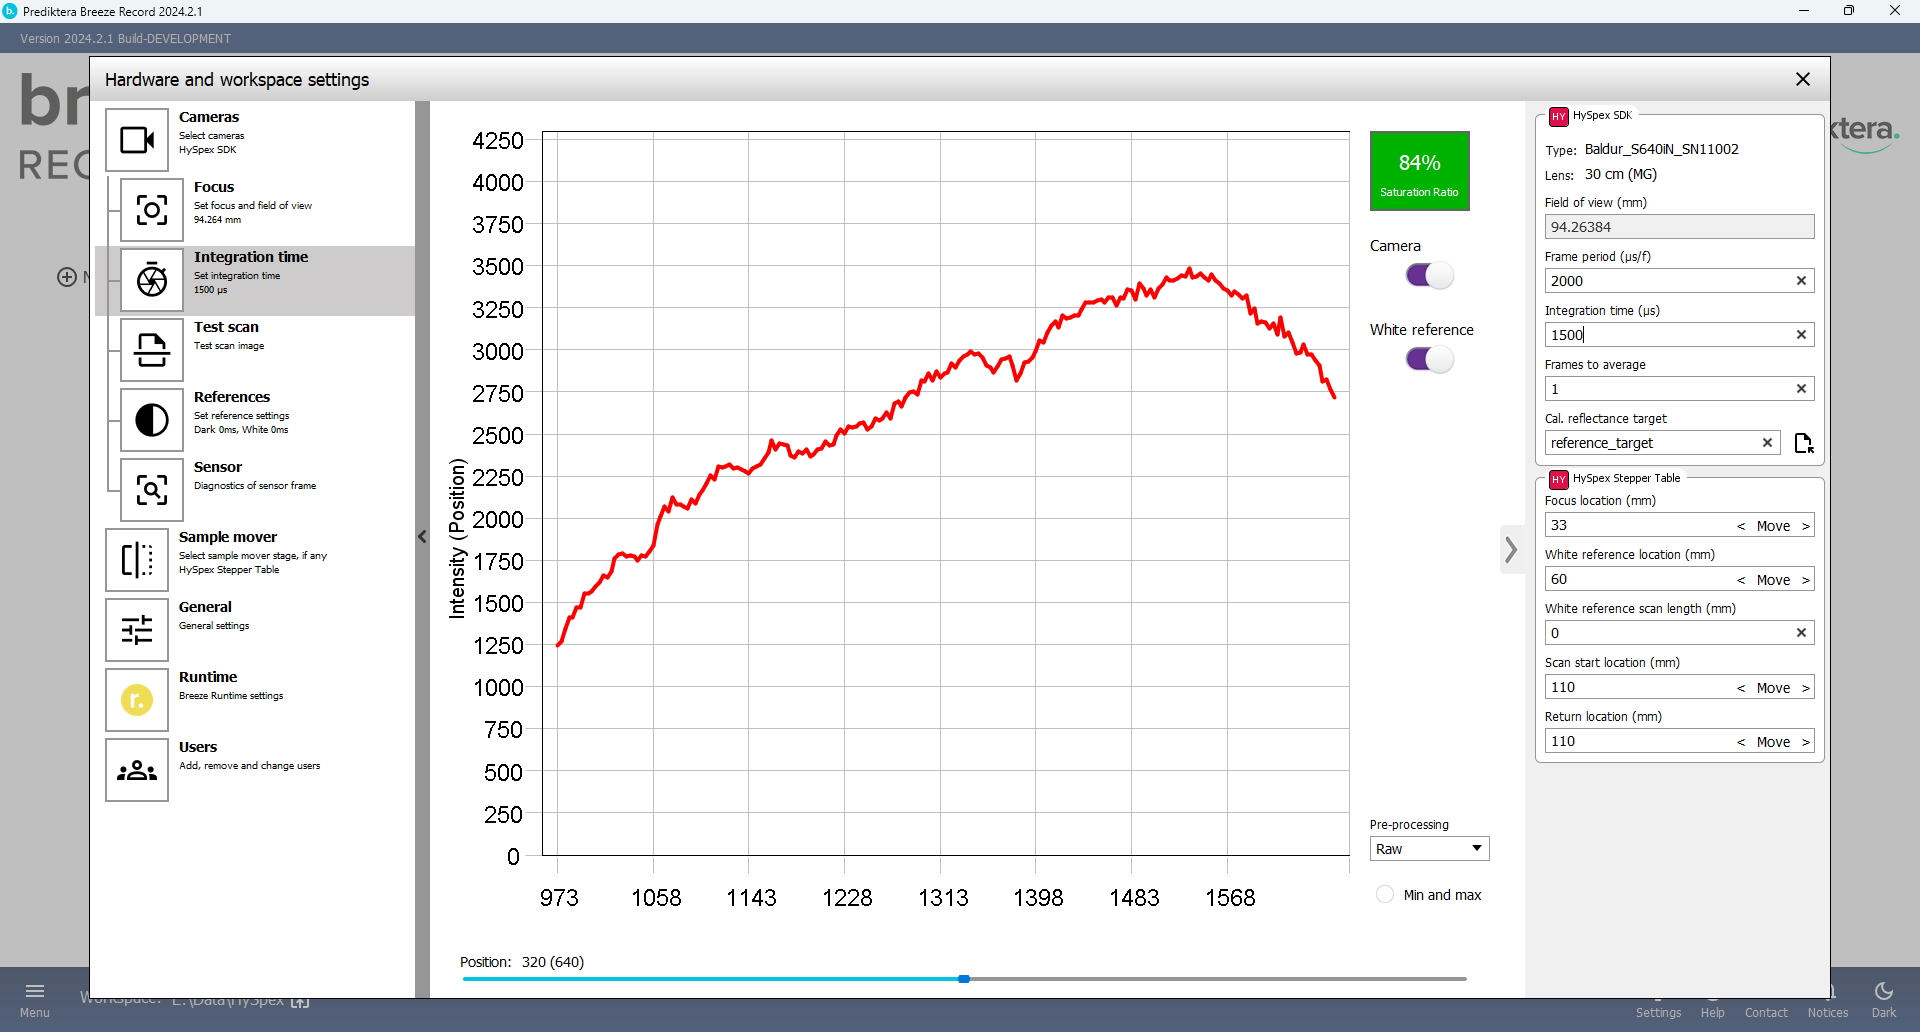
You can move “Position” slider to show white reference values on other pixels
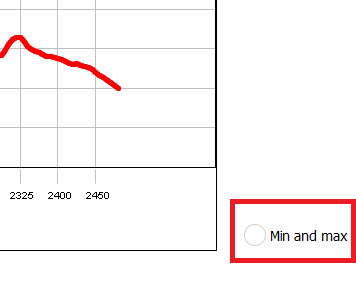
Press “Min and max” to show minimum and maximum overall pixels
If “Integration Time” is set to high the white reference image will be saturated, which means that some signal data can be lost.
Test scan
On the Test scan tab, you can capture a test image that will not be saved on the hard drive. This is a quick way to tune the camera settings before using Recorder to save the measurement on disk.
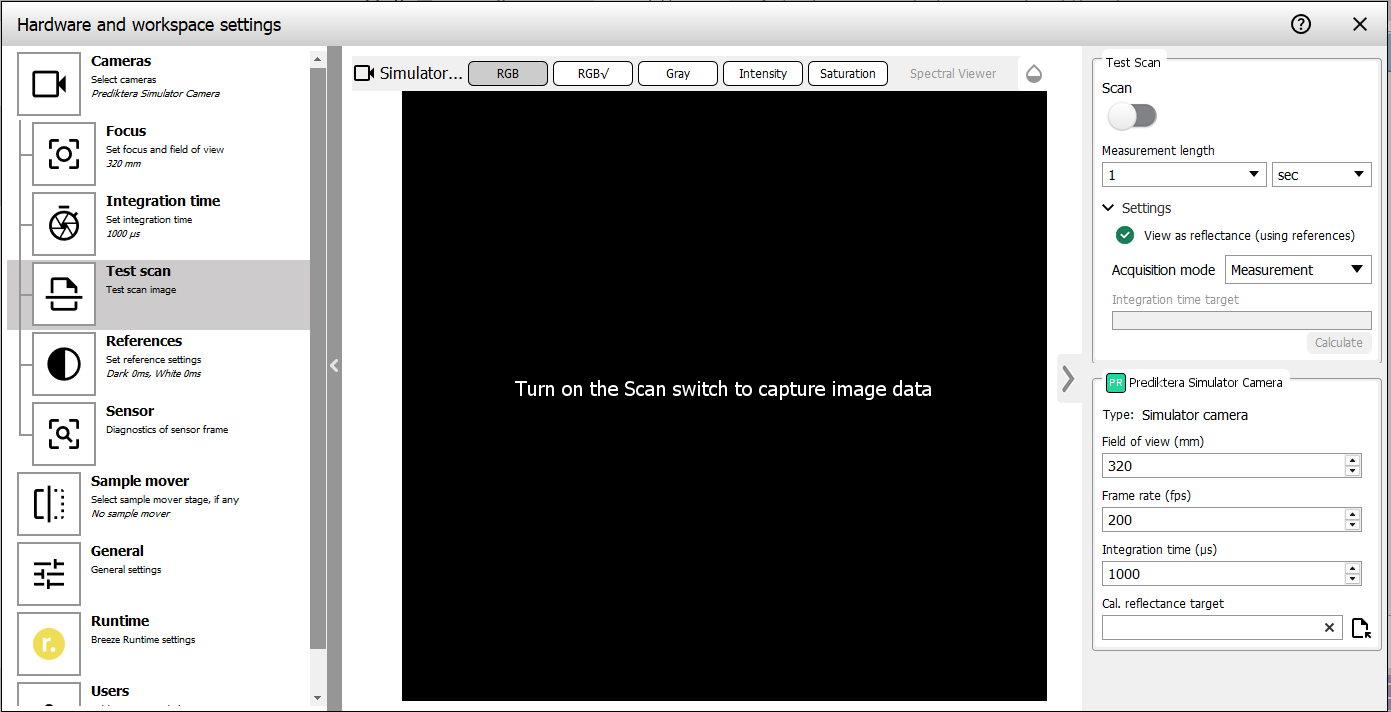
Specify the length of the test scan under Measurement Length. This is how long the image scan will be in millimeters, centimeters, frames or seconds.
Optionally, select the View as reflectance (using references), to convert the RAW signal to Reflectance using the most recent stored White Reference in Breeze. Learn more in Dark and White References.
Optionally, change Acquisition Mode to White reference, if you have a sample mover with a configured location for the White reference. Breeze will then move to that location when doing the test scan.
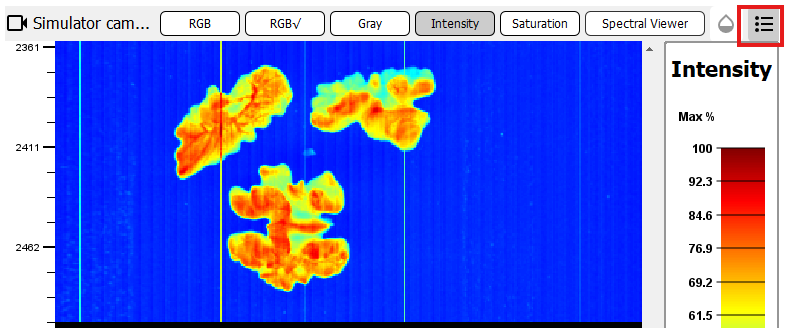
Toggle the Scan switch to start the recording. The test scan is visualized in real time. Use the buttons above the image to toggle between visualization modes. Press the Intensity button to view the signal intensity of your image. White areas indicate oversaturated pixels.

For Intensity and Saturation, you can toggle the legend to explain the coloring:
After the test scan is complete, you click the button to launch Spectral Viewer to quickly look at the data:

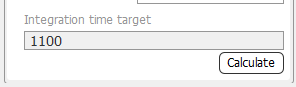
Optionally, after doing a test scan of the White Reference, you can click the Calculate button below Integration time target. This will estimate a good integration time that you can configure manually in the camera:
References
Press References button on the left side panel.
In the “Number of frames” field write how many frames will be captured when taking the references.
The “White Reference scan length” is how many mm it will scan when taking the white reference.

Breeze can to either capture new references with every new scan, or used stored references for a set time. In the “Select the reference capture mode” for the white and dark references you can select this. When selecting the “Used stored” option you can then select the time that the references are stored in the two input fields. When the time specified has expired Breeze will automatically take new references. If the values are 0 (default), it will take a new white and dark reference for every new scan.
For dark reference we recommend taking a new dark reference for every scan.
For the White reference you can select “Disabled”. This means it will not capture a separate white reference.
Example below, the white reference will be stored for two hours before it will take a new reference.
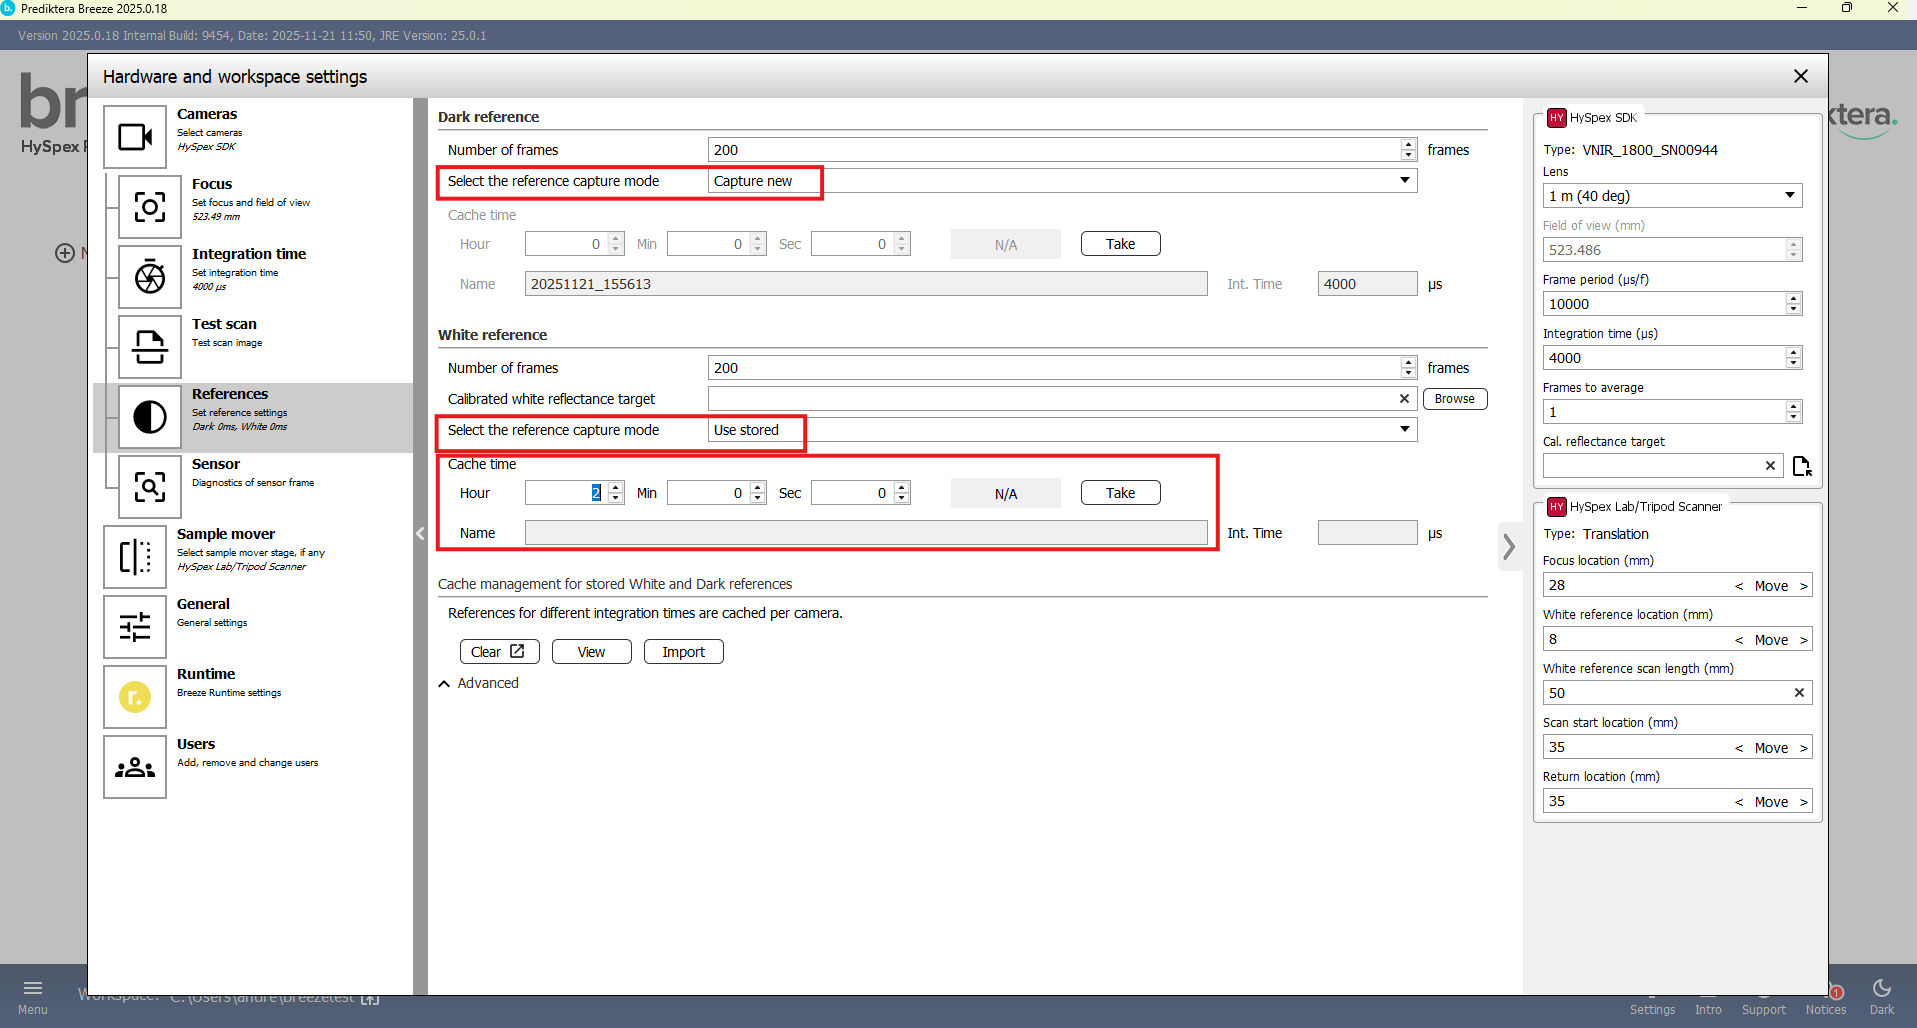
Learn more in Dark and White References.
Sensor
The Sensor tab can be used for technical testing of the sensor in a camera, to identify bad or dead pixels.
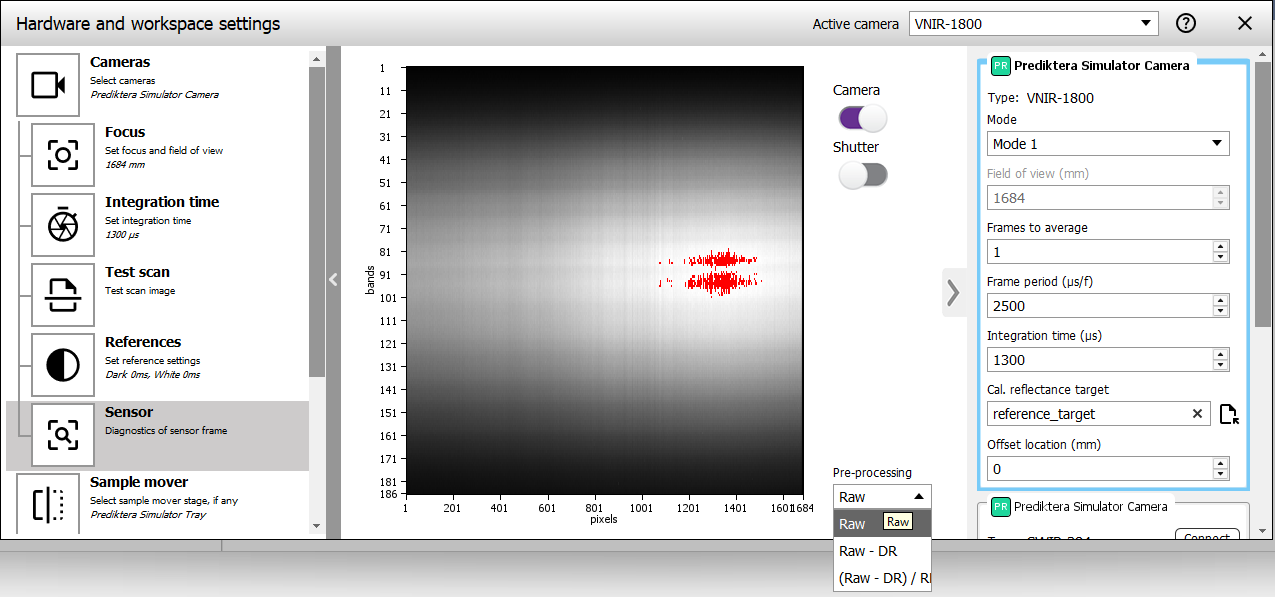
The pixels are visualized from left to right. The different wavelength bands of the camera are stacked vertically.
Turn on the Camera switch to start capturing image data from the sensor. Saturated pixels are highlighted red.
Use the Shutter switch to close the shutter, if the camera has an automatic shutter. When the shutter is closed, the image should be uniform if all sensor pixels are nominal. Vertical bands indicate bad pixels.
Optionally, you can switch pre-processing to visualize Raw data from the sensor or adjust it with the Dark Reference (DR) and RE matrix (for HySpex cameras).
You have now completed the camera and sample mover setup.
For more information regarding recording images see the article: Recorder guide