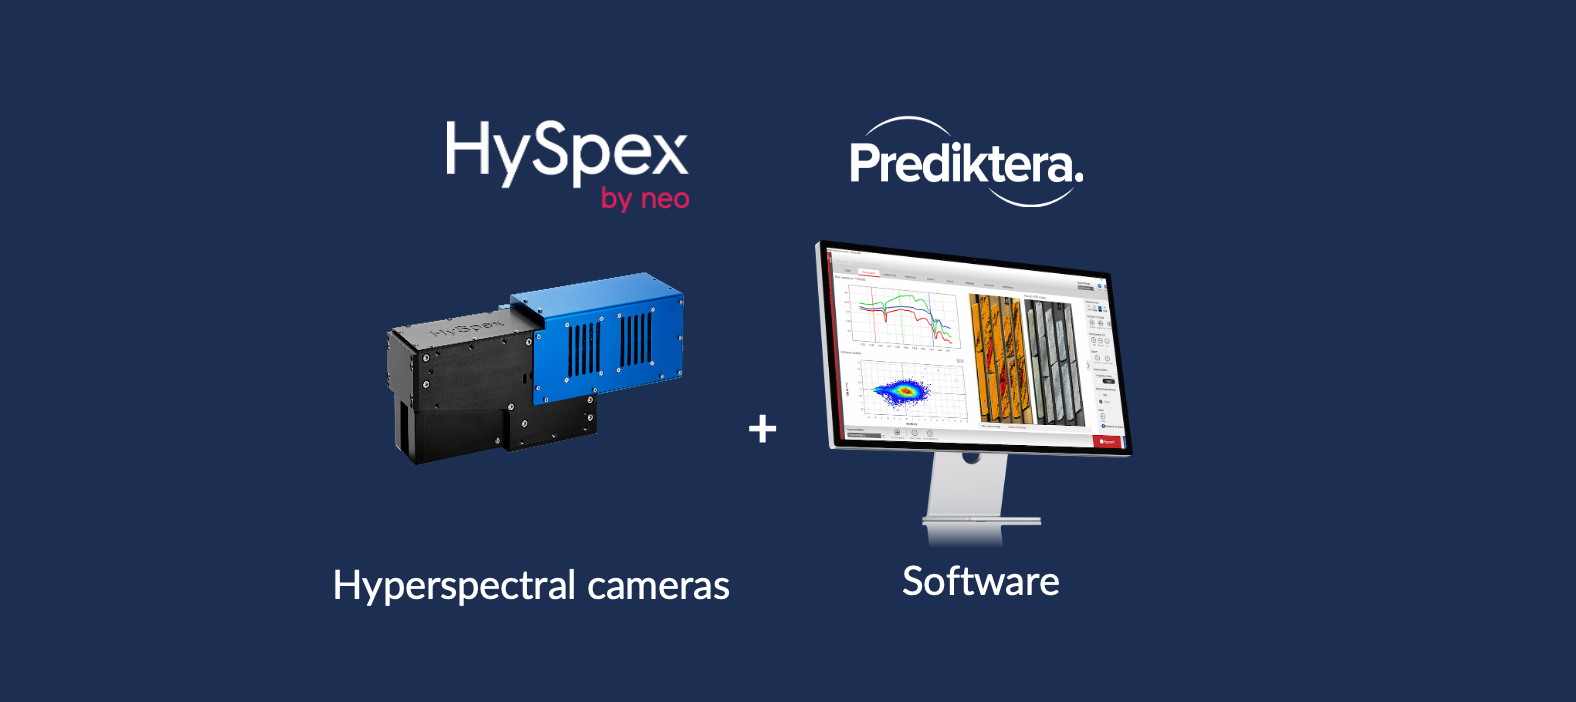
Install Breeze
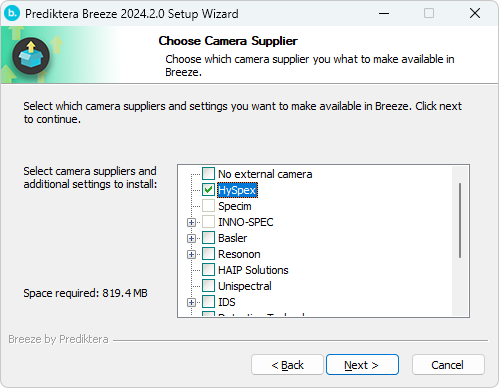
Select HySpex camera in supplier list in the installation wizard for Windows
Connect to HySpex camera
These instructions assume that all hardware components have been physically connected and turned on.
Start Breeze
The start menu should look like this
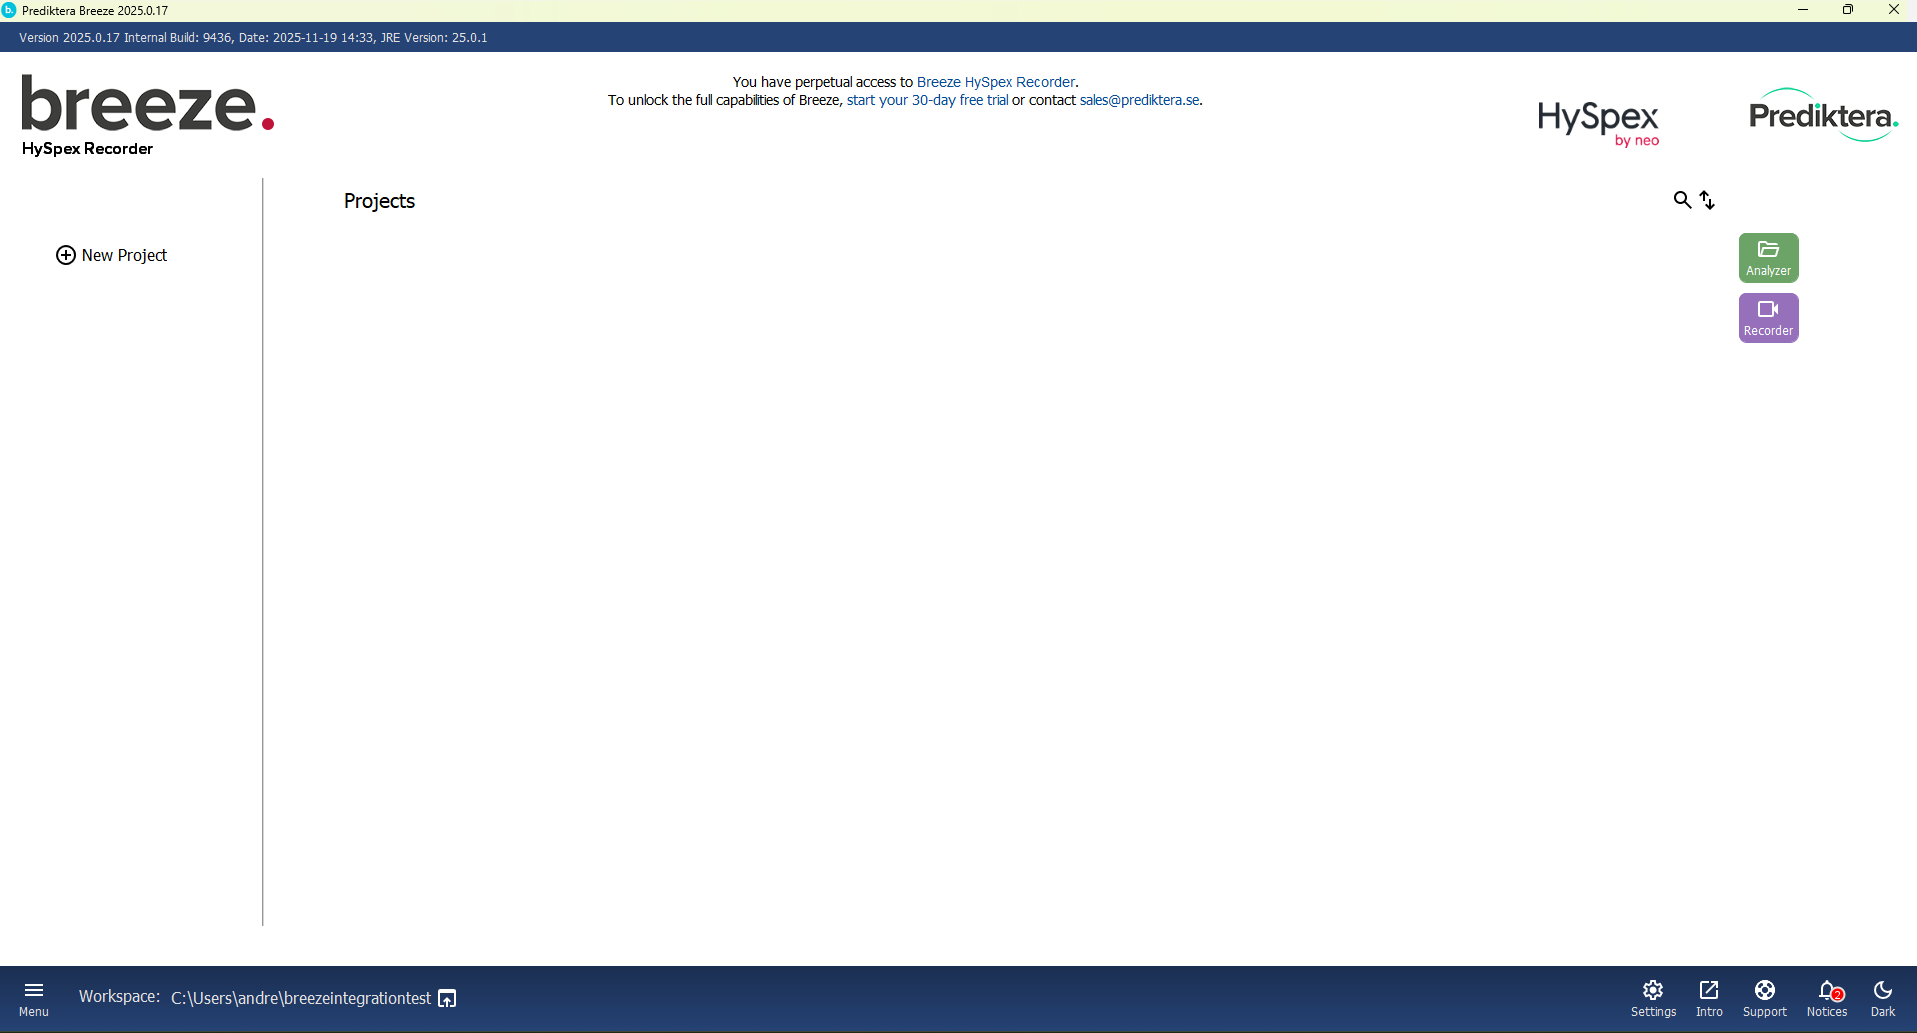
To configure the settings of your camera and scanner, press the “Settings” button.
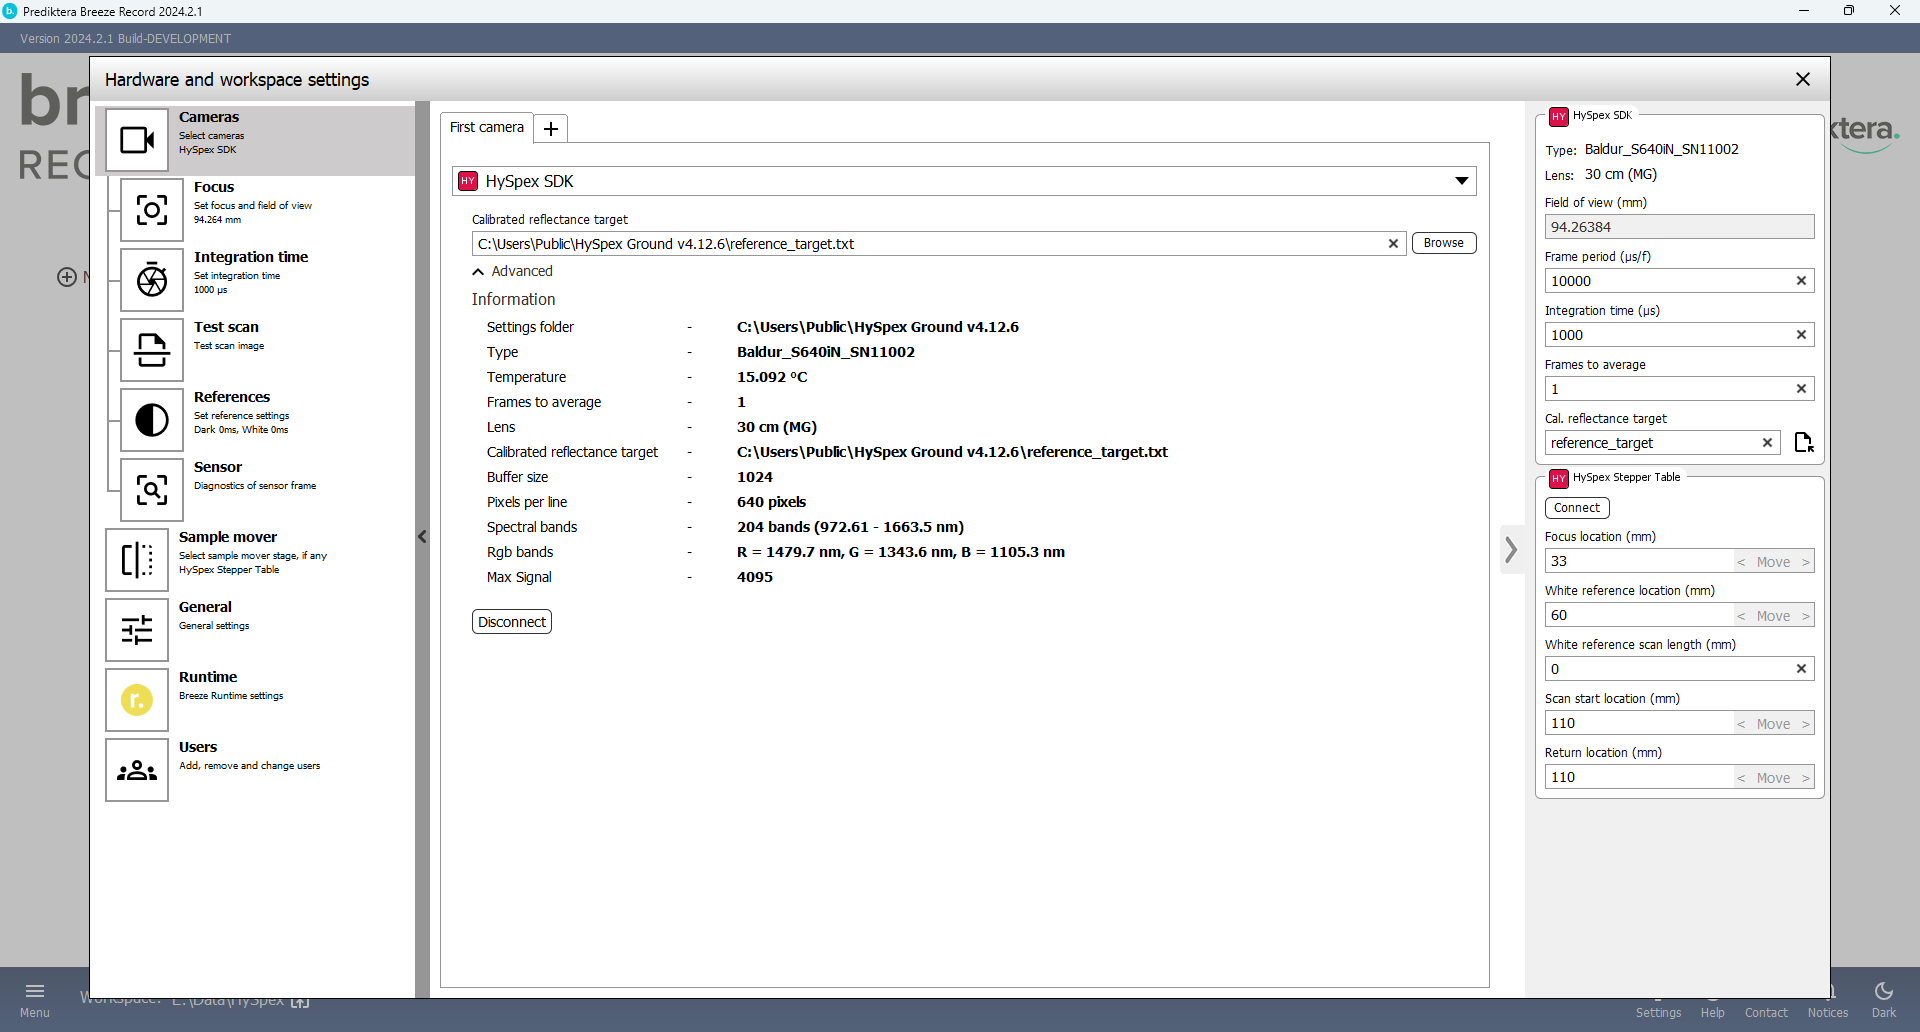
Under “Cameras” and “First camera” open the drop-down menu and select “HySpex SDK”.
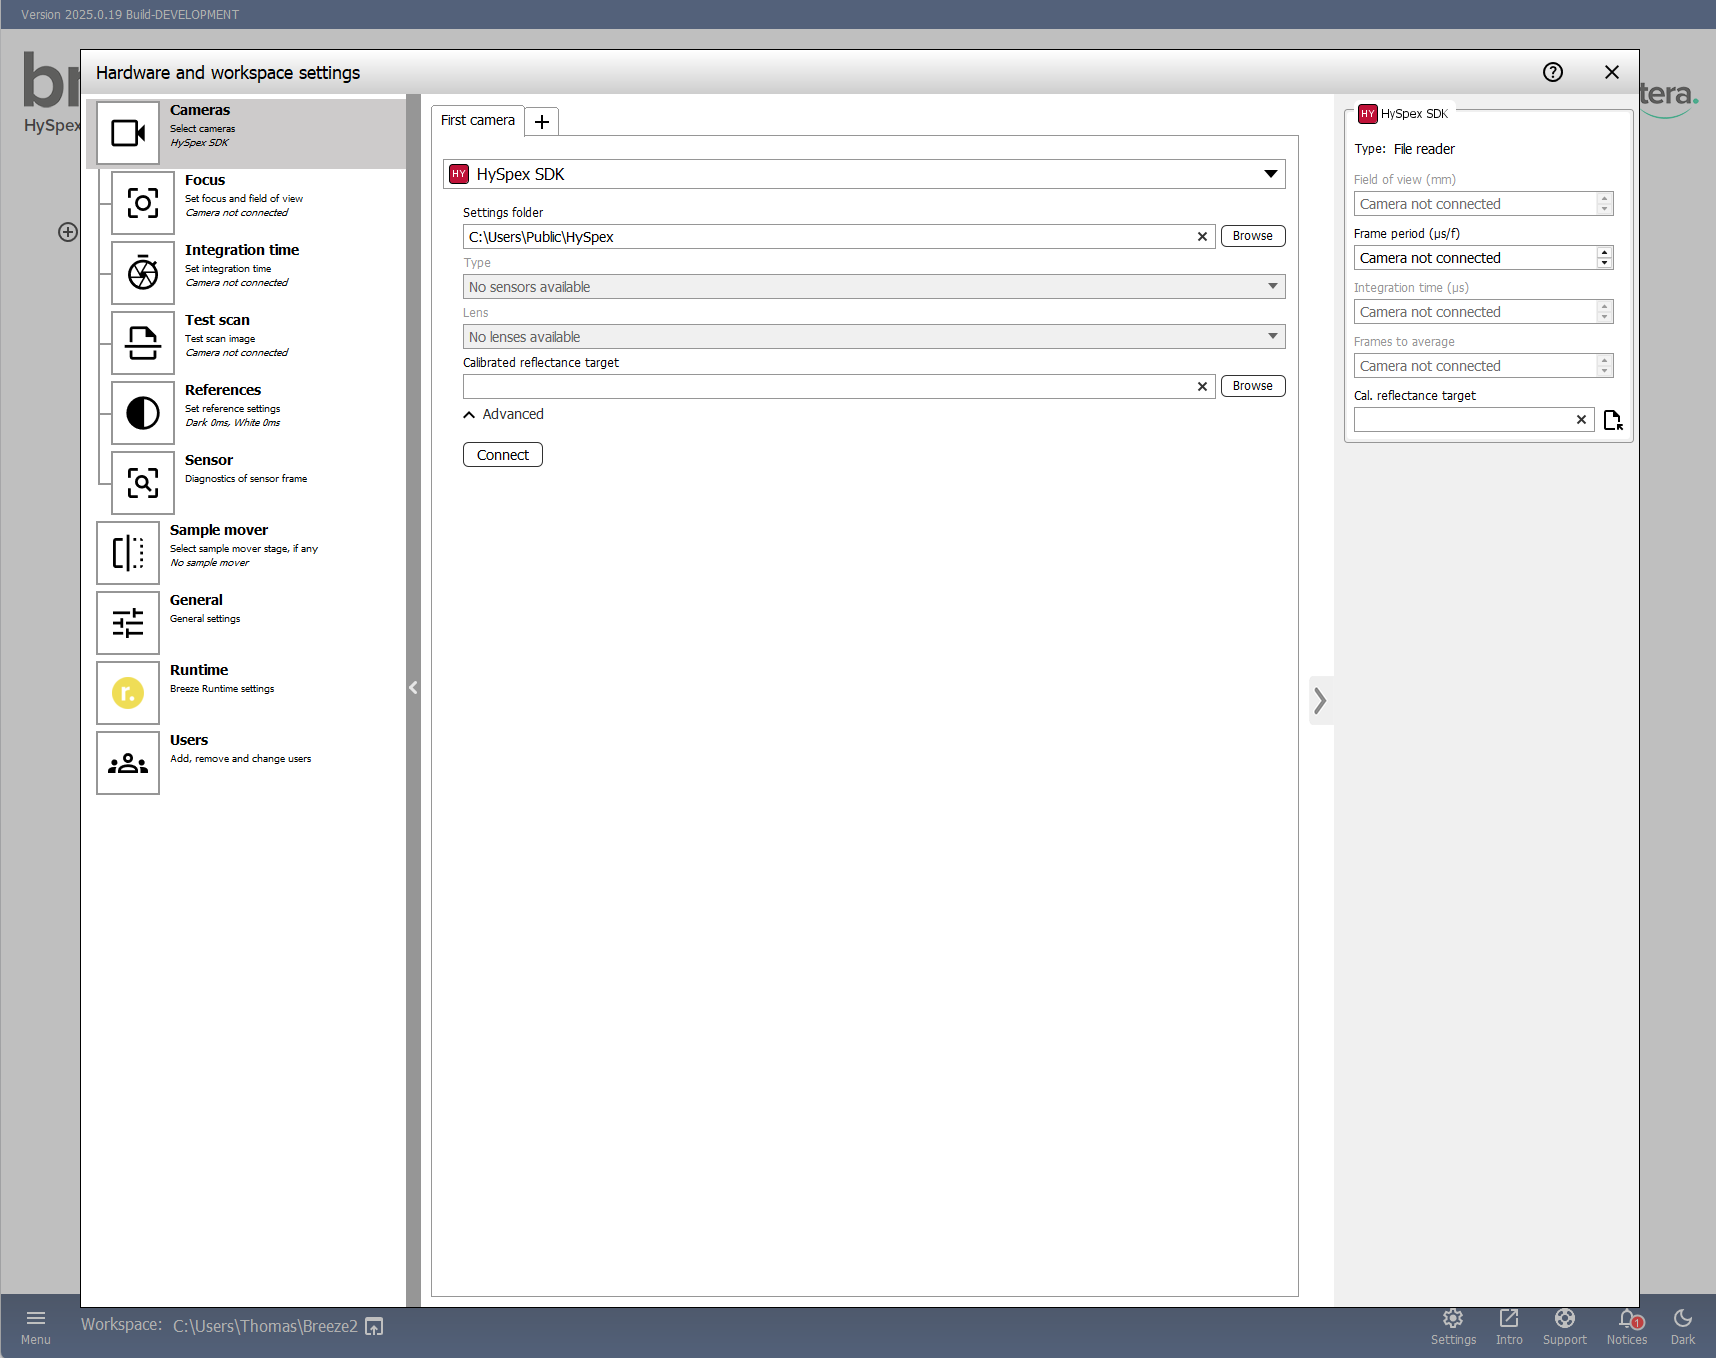
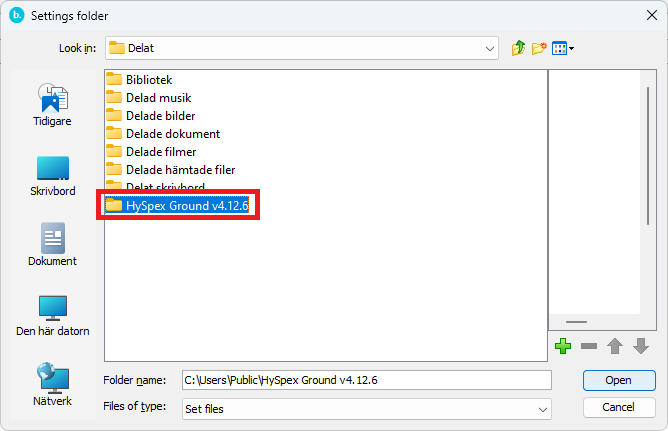
After you have selected the HySpex SDK, you need to find the HySpex Ground folder. Press the “Browse” button to the right of the “Settings folder”.
Locate the HySpex Ground folder. If you have purchased a computer from HySpex with the camera setup the folder is usually located on the desktop of the computer. When you have located the folder press “Open”.
Wait until the camera has been found. You should then see the name of your camera under “Type” (If you have more then one camera turned on and connected you can press the drop-down menu to see the different cameras).
In “Lens” you can select which type of lens you have attached to the camera.
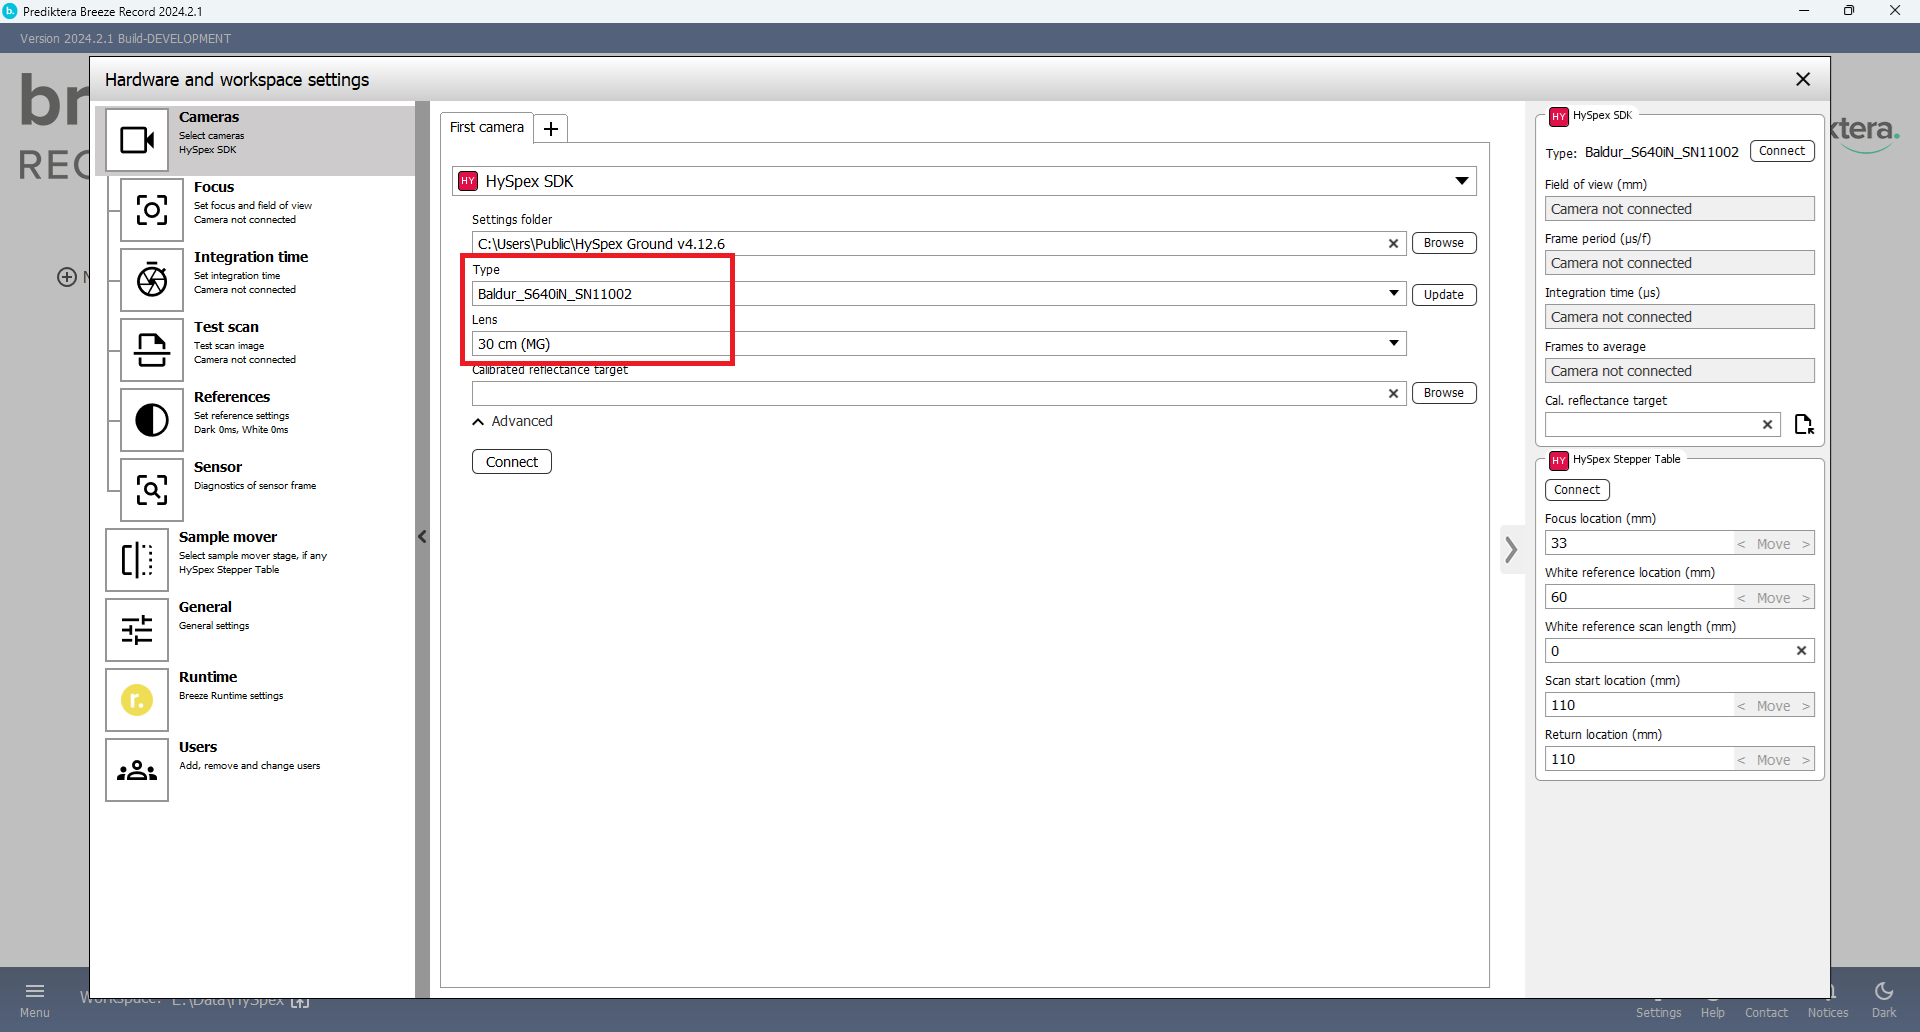
In “Calibrated reflectance target” select the calibration file for the reference target (white/gray reference) you will be using.
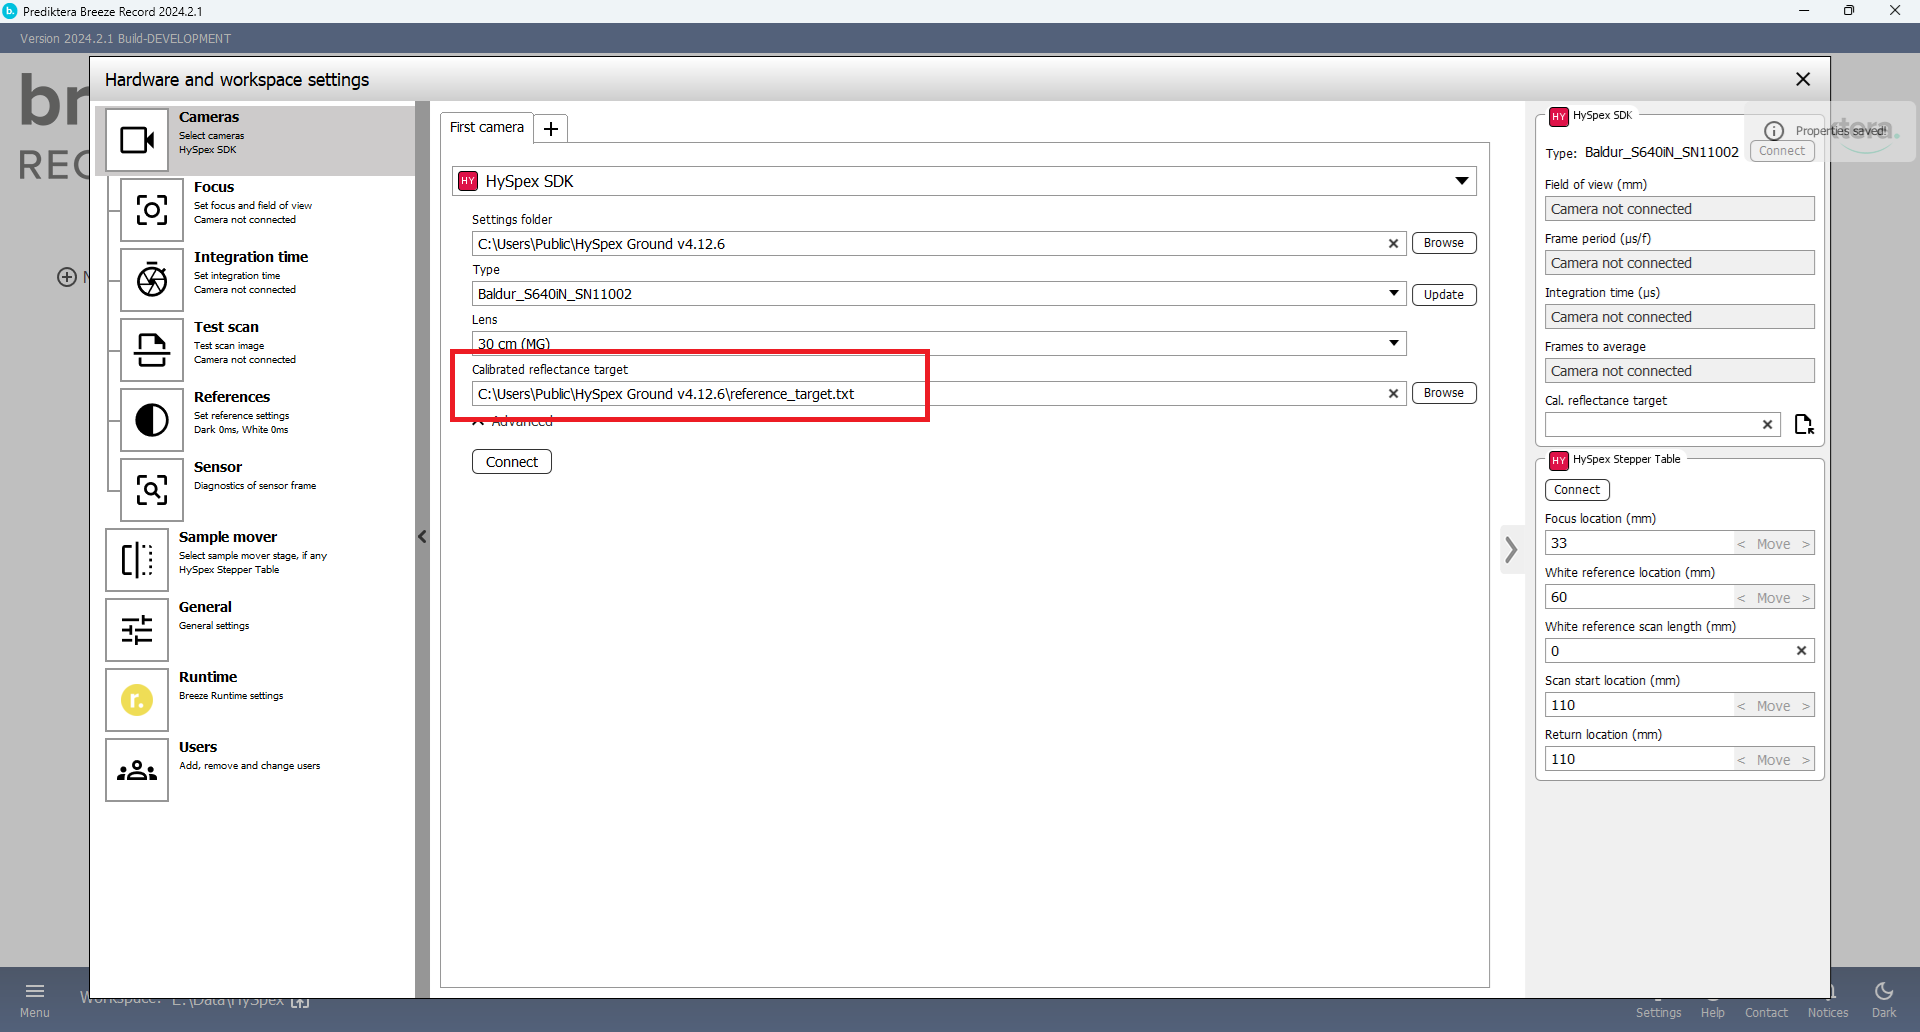
Press the “Connect” button.
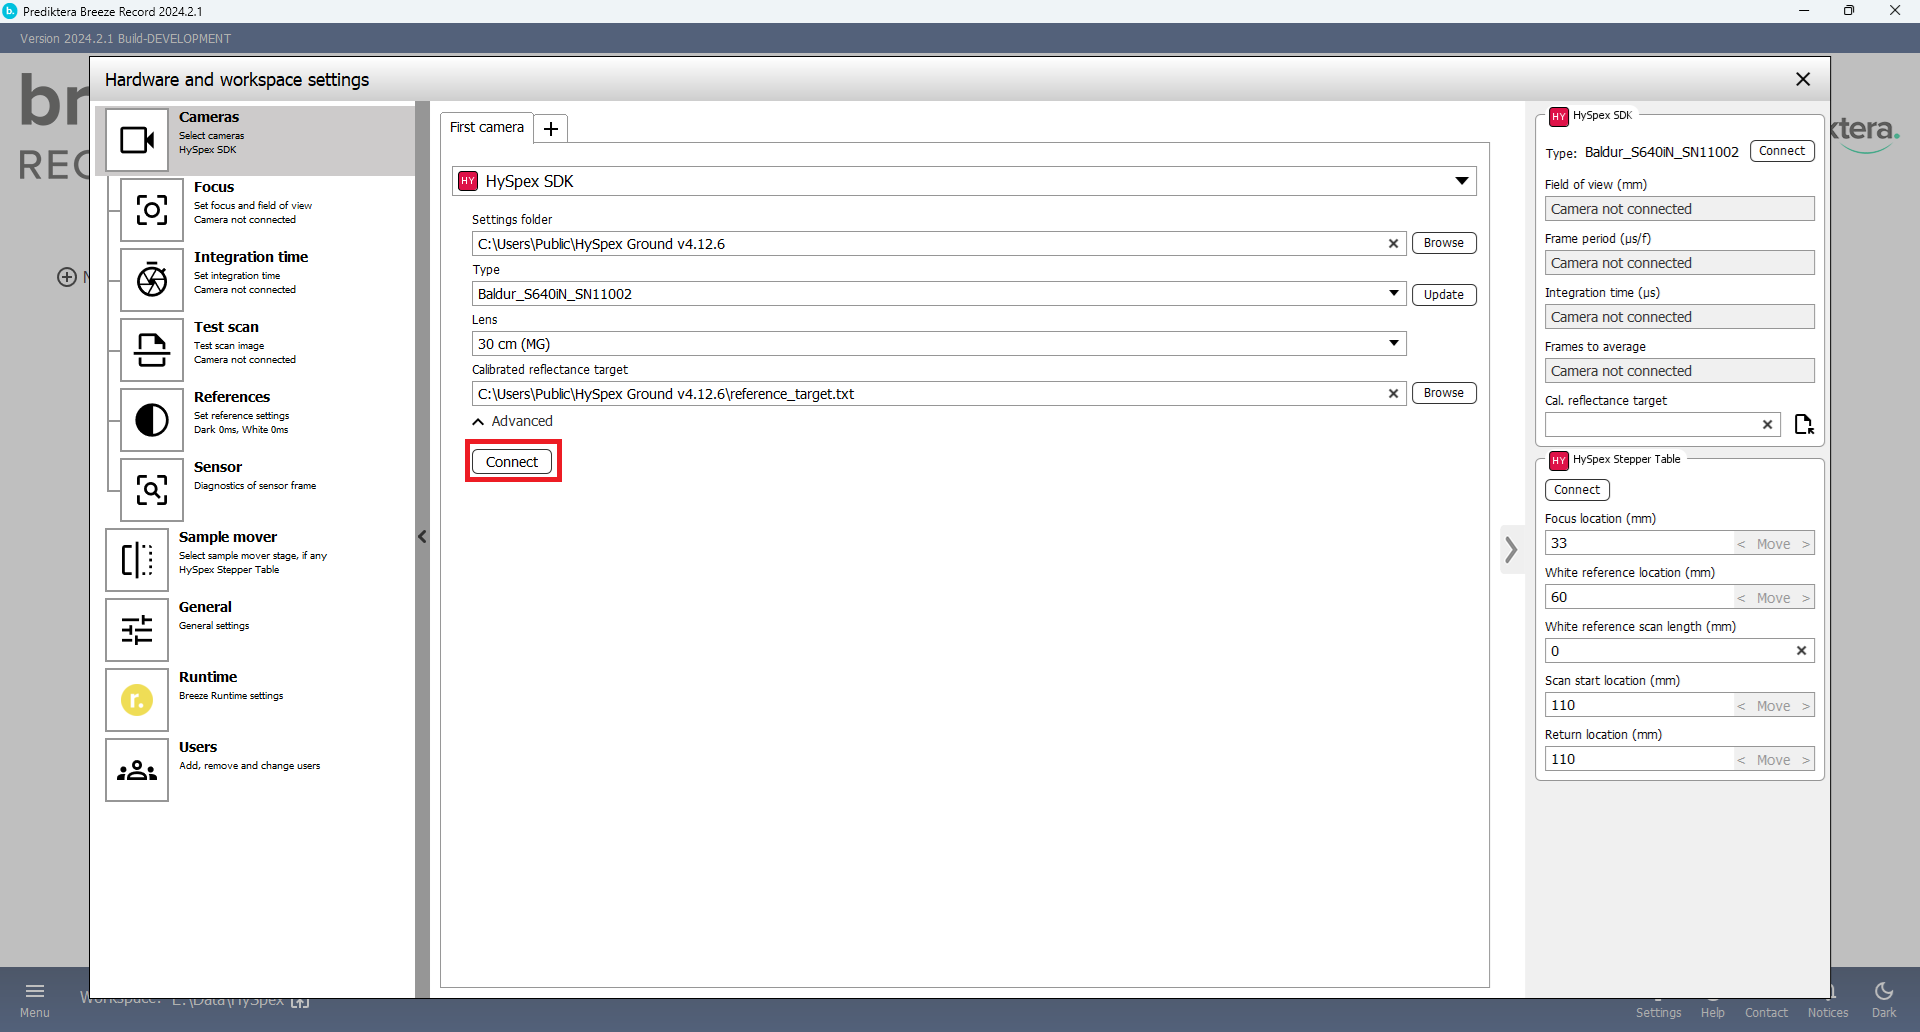
If you connected successfully you should see the camera information.
Connecting scanner table
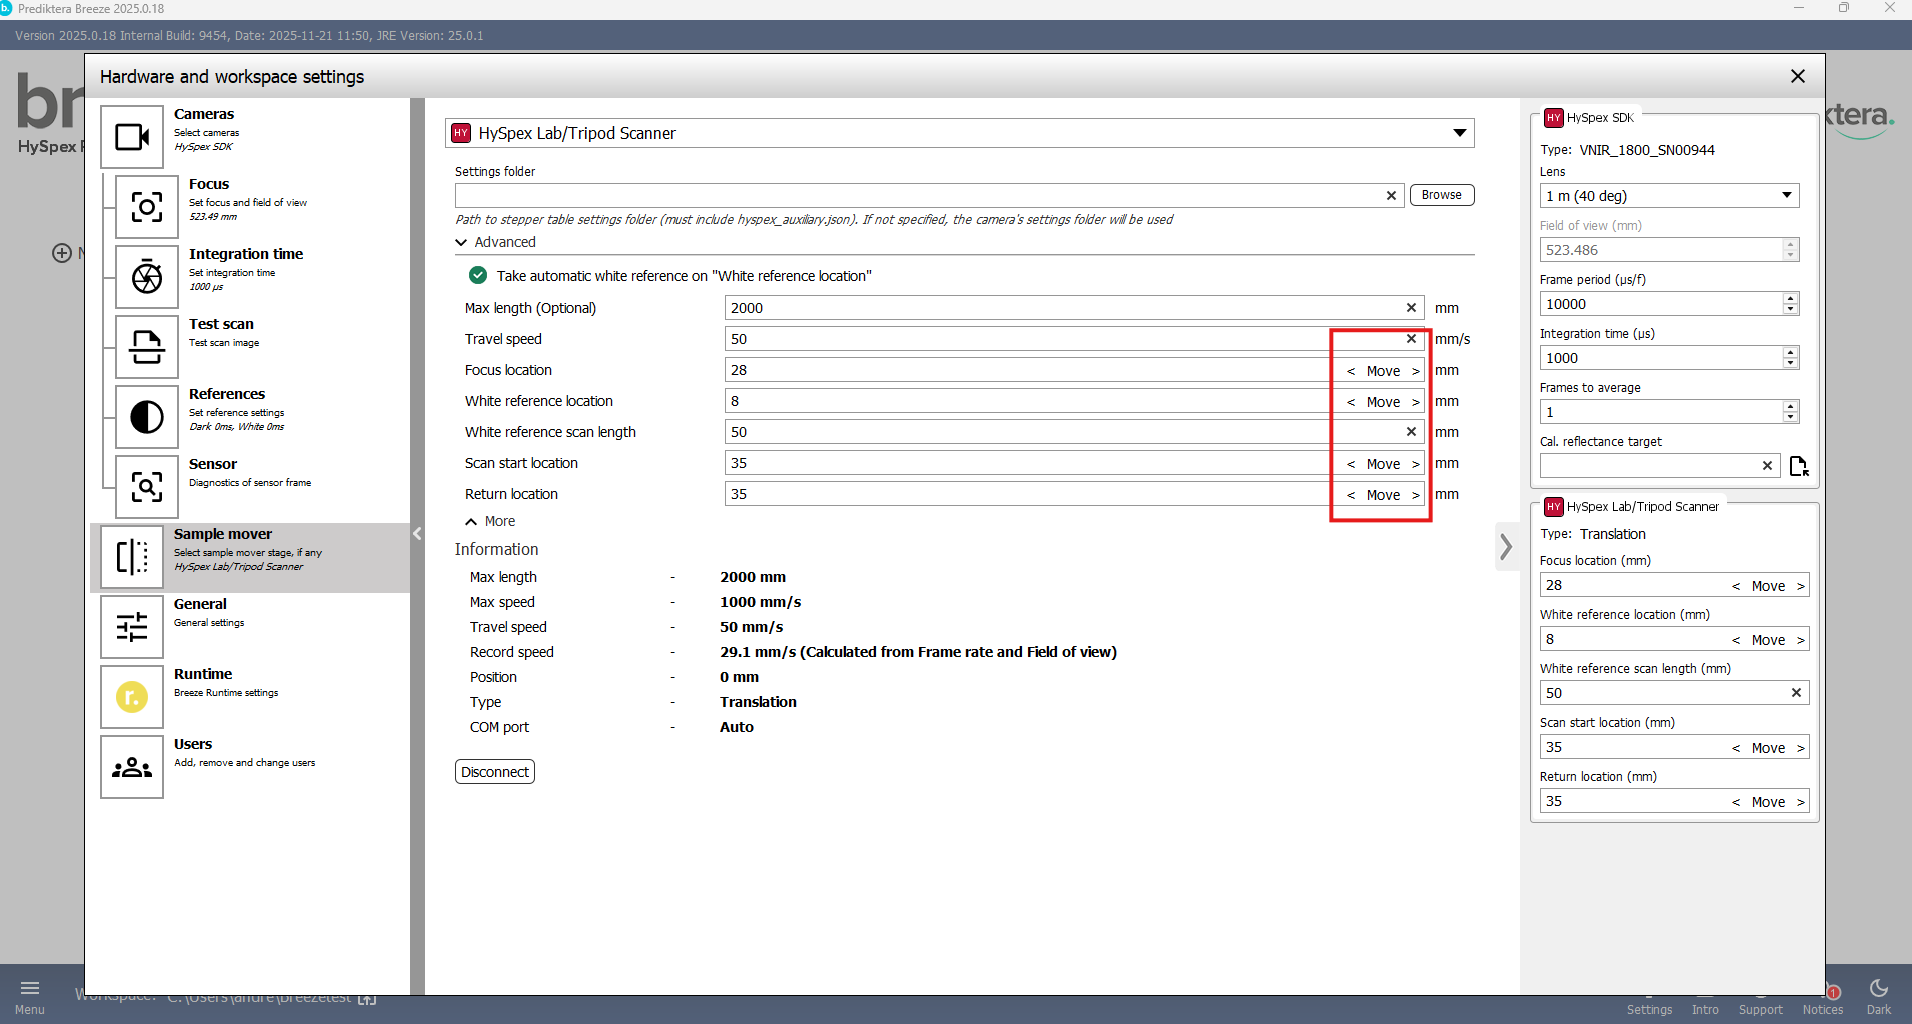
Under “Sample Mover” press the drop-down menu and select “HySpex Lab / Tripod Scanner”
Then press “Connect”.

Under “Advanced” you can set different locations on the table.
-
Focus location (Optional) - Position of a focus grid that can help adjust the focus.
-
White reference location (Optional) - Location of the white reference target on the table. By checking the option “Take automatic white reference on “White reference location”, it will go to the set position to take a new white reference.
-
White reference scan length - How long you should measure the white reference in mm (Recommended around 50 mm)
-
Scan start location - Where Breeze Recorder should start the data acquisition on the table
-
Return location - The location where the table moves back to after recording (We recommended using the same for start and return location)
If you press the “Move to” buttons the table will move to the set location.
Connection troubles
If you have trouble connecting to either the cameras or the table, start by making sure all cables are firmly connected and the power is on. Make sure you do not have the “HySpex Ground” program open at the same time as Breeze. Close down and restart Breeze.
If you still have a problem connecting the camera. Close Breeze and start the HySpex Ground software. If you can't connect to the cameras in HySpex Ground contact HySpex support at hyspexsupport@neo.no.
If you can connect to the cameras and tables in HySpex Ground but not in Breeze, contact Prediktera Support at https://prediktera.com/support.
Follow this article for additional information on device configuration: Hardware and settings guide