Connect to camera
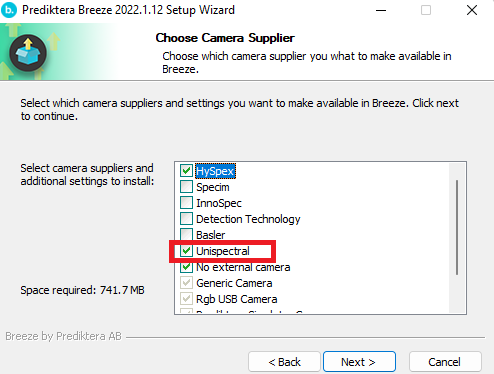
First, when you install Breeze you need to check the box for Unispectral.
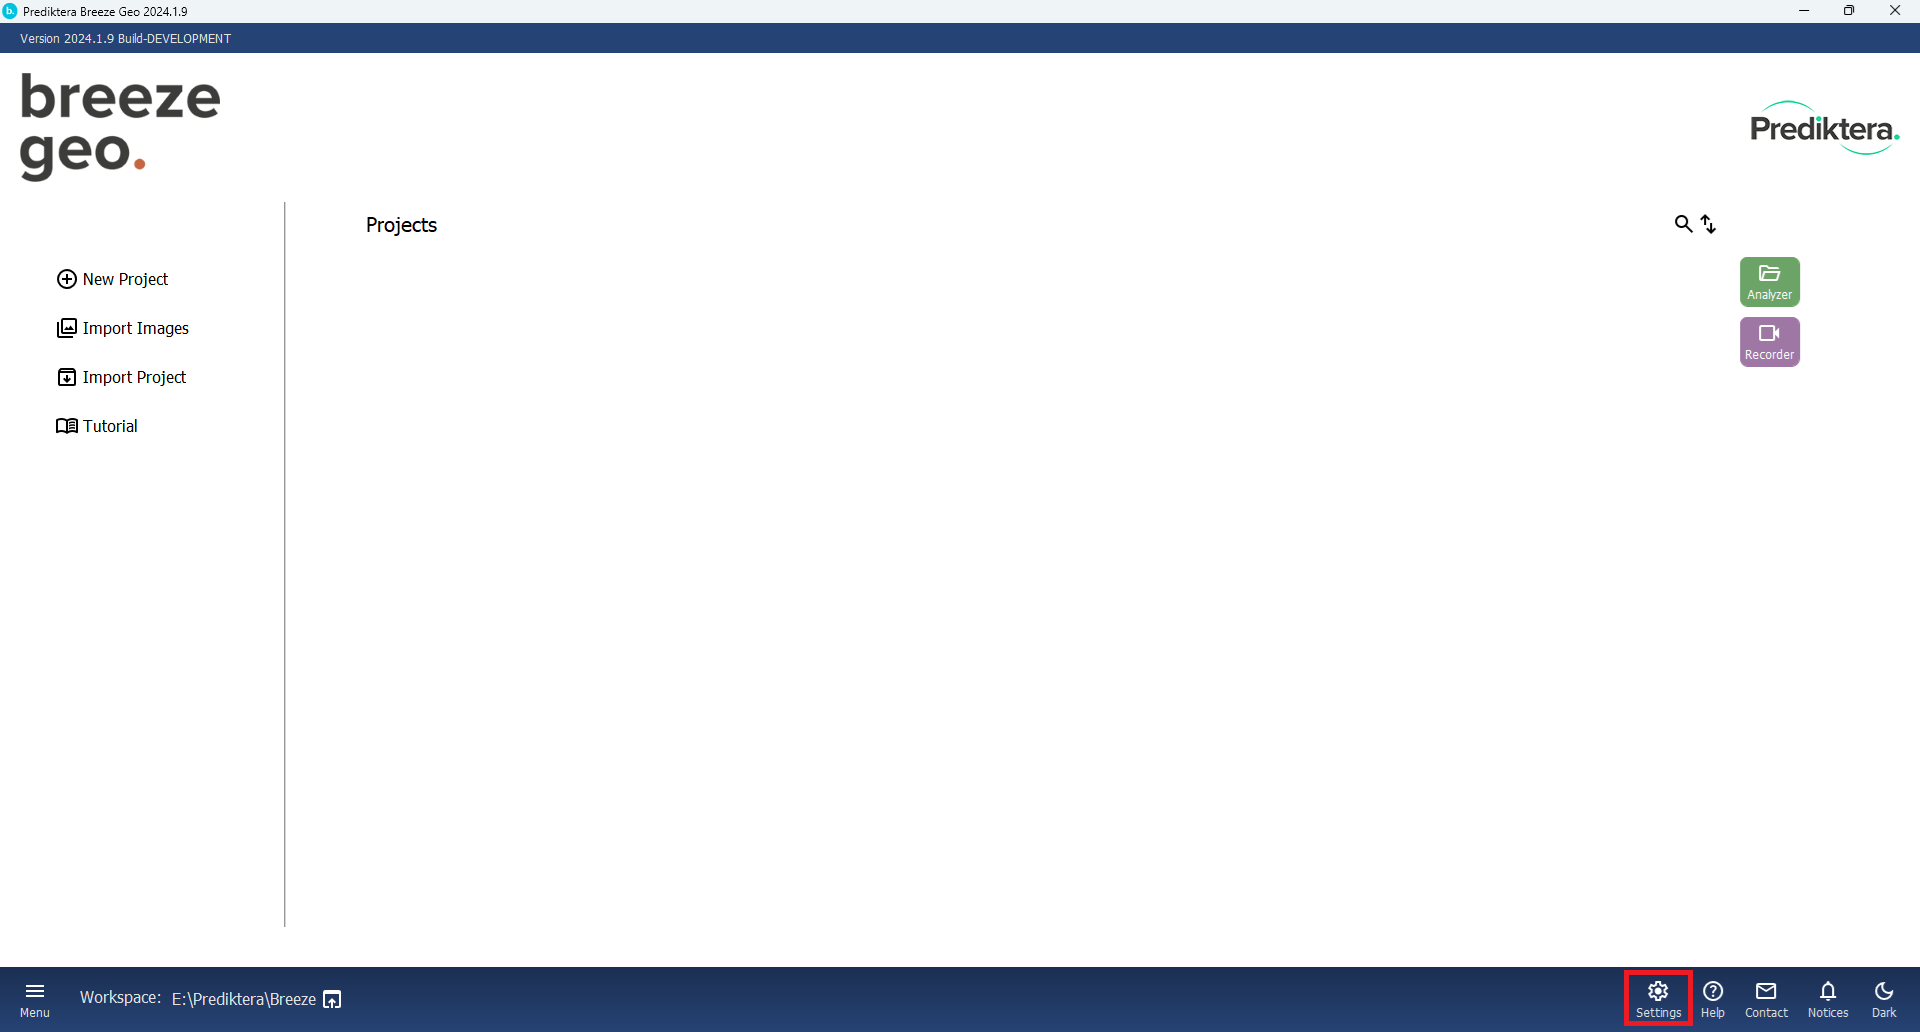
When you have opened Breeze go to Settings
Press “Hardware” in the menu to the left
In the drop-down menu at the top select “Unispectral camera”
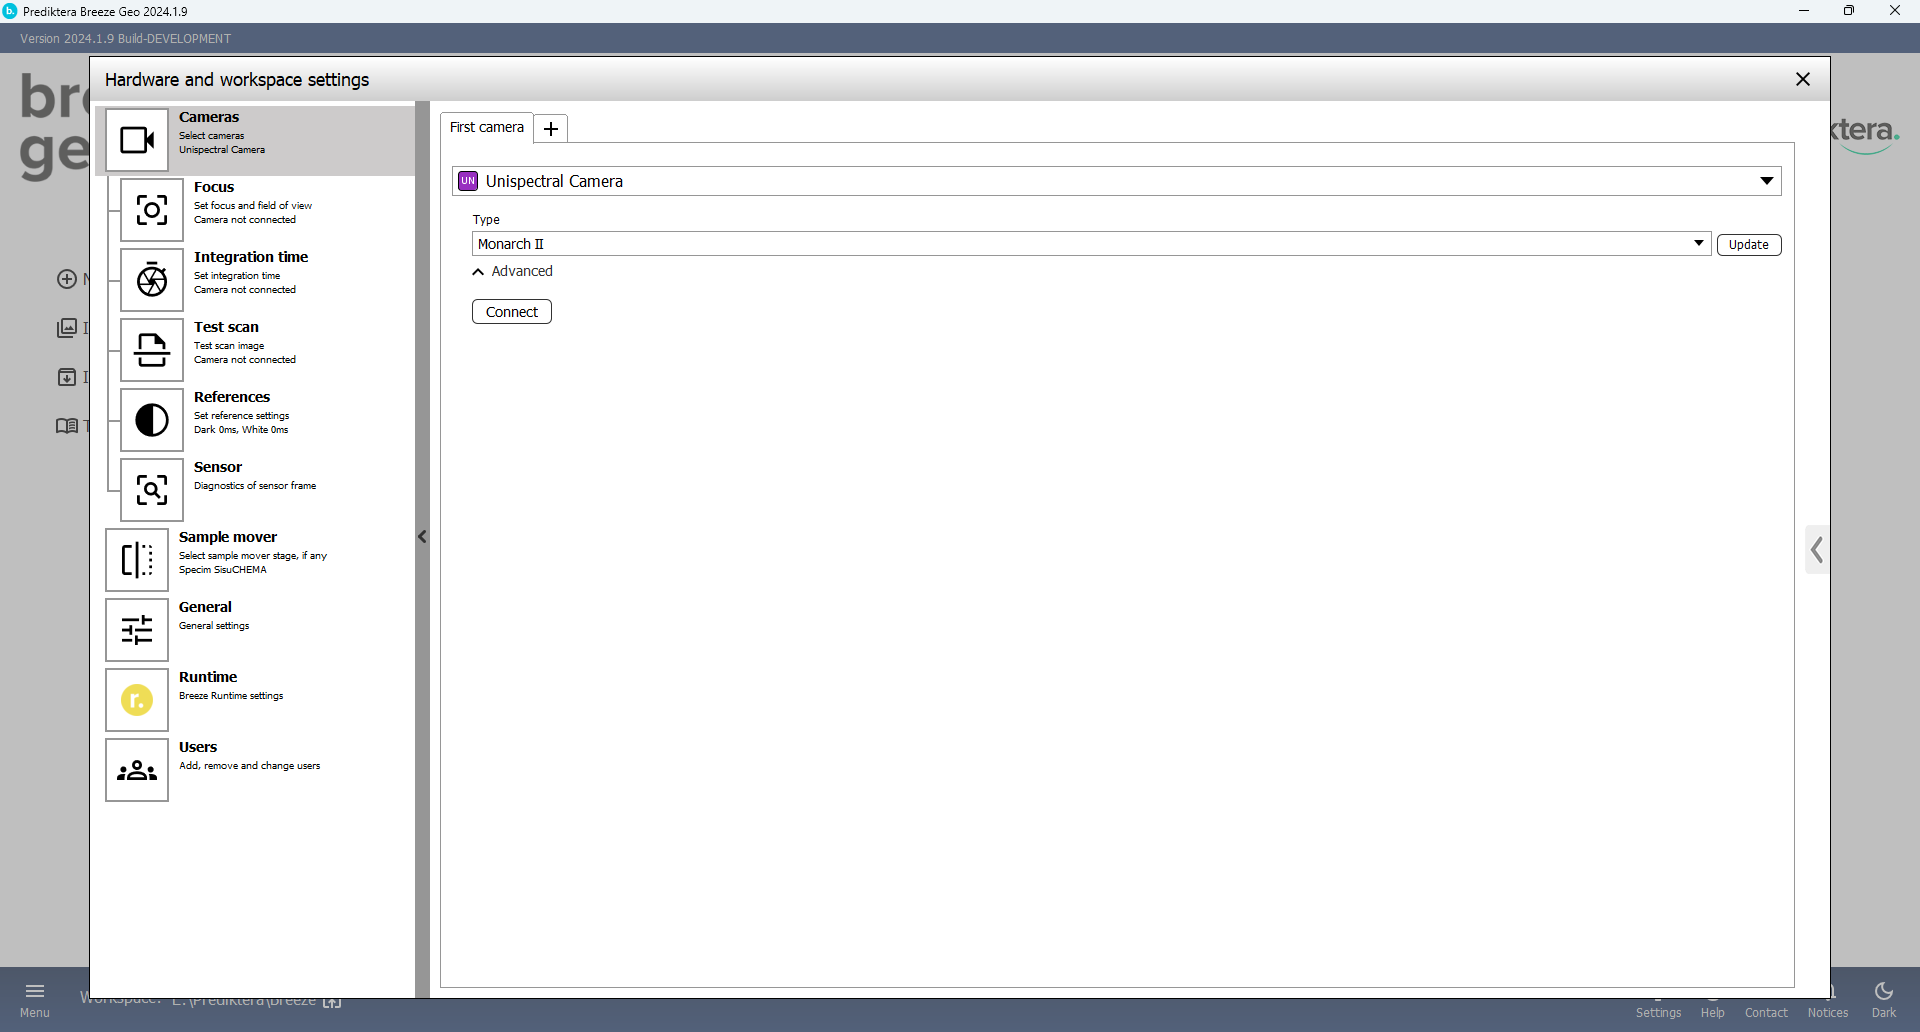
Make sure the camera is connected to the computer, update any settings and then press the connect button

Set the gain value to the camera module to any value 1.0-10.0
Default dark reference value will be used as static value for the dark reference (max signal 1024)
The connection process takes a while as the camera initializes and warms up, this is expected.
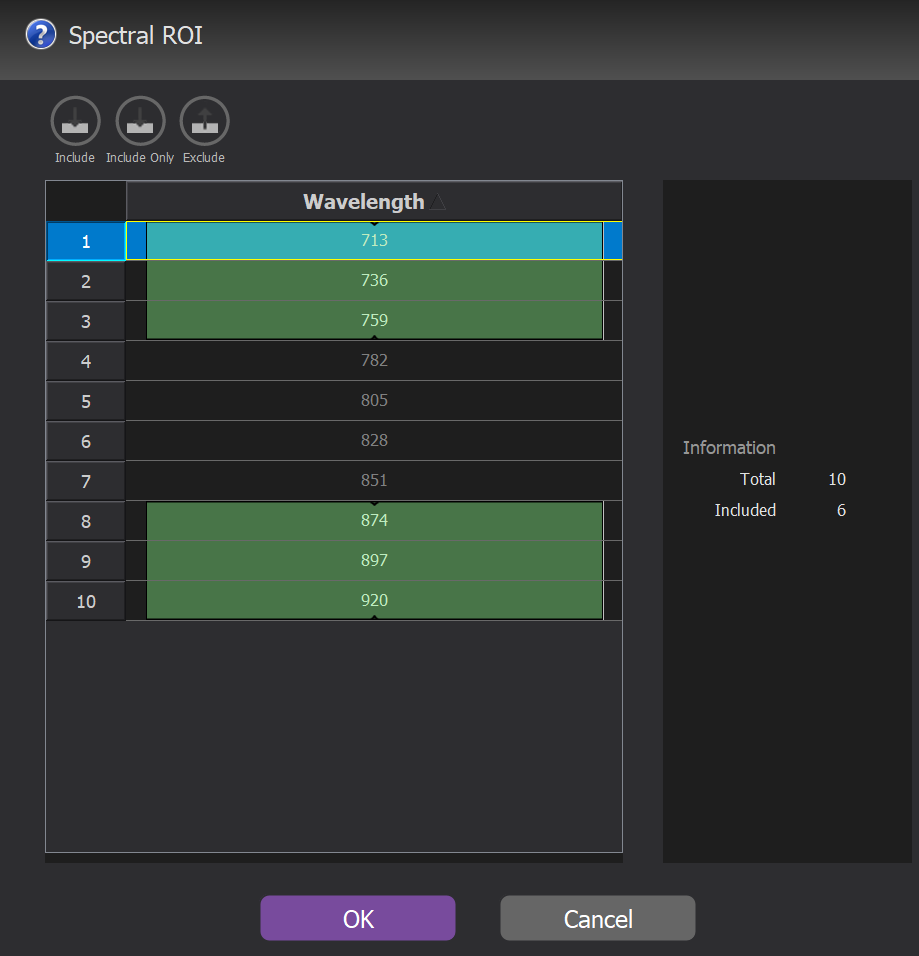
When the camera is connected you can make some advance settings changes, such as specifying a spectral region of interest, press the Edit button:

And select which wave lengths you wish to include in your recordings:
The Frame rate is for number of snapshot images per seconds, and should not be a very high number
60 FpS on monoband mode, 25 FpS on dual band mode
Configuration
Default dark reference value
Value to use as dark reference across all bands, default 64.
Gain
Gain is a configuration setting that amplifies the sensor's signal across all spectral bands. It's essentially a multiplier that increases the brightness level of the images your camera captures.
Set the gain value to the camera to any value 1.0-10.0
Why Adjust Gain?
Adjusting the gain helps in improving the signal-to-noise ratio (SNR) of your images, making it easier to distinguish the subject matter from background noise. This is especially critical in low-light conditions or when capturing subtle features. However, it's a balancing act; too much gain can result in saturation and loss of detail, whereas too little gain may lead to insufficient image brightness and poor SNR.
Quick Tips
-
Calibrate Carefully: Gain is not a one-size-fits-all setting. It should be calibrated based on your specific application and environmental conditions.
-
Avoid Saturation: Excessive gain can wash out your image. If your camera provides a real-time histogram, use it to guide your gain adjustments.
Record images
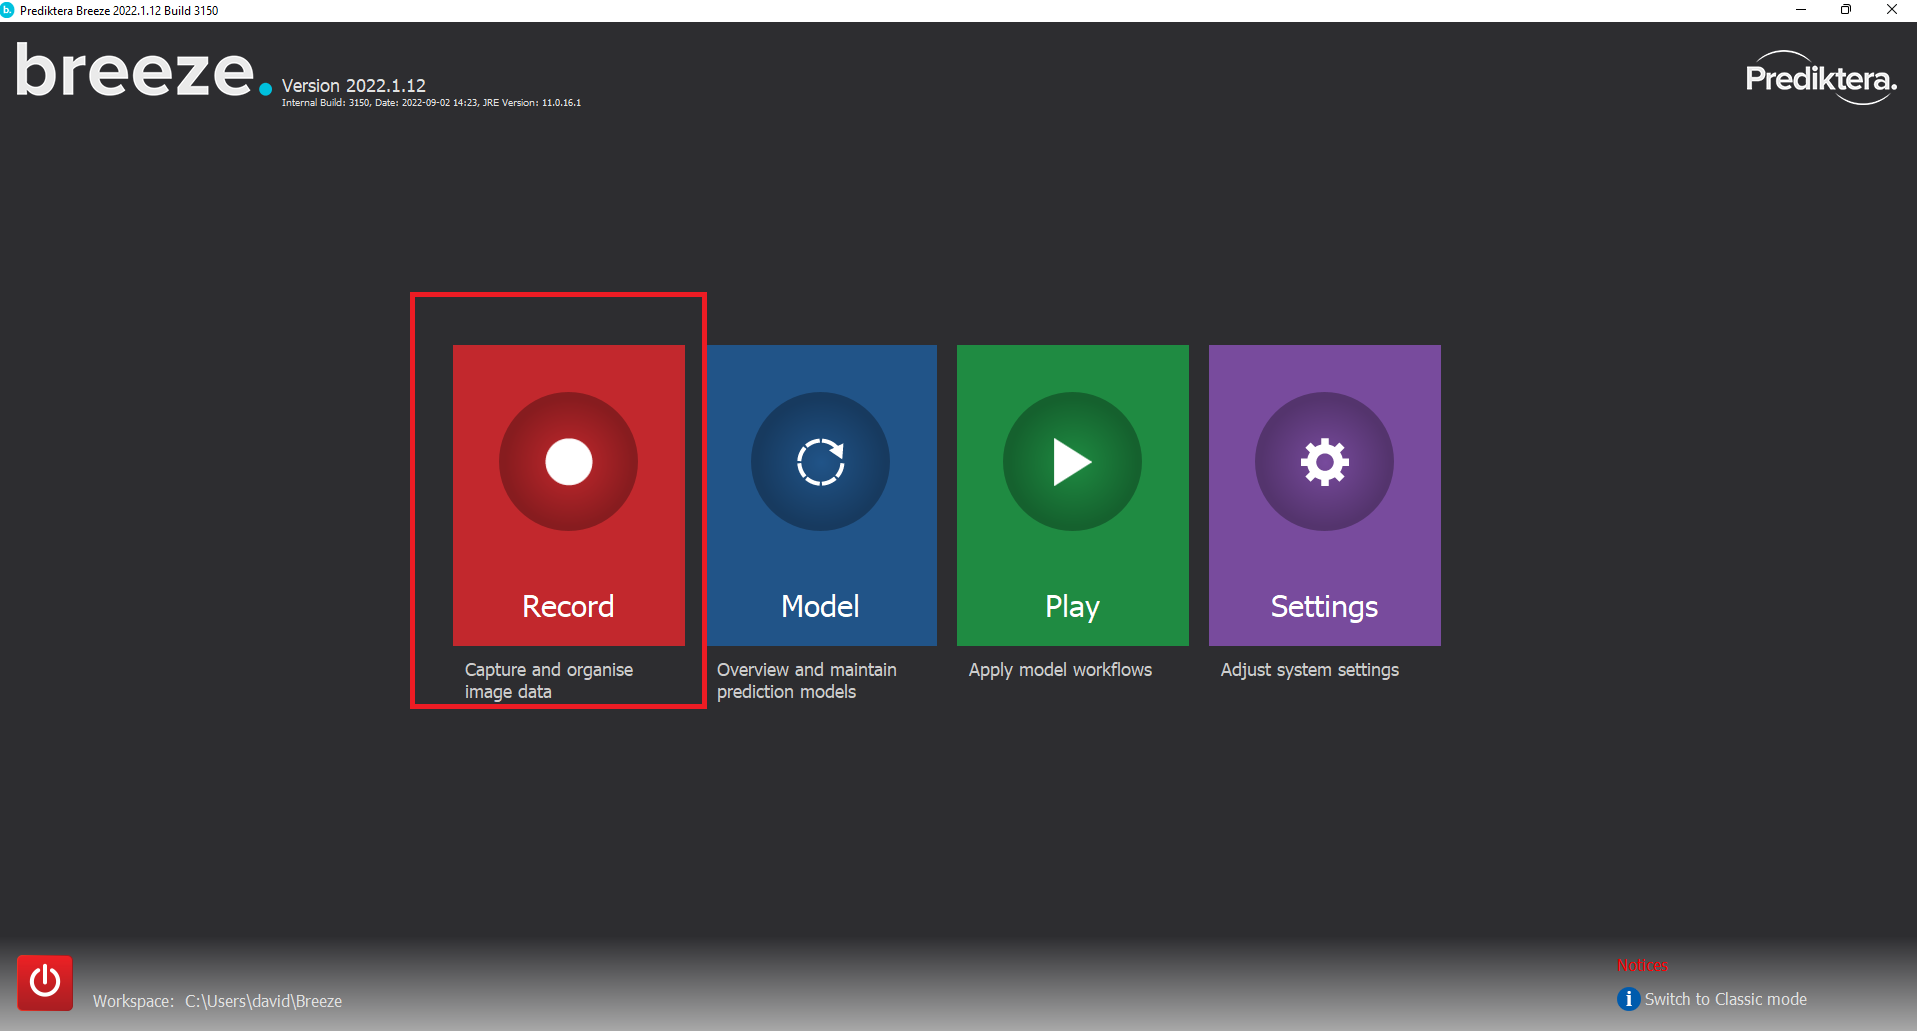
Create a project and Press the record button.
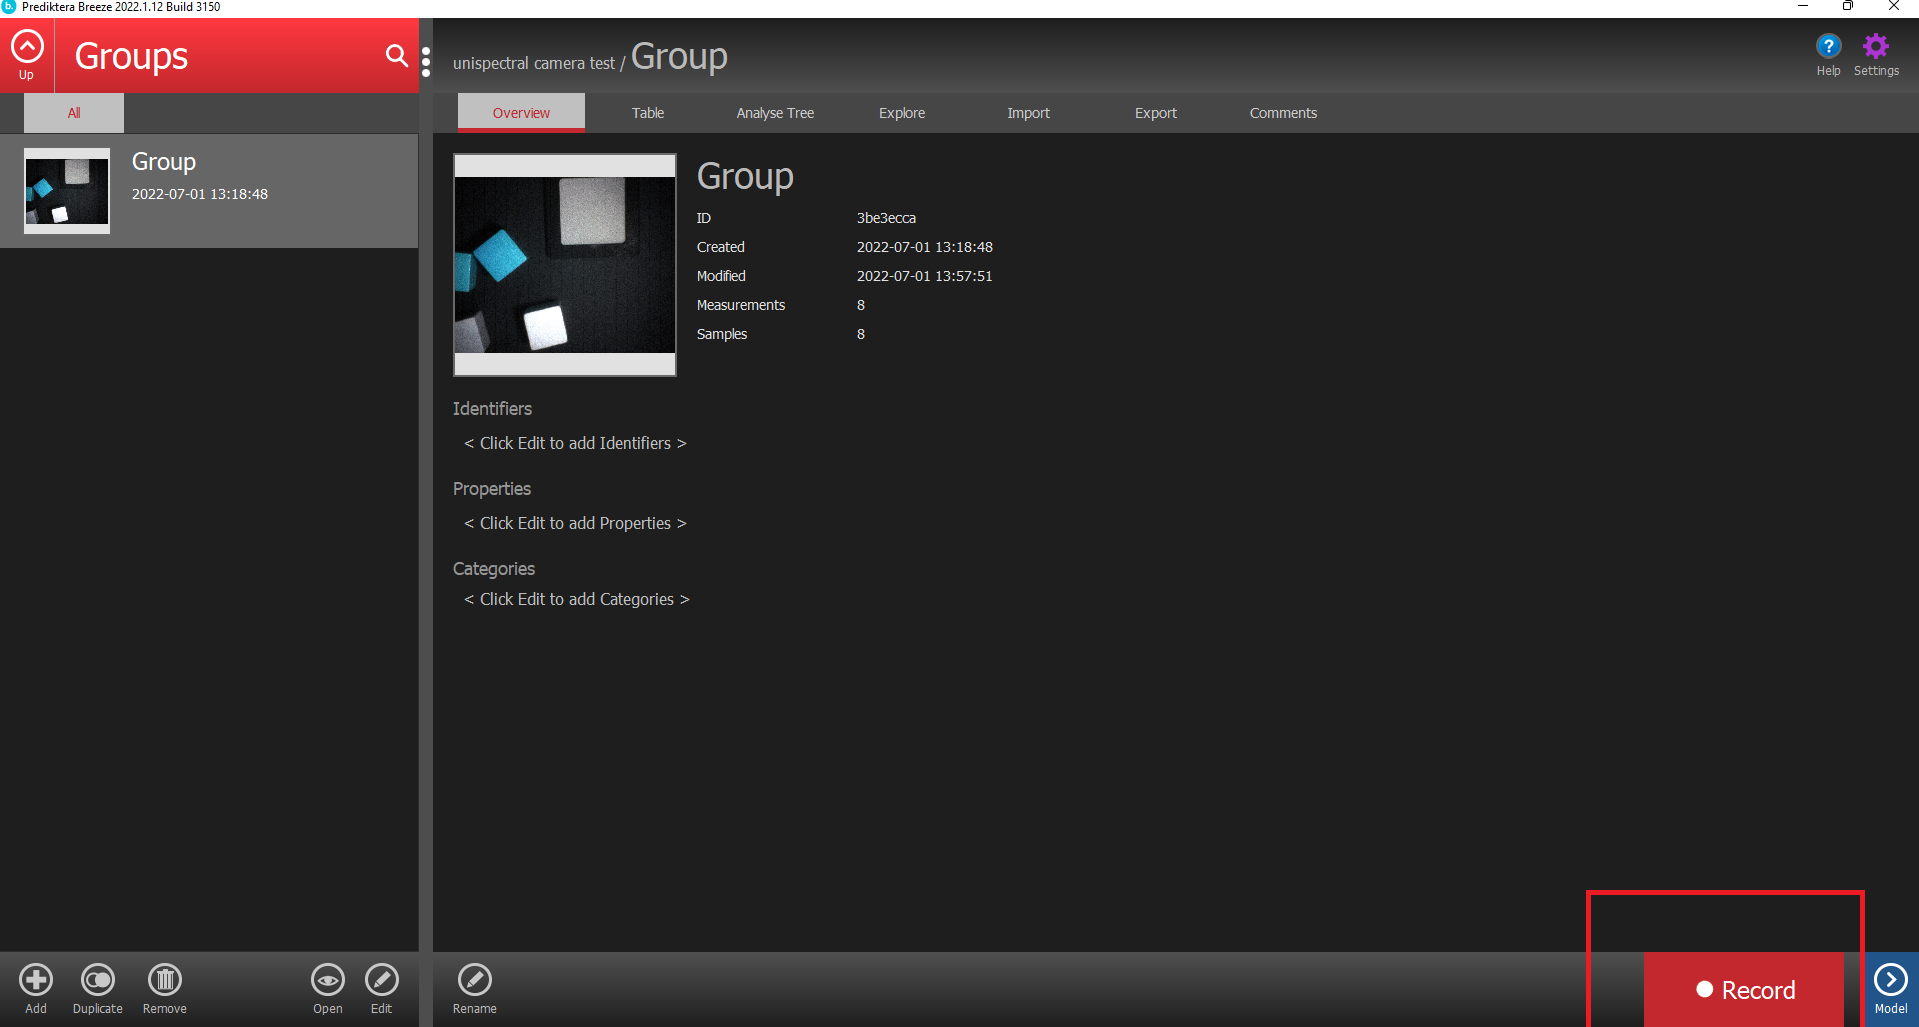
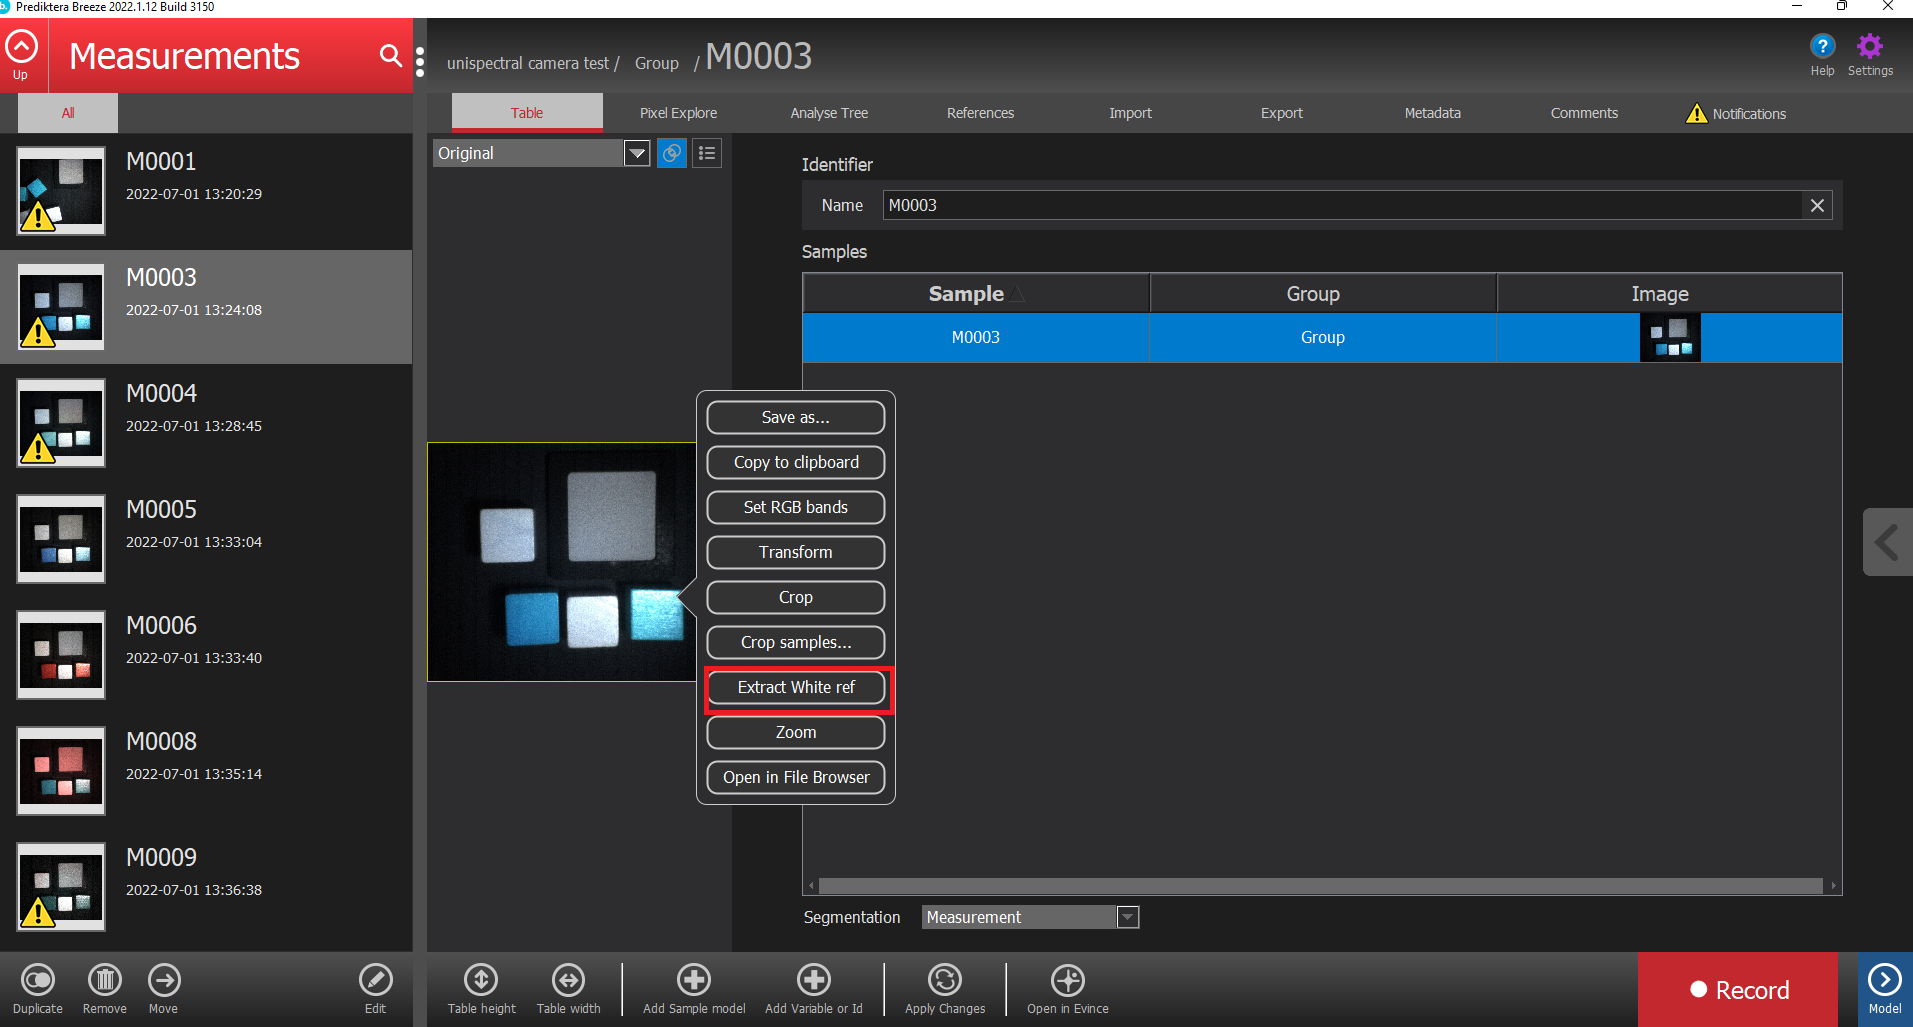
When you have recorded an image you need to extract the with reference from the images. Go into the group by double-clicking on the group. Right click on the images so the hidden menu shows up. Select “Extract white ref”.
Use the red lines to select an area containing only the white ref and press Next.
tip You can hold the shift key to create a square with the mouse pointer
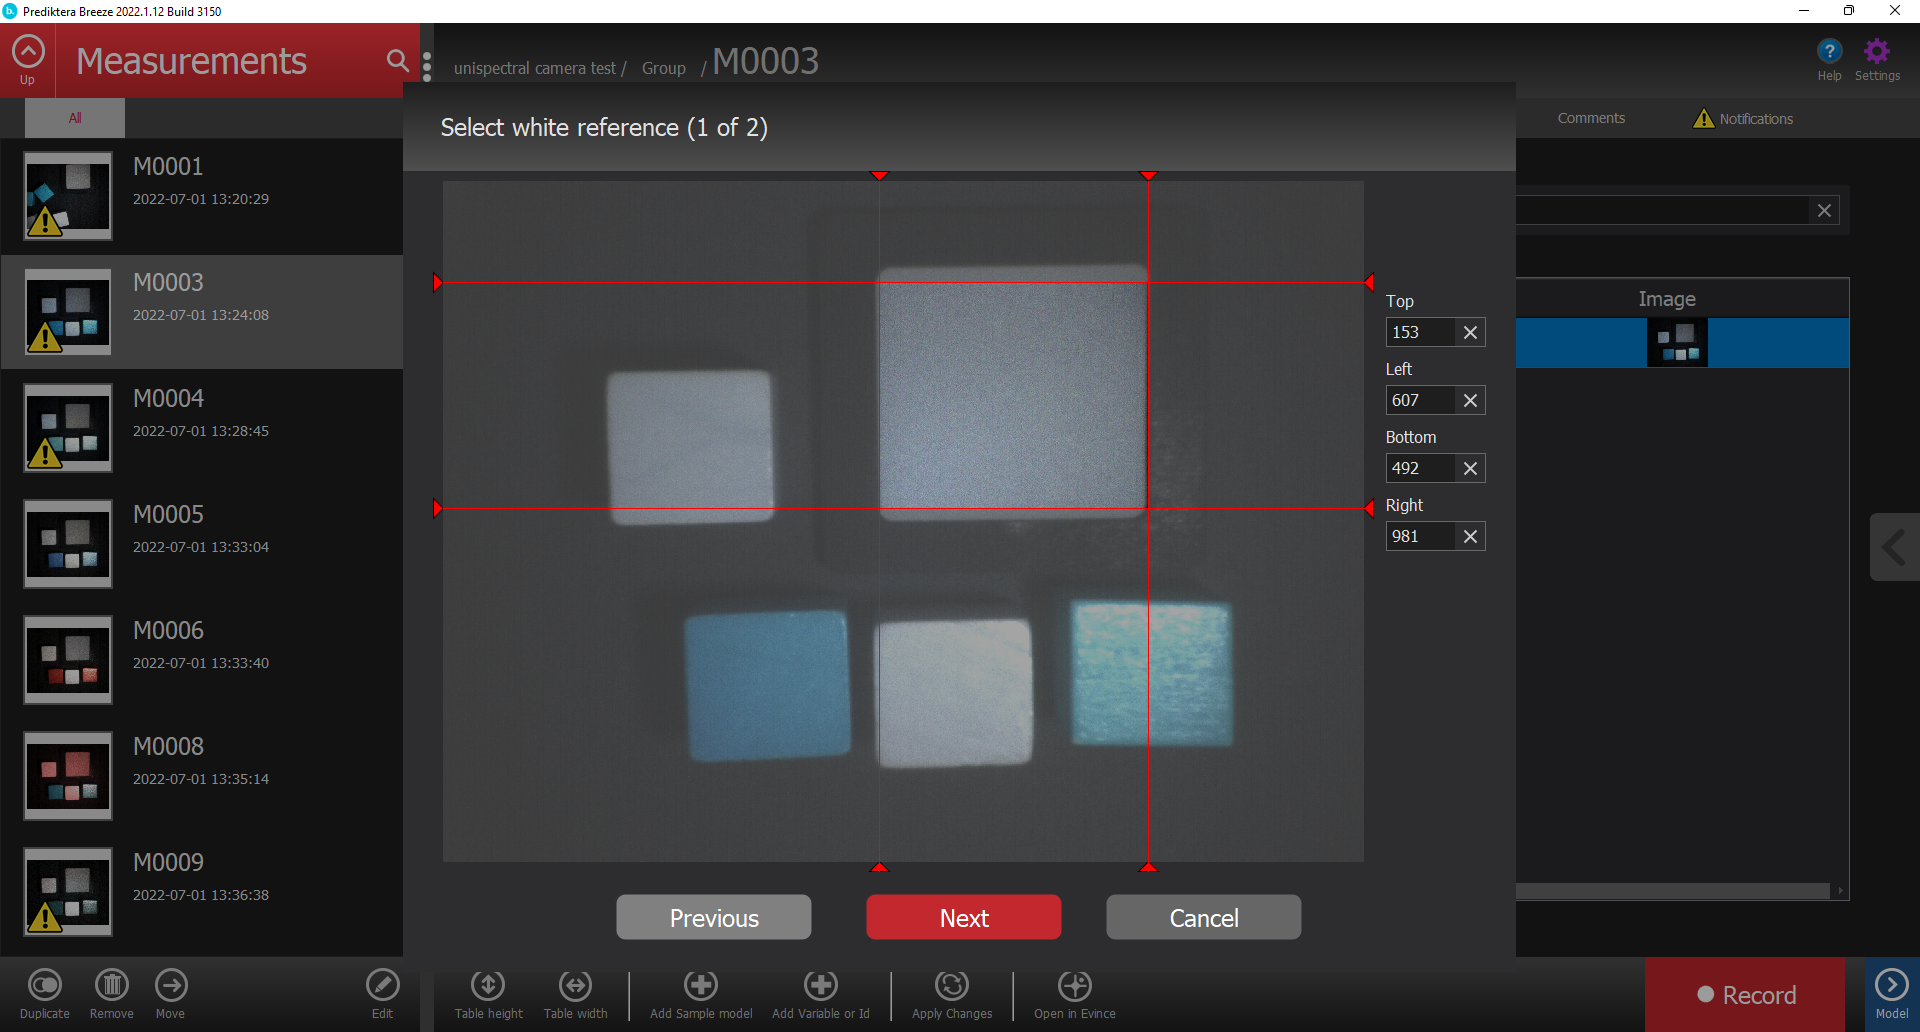
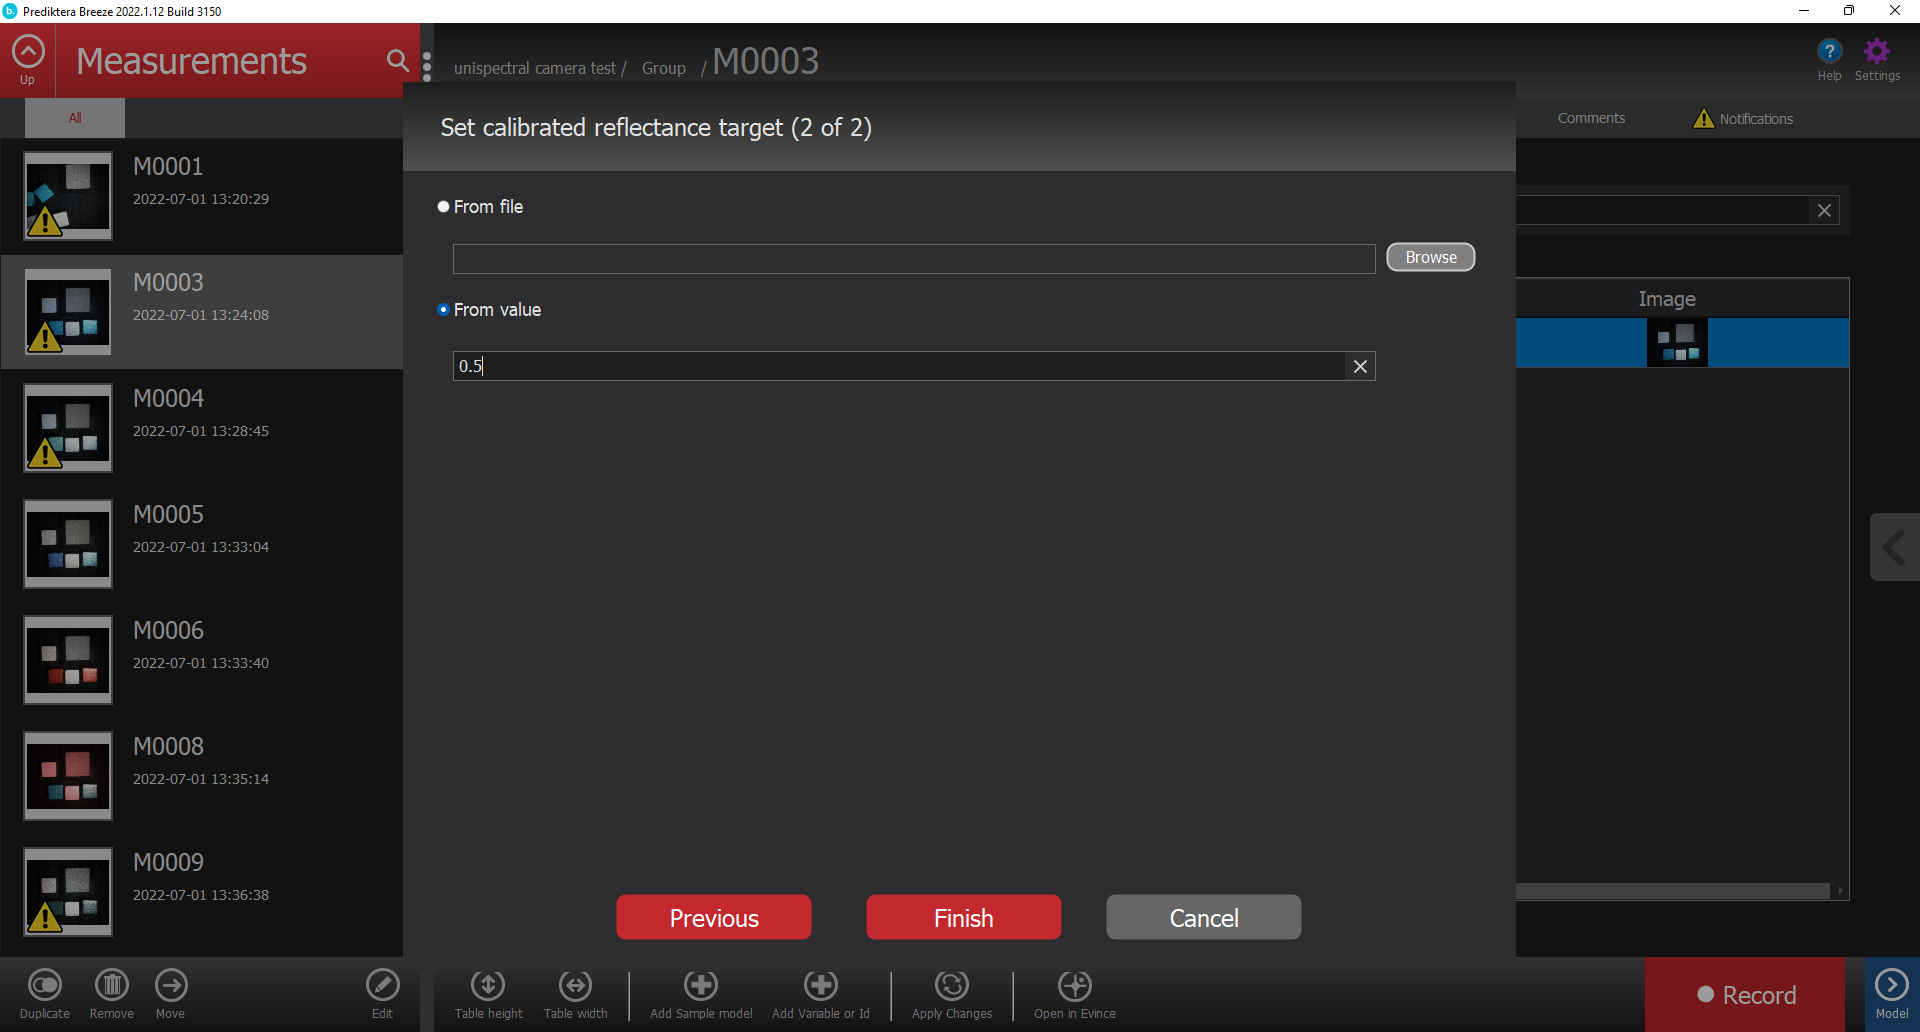
Here you can select the calibration of the white reference. For Unispectral select “From value” and select the % of the WR. the value should be between 0.0-1.0. Then press Finish.
Useful links
https://www.unispectral.com/product/monarch-ii-camera/
Follow this article for additional information on device configuration: Hardware and settings guide