![]()
In this tutorial, you will learn how to use Breeze Runtime to run a workflow created in Breeze and view it in the Breeze Client. To do this you will use the workflow from the “Classification of nuts tutorial”.
Introduction to Breeze Runtime development provides more in-depth information about the Breeze Runtime if you want to learn more.
Before doing this tutorial, first do the tutorial: Classification of nuts step 1
The goal of this tutorial is to teach you how to export a workflow from Breeze, predict with Breeze Runtime, and visualize results in the Breeze Client.
Export a workflow to Breeze Runtime
In this tutorial, you will use the same images as in the tutorial Intro to Breeze: Classification of nuts step 1
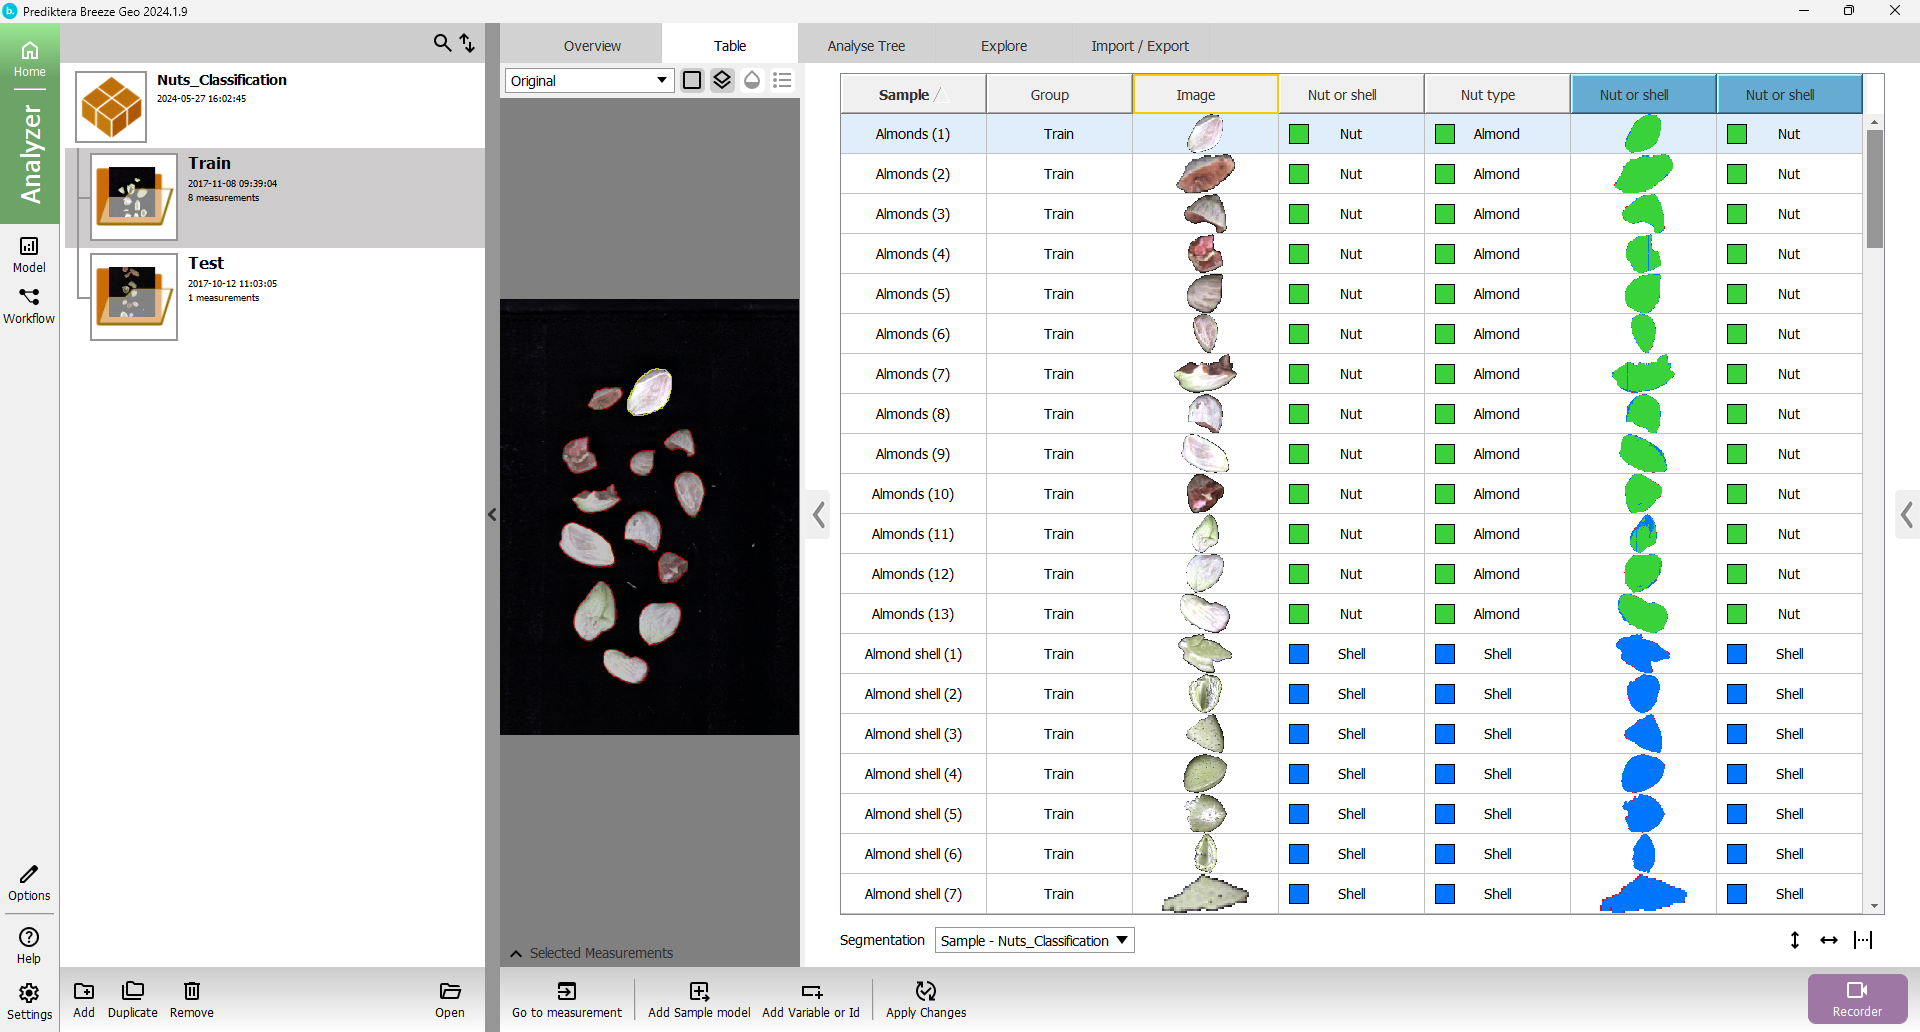
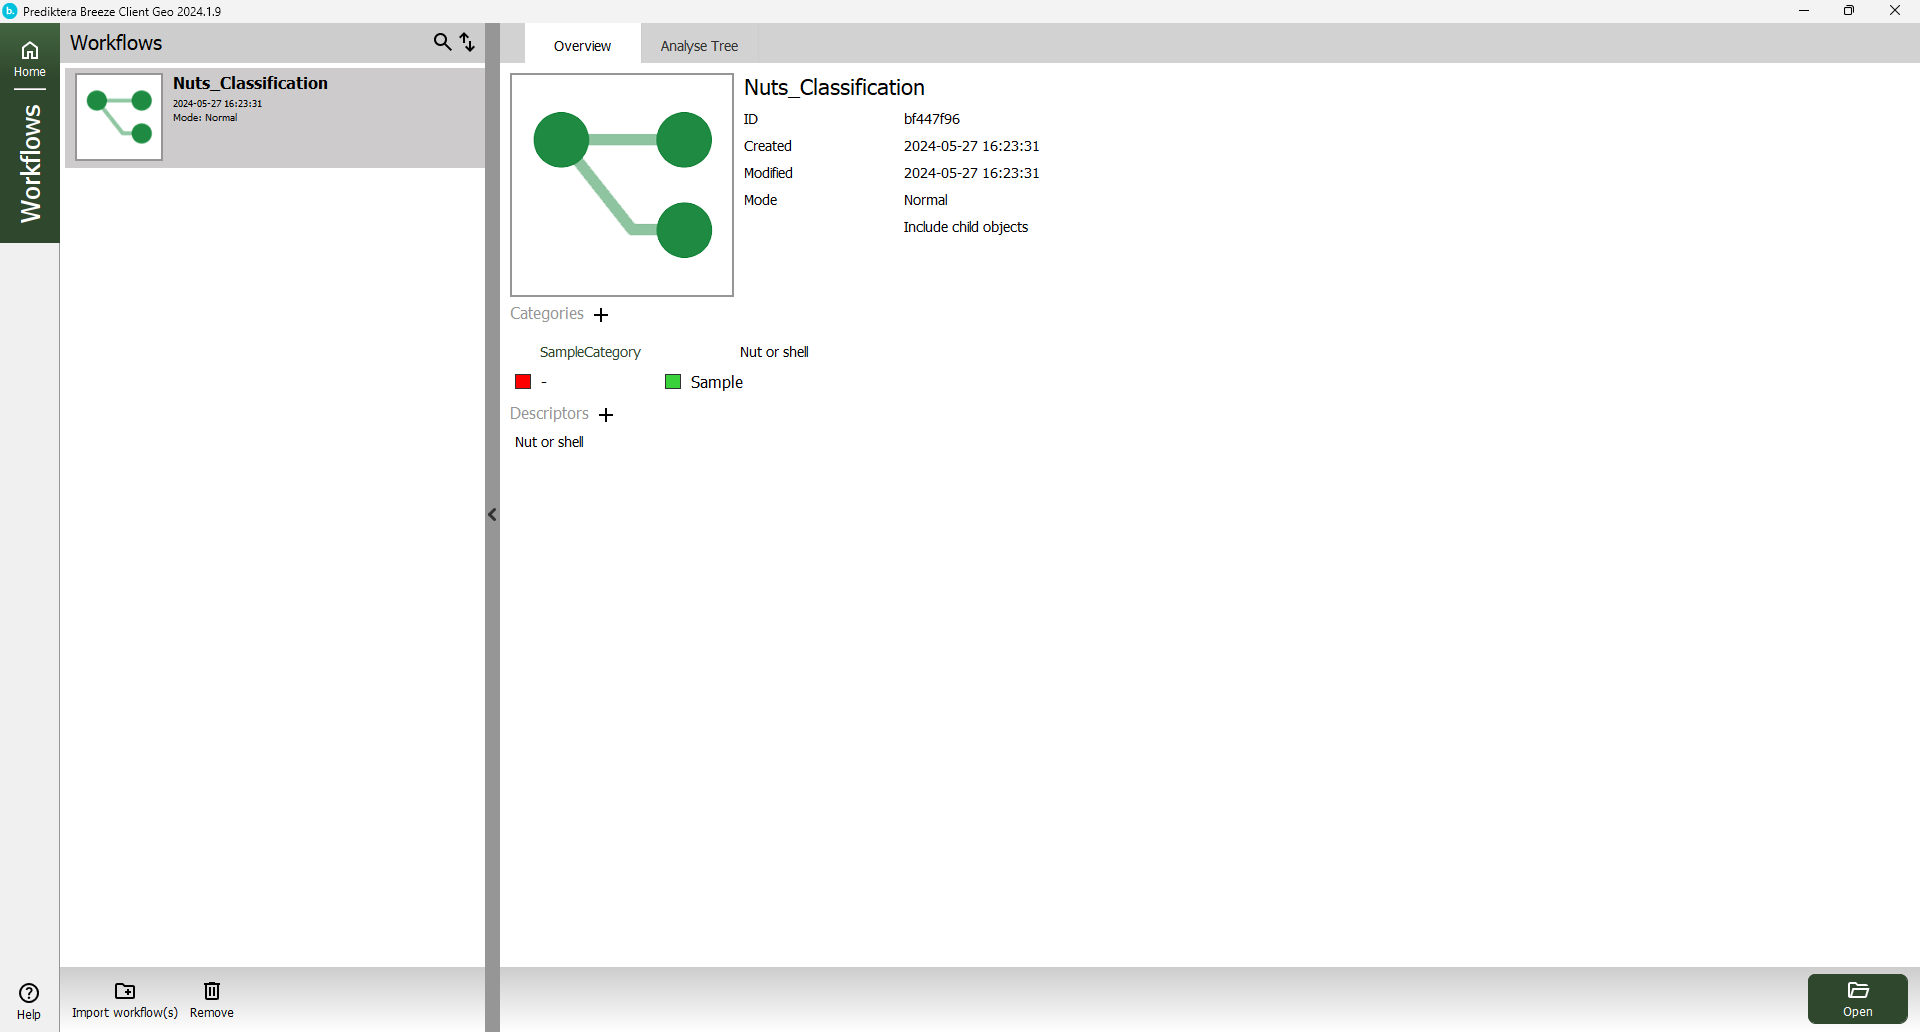
Start Breeze and open the “Nuts_Classification” project.
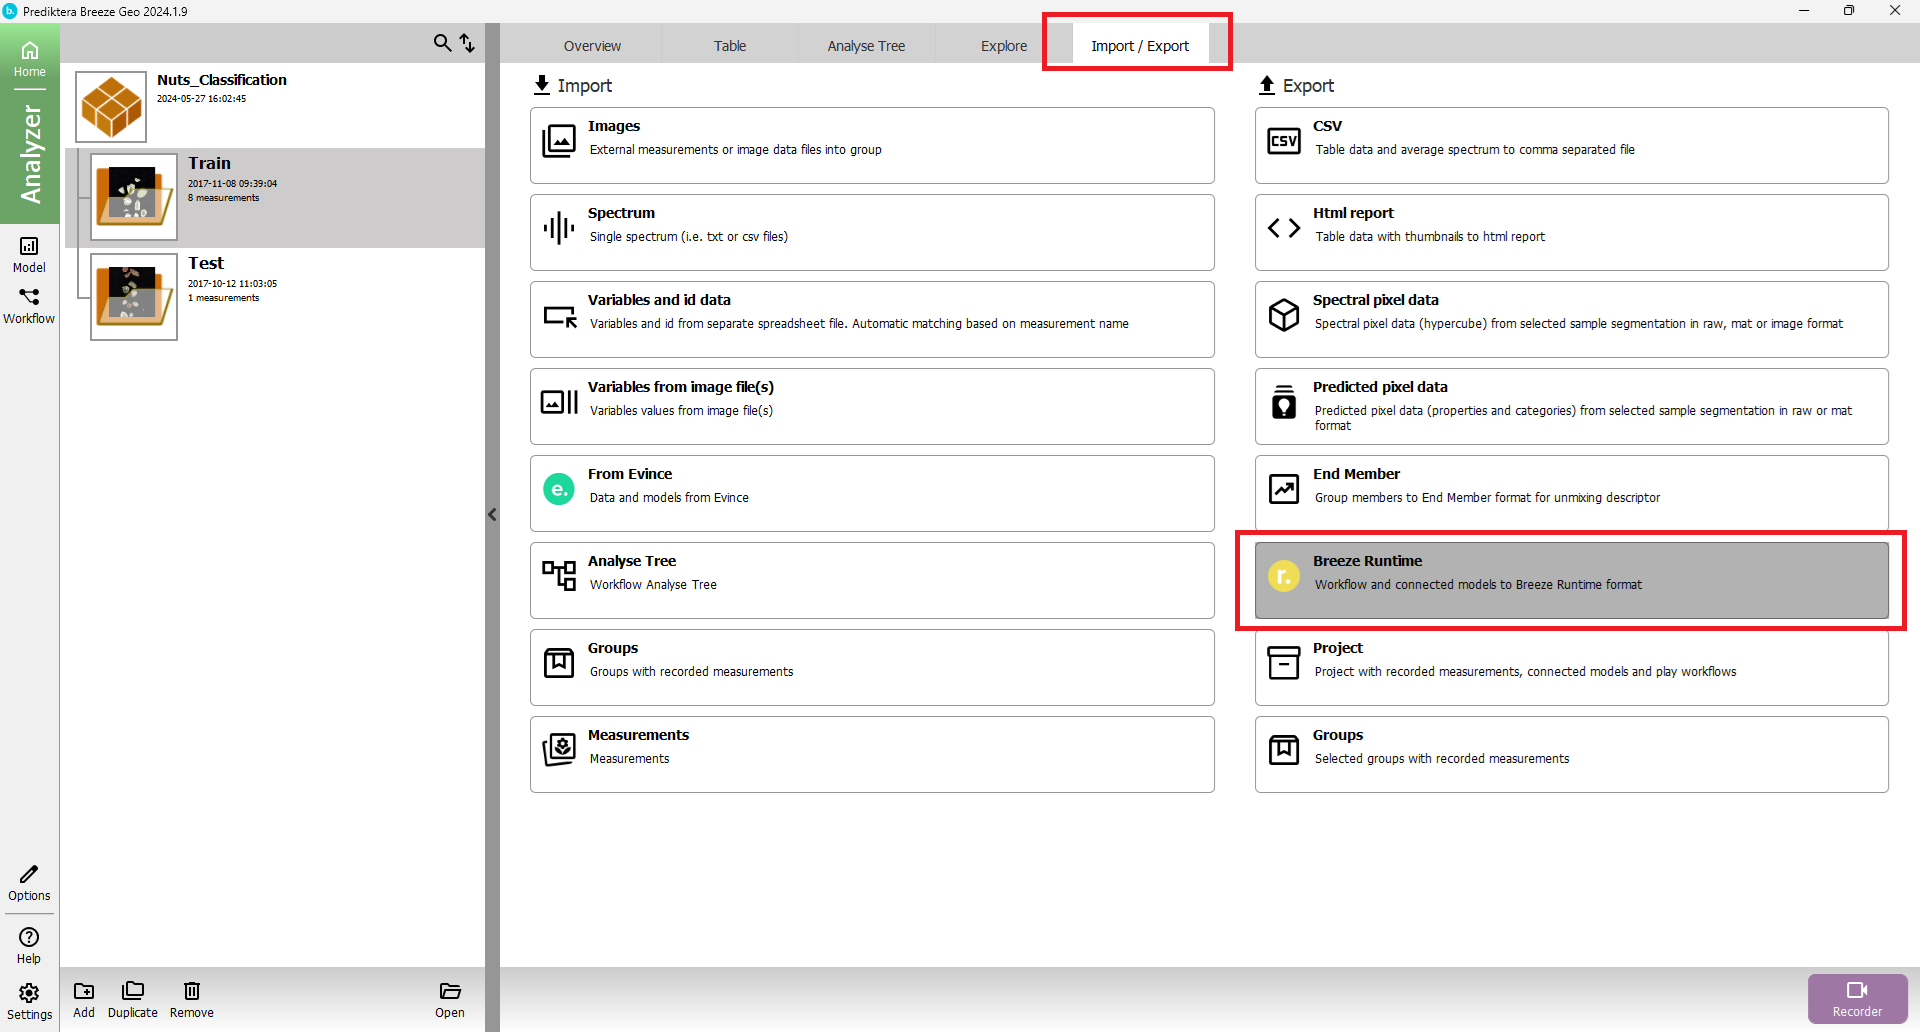
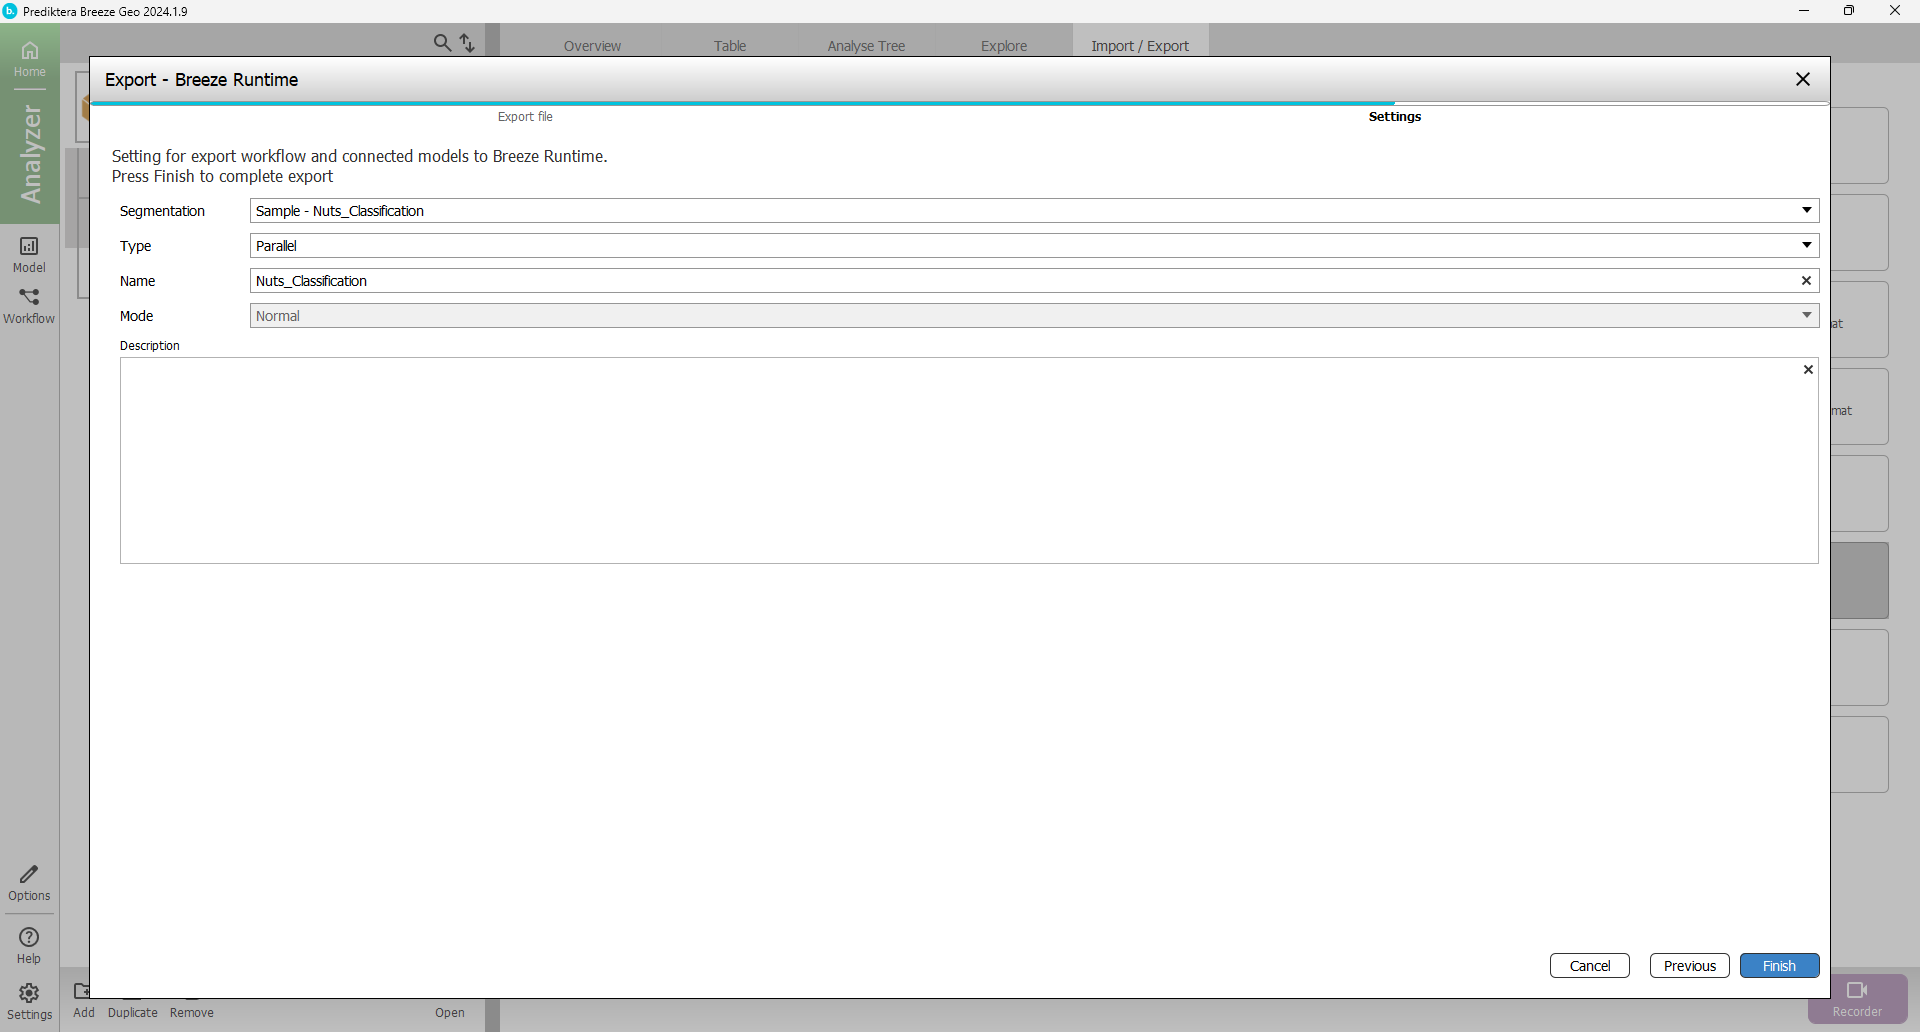
Open the Import/Export tab and select Breeze Runtime under the export heading.
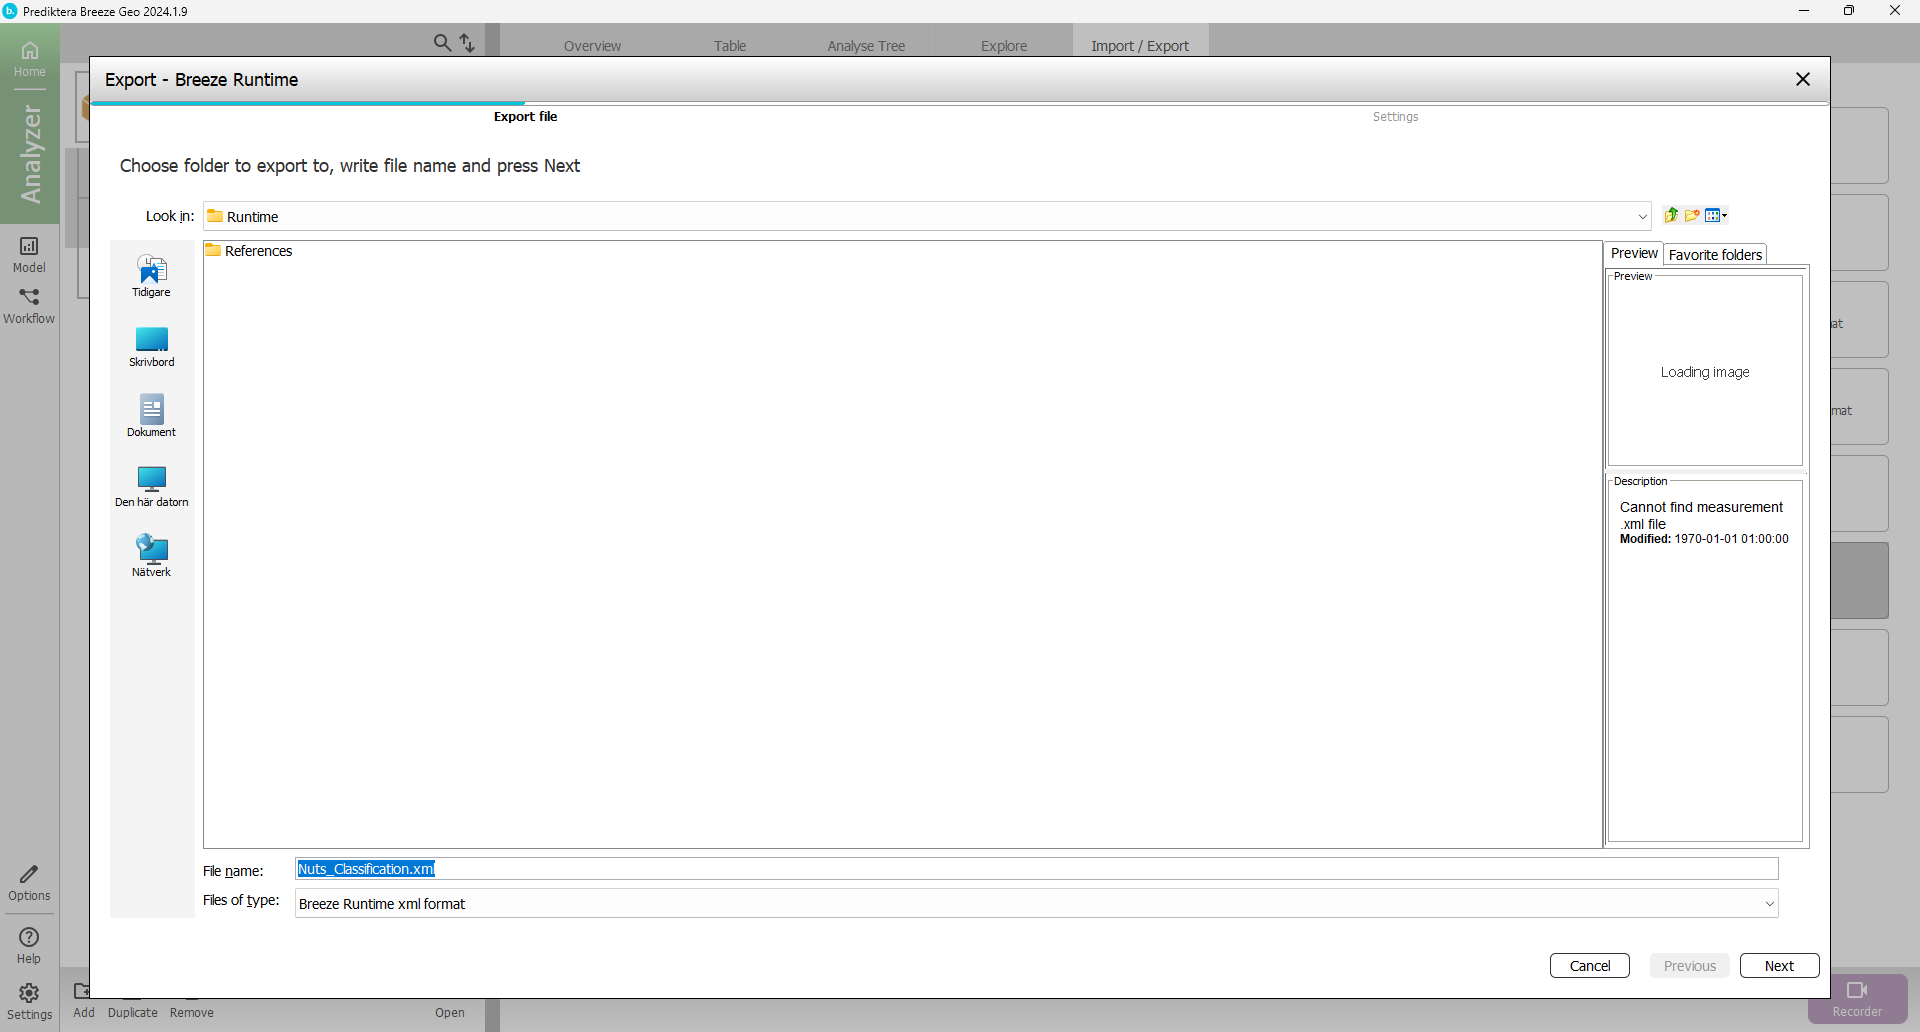
Enter a new file name or use default “Nuts_Classification.xml”.
The Workflow is now exported into the Runtime folder in your workspace.
Click Next.
optional Set Name and Description on Breeze Runtime workflow and select Segmentation and Type, i.e parallel or sequential object identification.
Click Finish and close Breeze
Breeze Runtime folder location:
[Workspace Folder]\Data\Runtime
Includes XML files for Breeze Runtime
Prediktera Simulator Camera setup
With Prediktera Simulator Camera you can simulate a realistic scenario running predictions with Breeze Runtime.
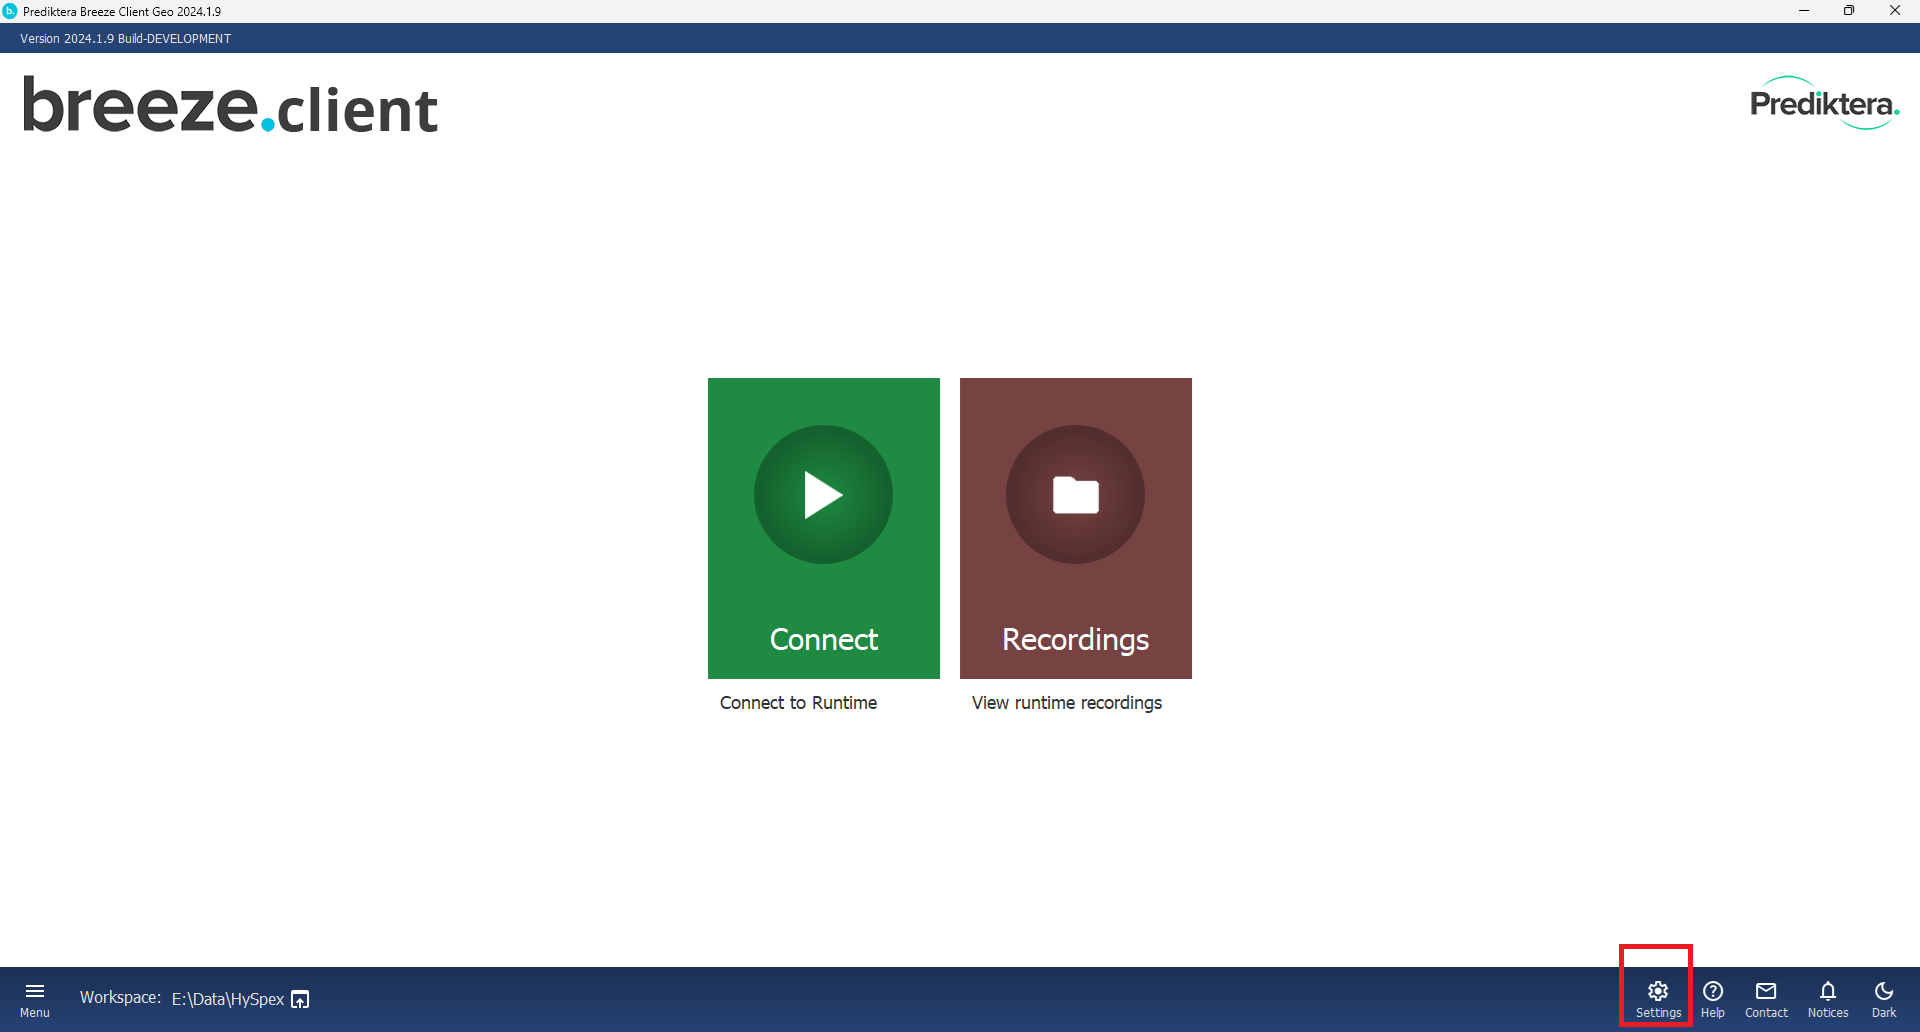
Start Breeze Client, normally located in C:\Program Files\Prediktera\Breeze\BreezeClient.exe, and select Settings.
Select Cameras in the left panel.
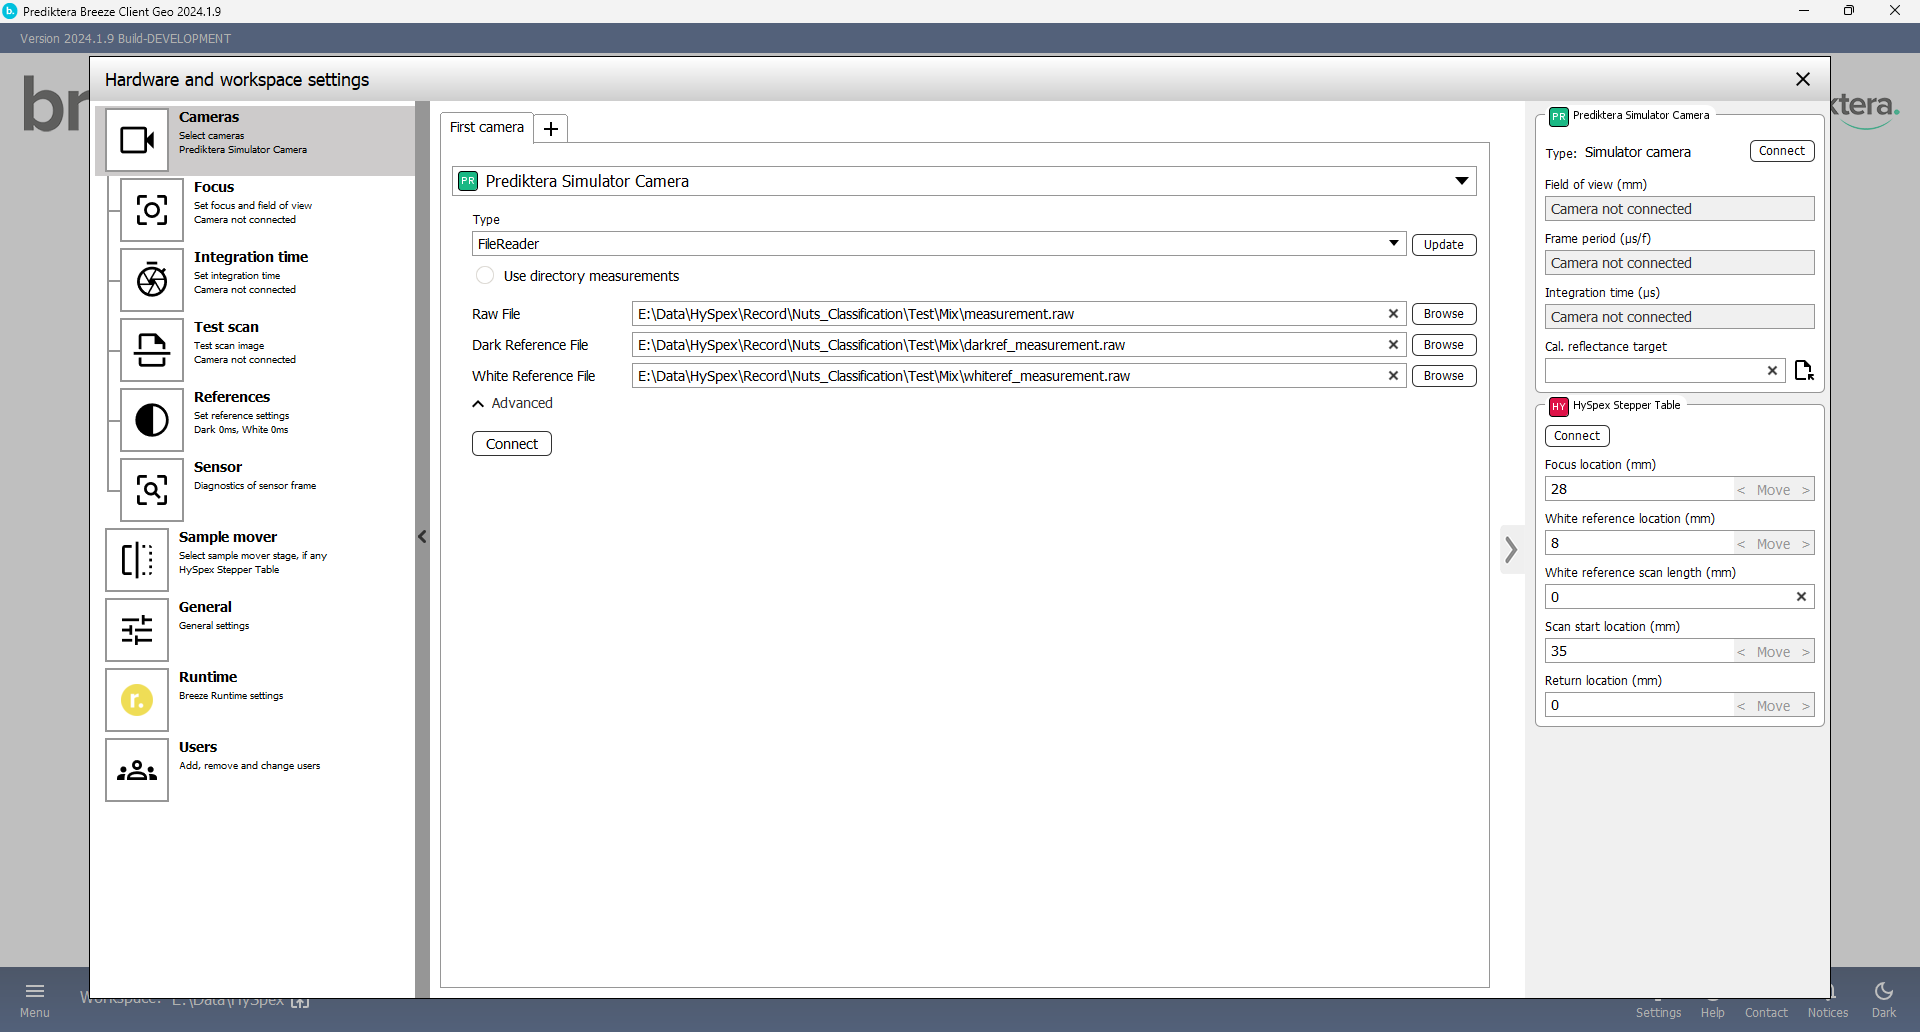
Select Prediktera Simulator Camera from the drop-down.
Uncheck the Cycle measurements from project group folder checkbox.
Browse or write the location of the image file that we are going to analyze, including the Raw file, the Dark Reference file, and White reference file (if you have one).
In this example we are using the files located in the following folder:
[Workspace folder]\Record\Nuts_Classification\Test\Mix
Click Connect.
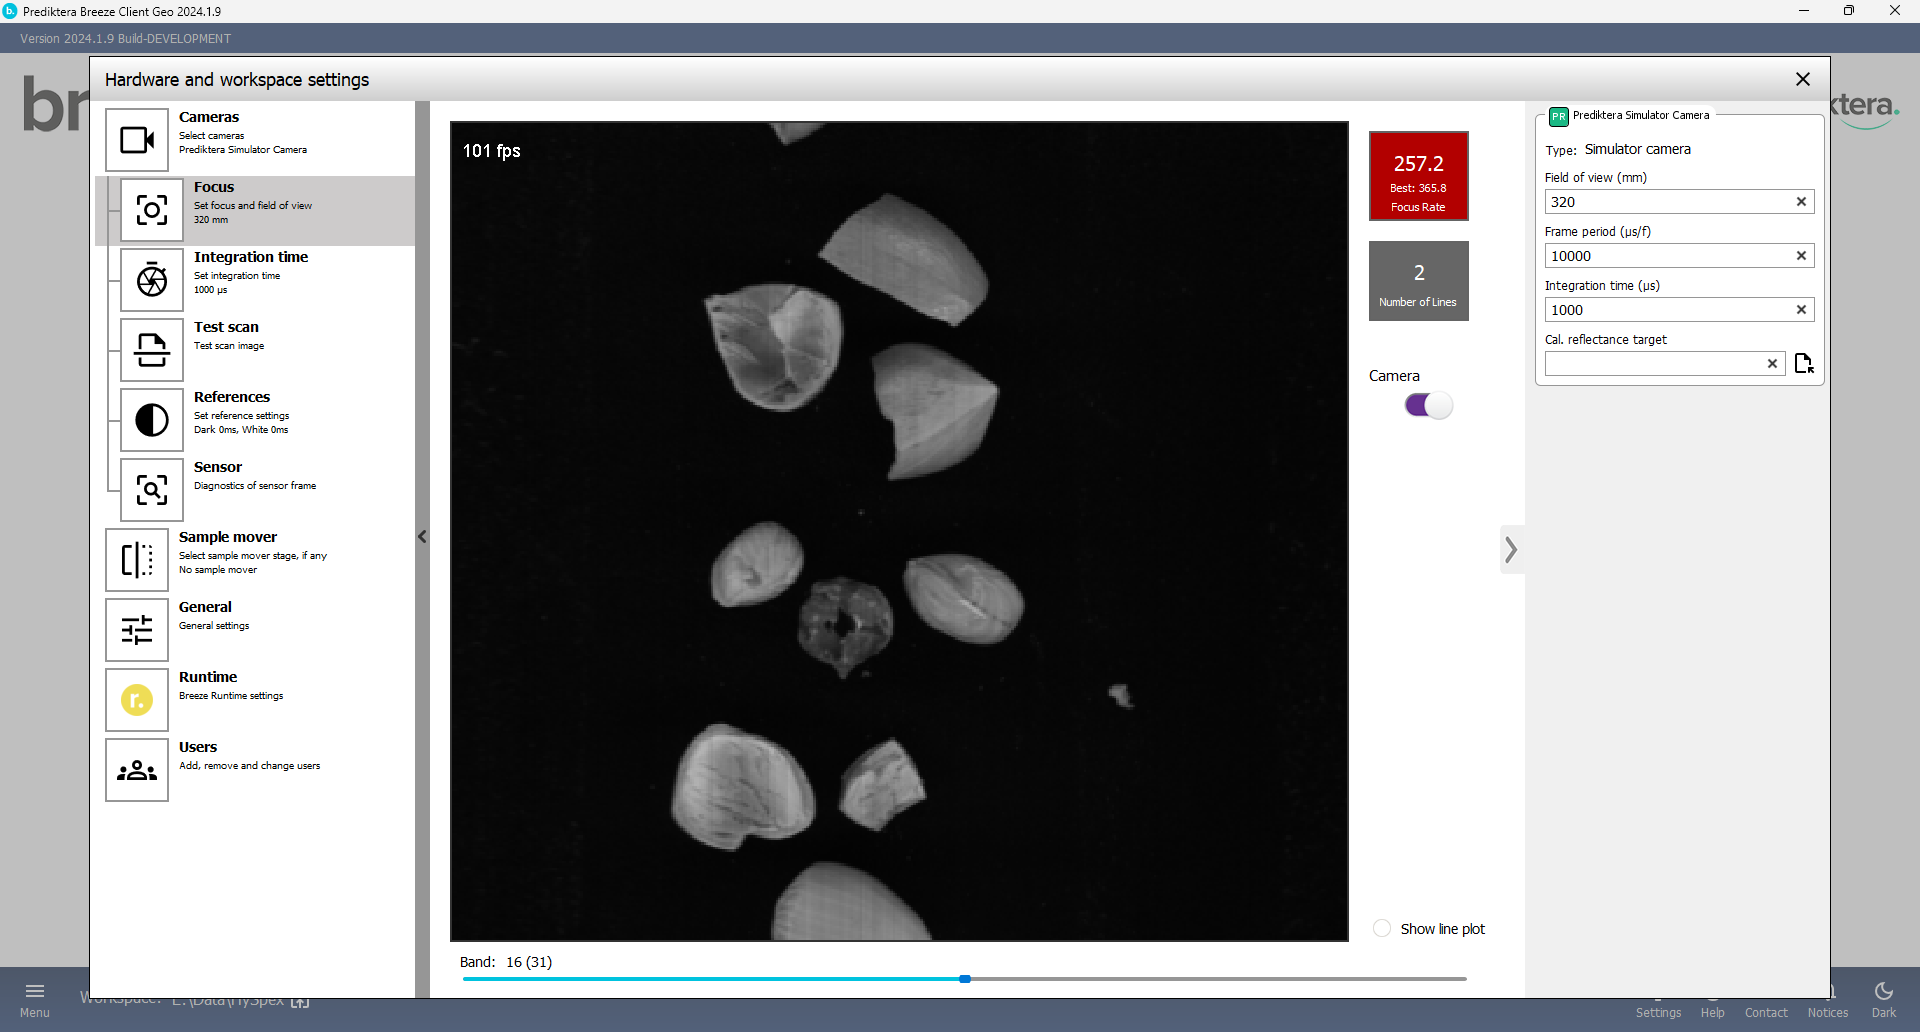
The camera should now be connected and you can see the information about the camera specifications.

To test that it is now connected, choose Focus and start the camera by clicking the Camera switch. Press the switch again to stop.
Starting Breeze Runtime
You can start Breeze Runtime in a few different ways:
-
Using Breeze Client
C:\Program Files\Prediktera\Breeze\BreezeClient.exe -
Using Breeze Runtime Demo application
C:\Program Files\Prediktera\Breeze\BreezeRuntimeDemo.exe -
Manually from Breeze Runtime folder
C:\Program Files\Prediktera\Breeze\Runtime\BreezeRuntime.exe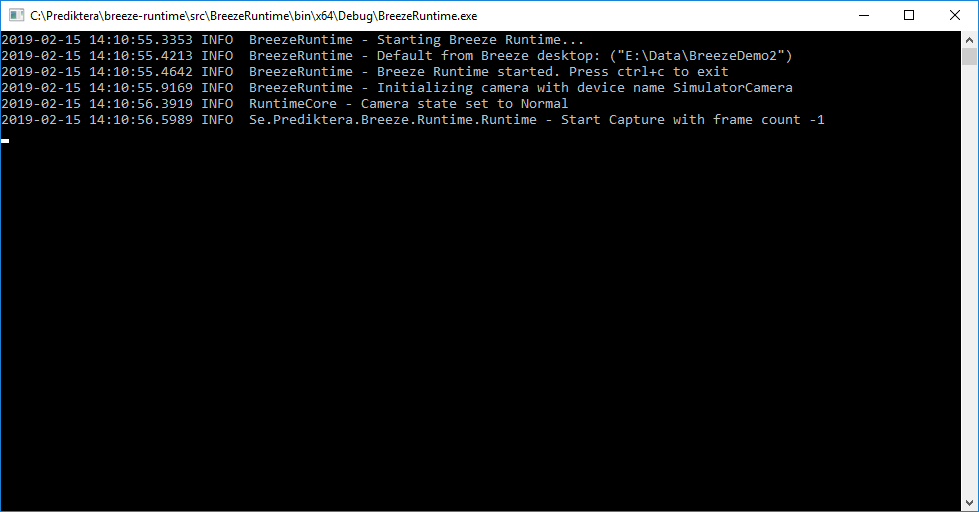
To start BreezeRuntime manually, run the BreezeRuntime.exe file and then start Breeze Client or Breeze Runtime Demo application
Start Breeze Runtime with Breeze Client
In the Breeze Client select the Connect button.
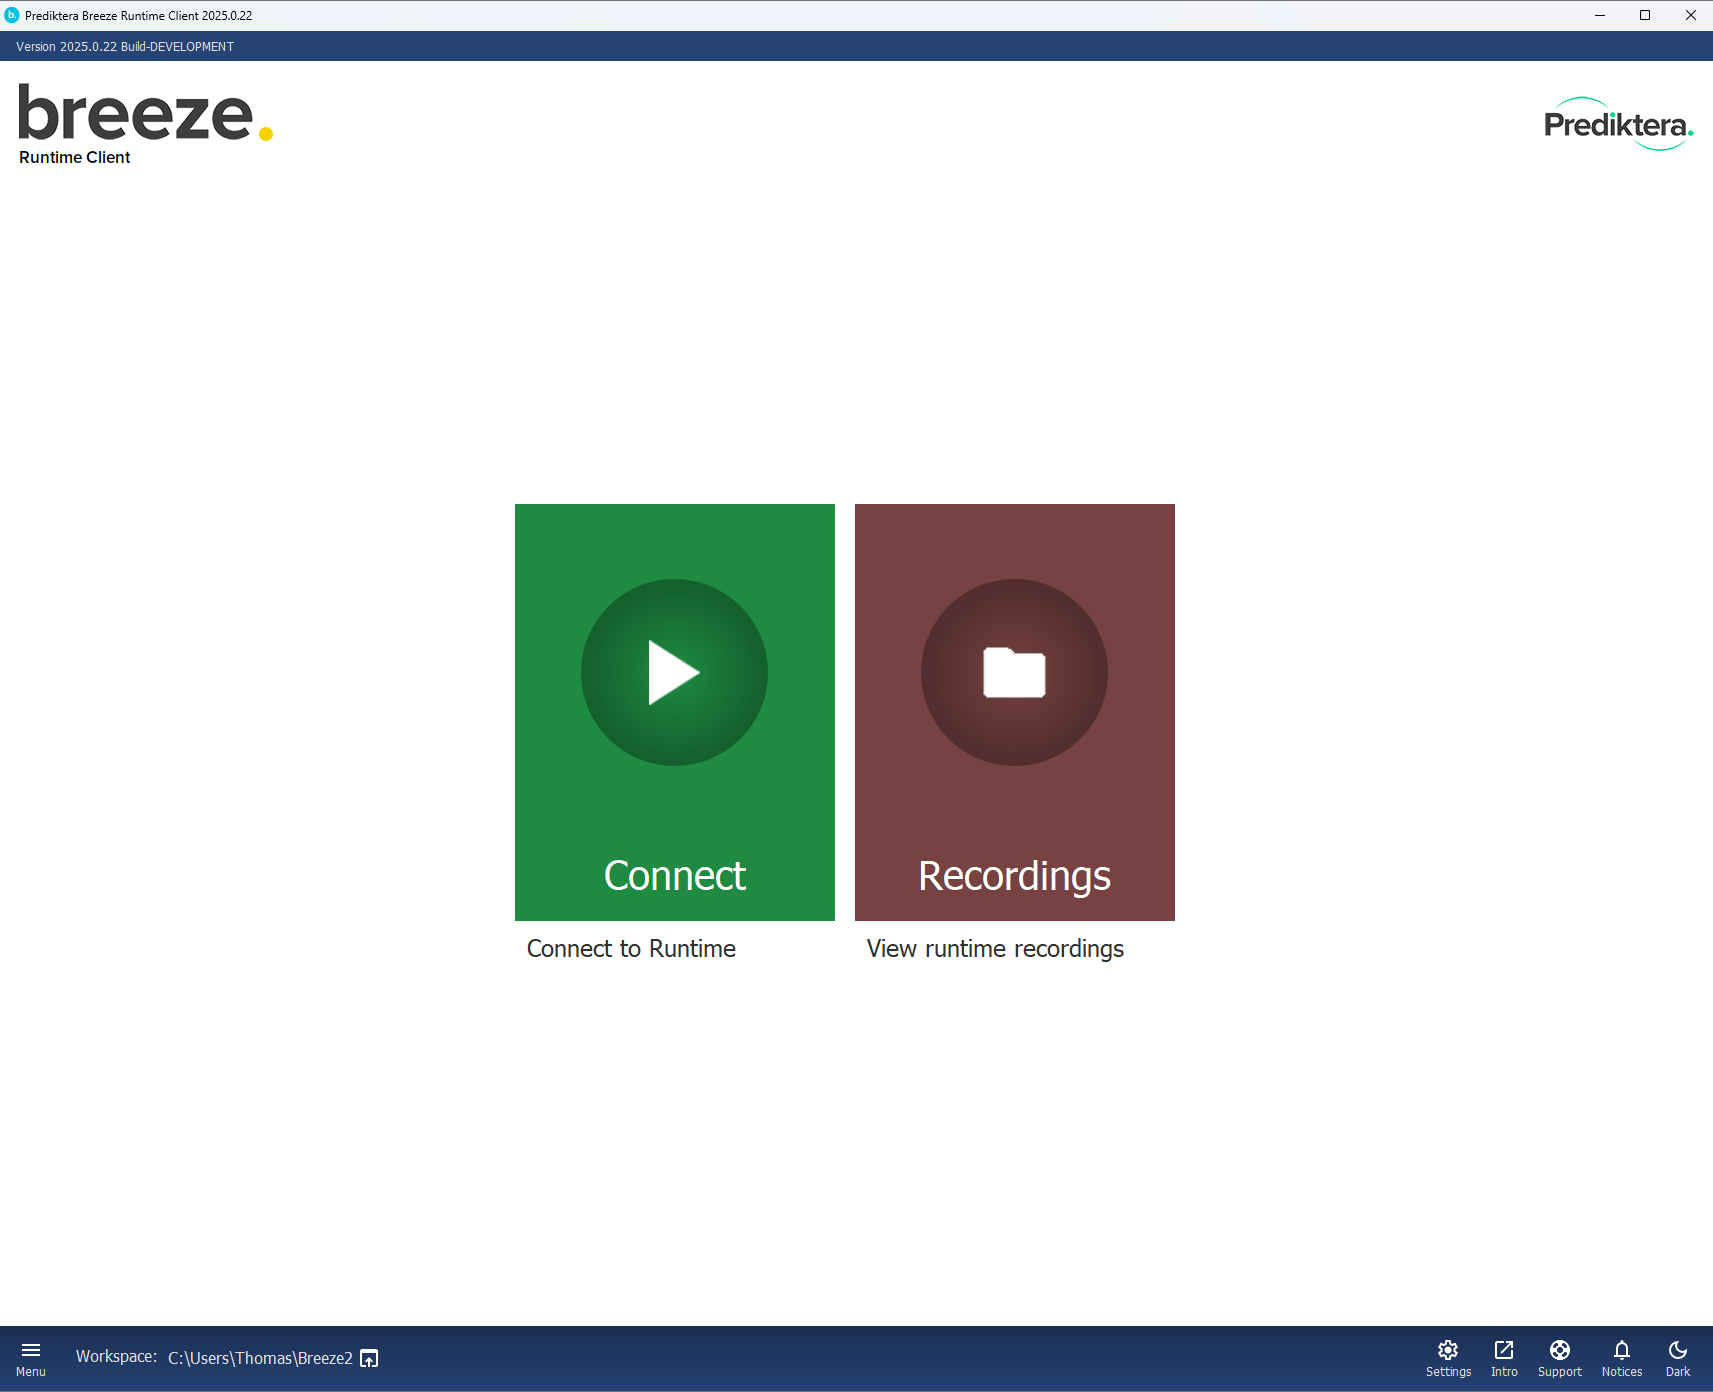
Choose Workflow and click Open.
Click the Start button to start the prediction.
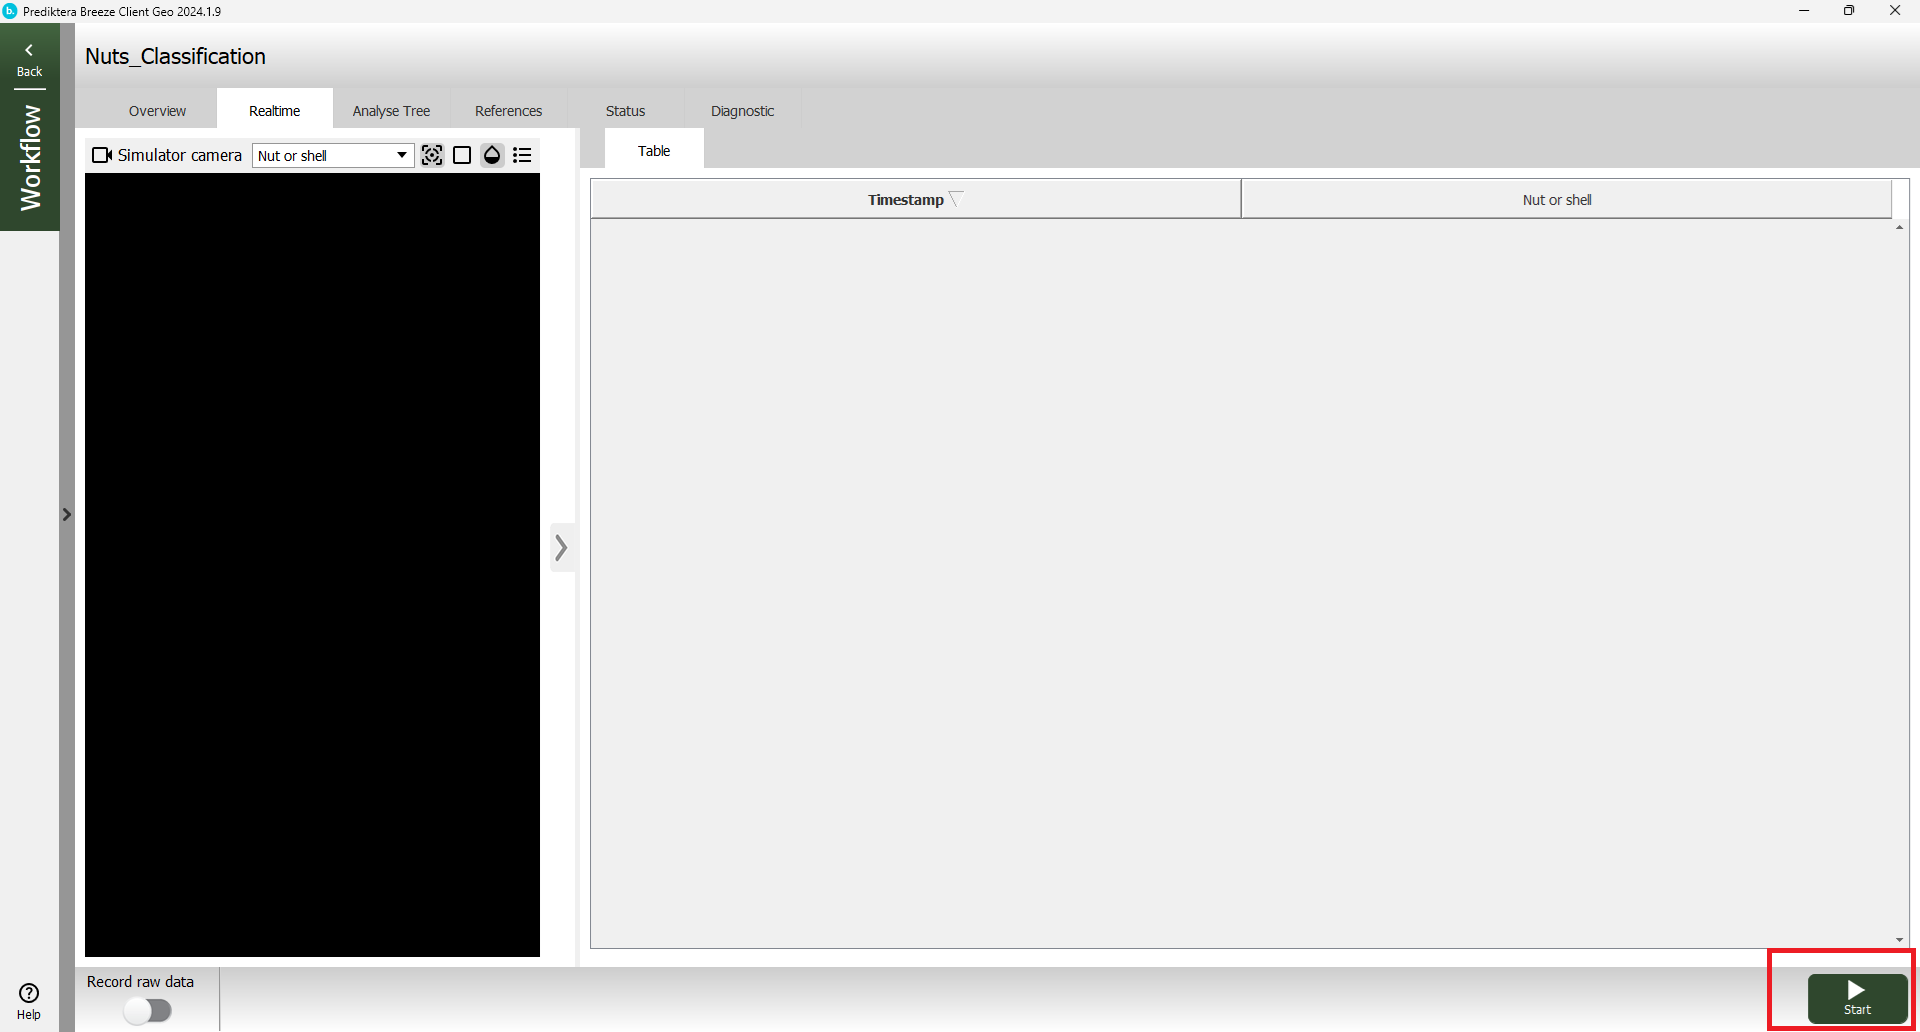
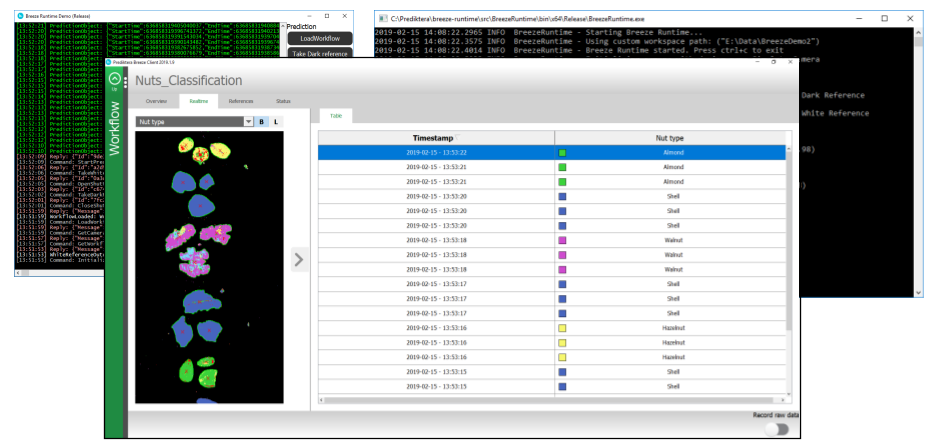
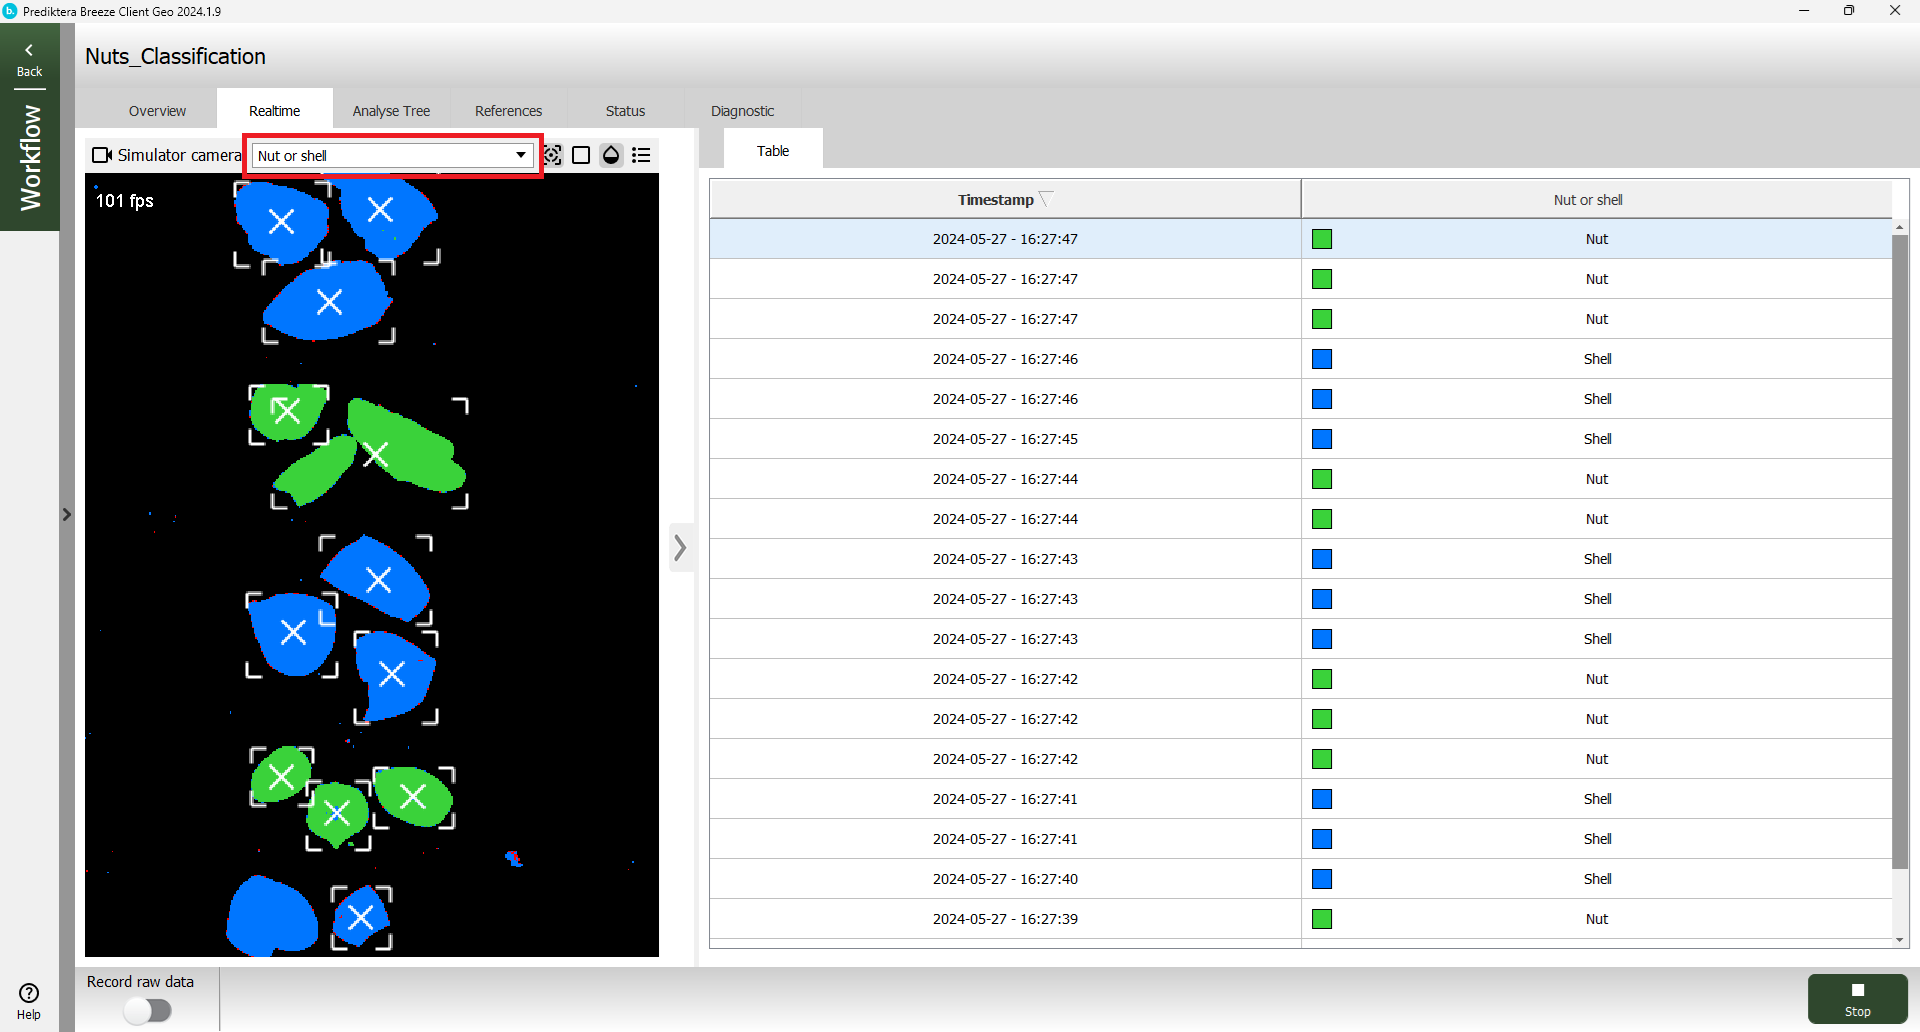
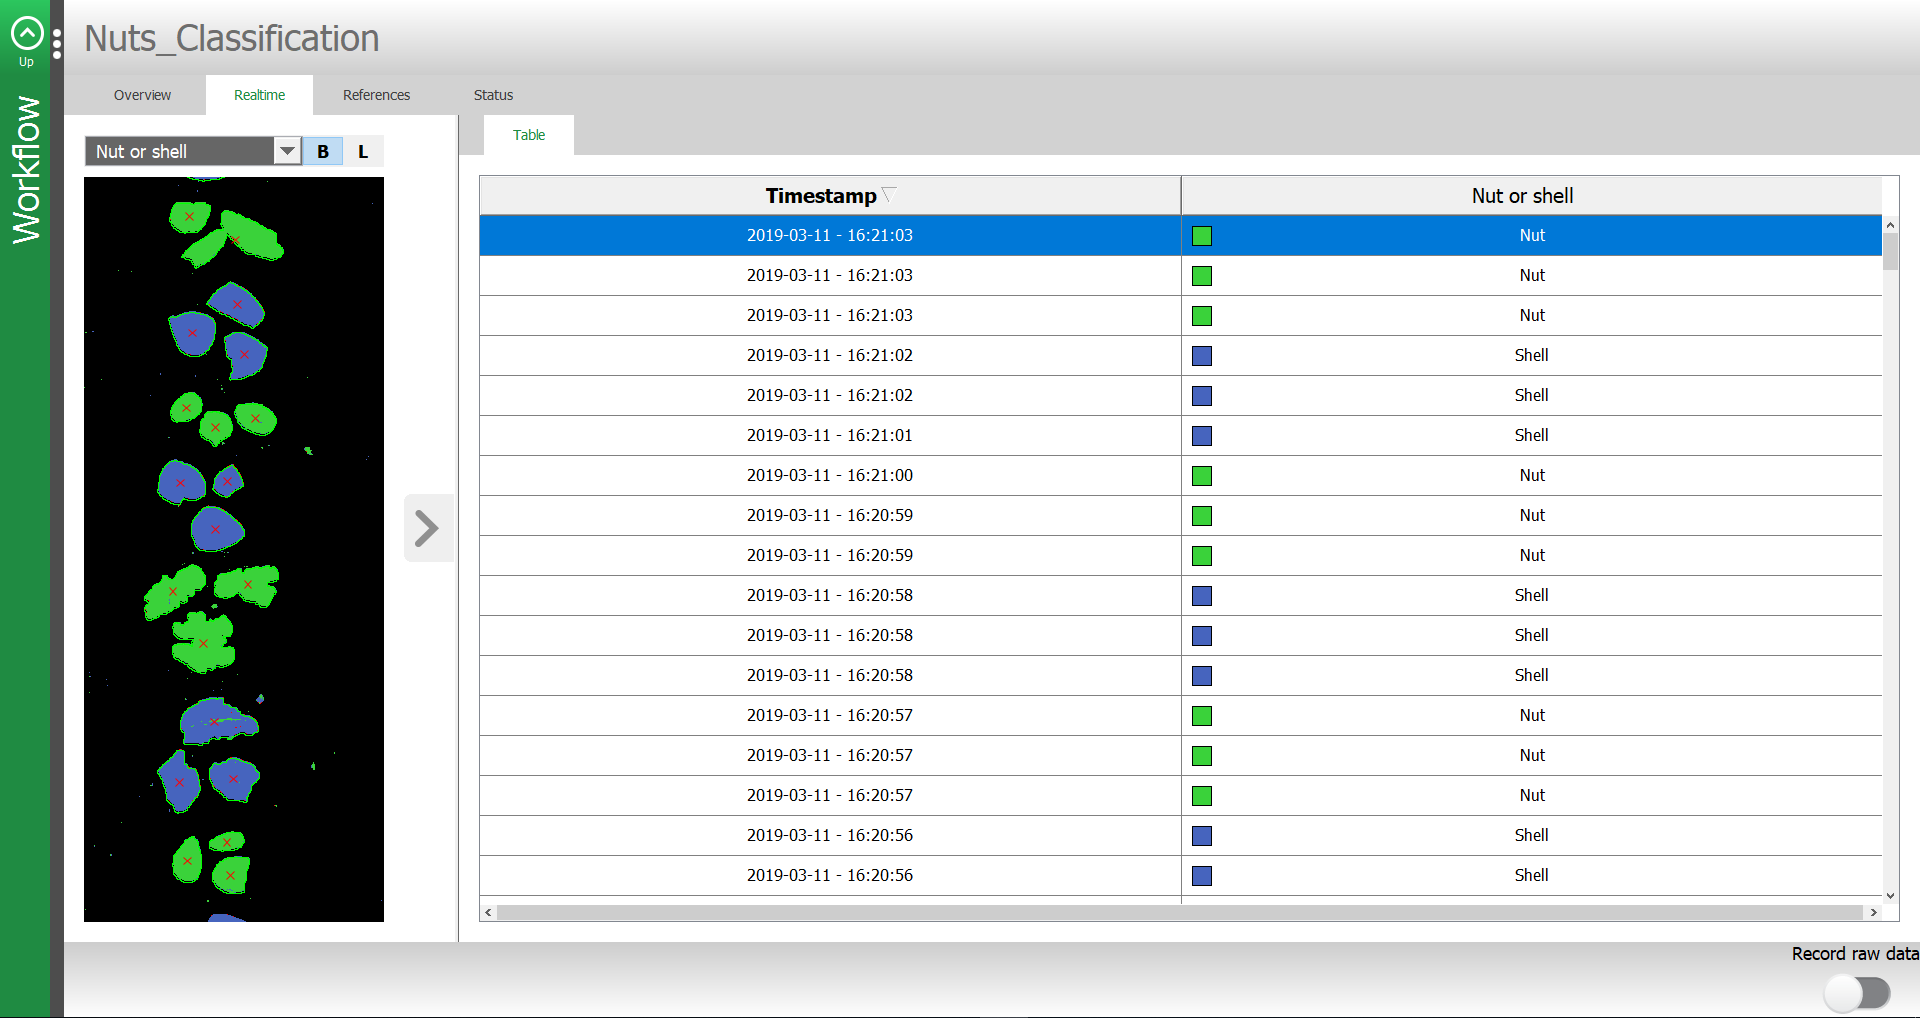
View real-time Predictions under the Realtime tab.
You can set the predicted parameter in the menu located above the image.
You can view the latest white and dark references taken with Breeze Runtime under the References tab.
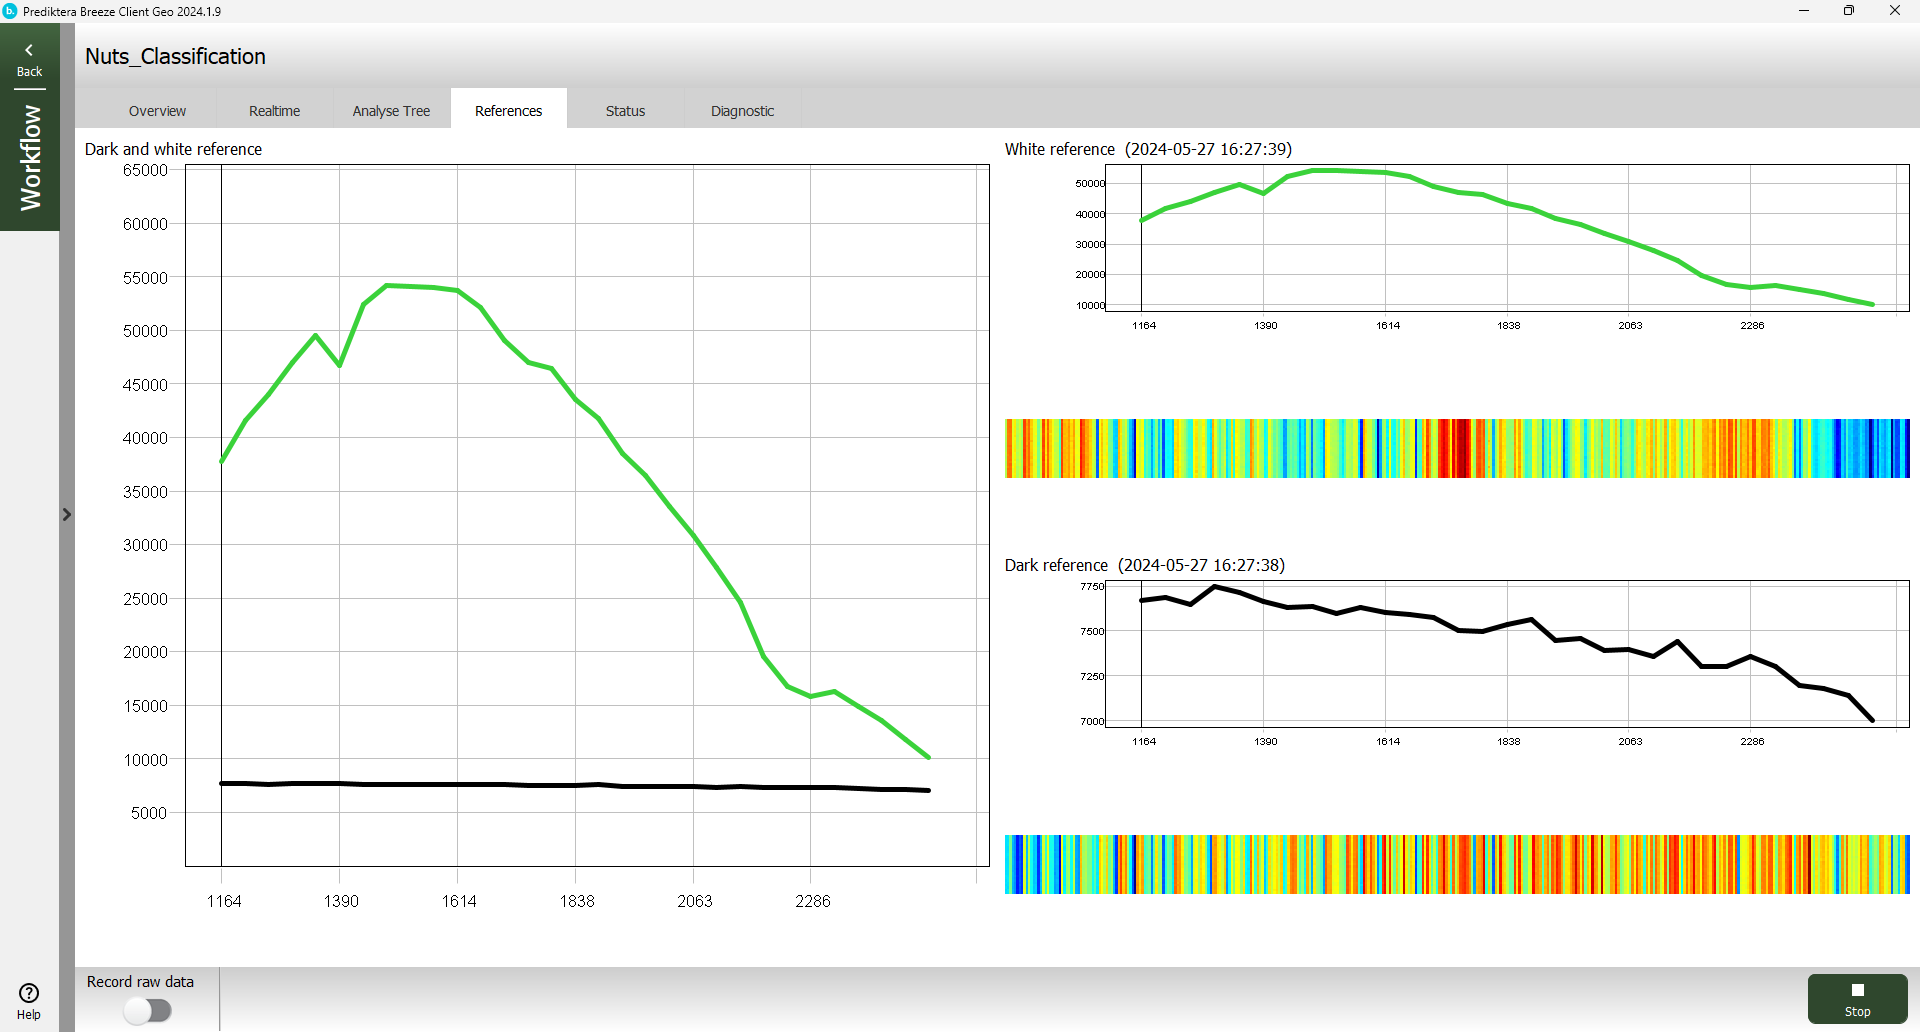
References are stored under [Workspace Folder]\Data\Runtime\References.
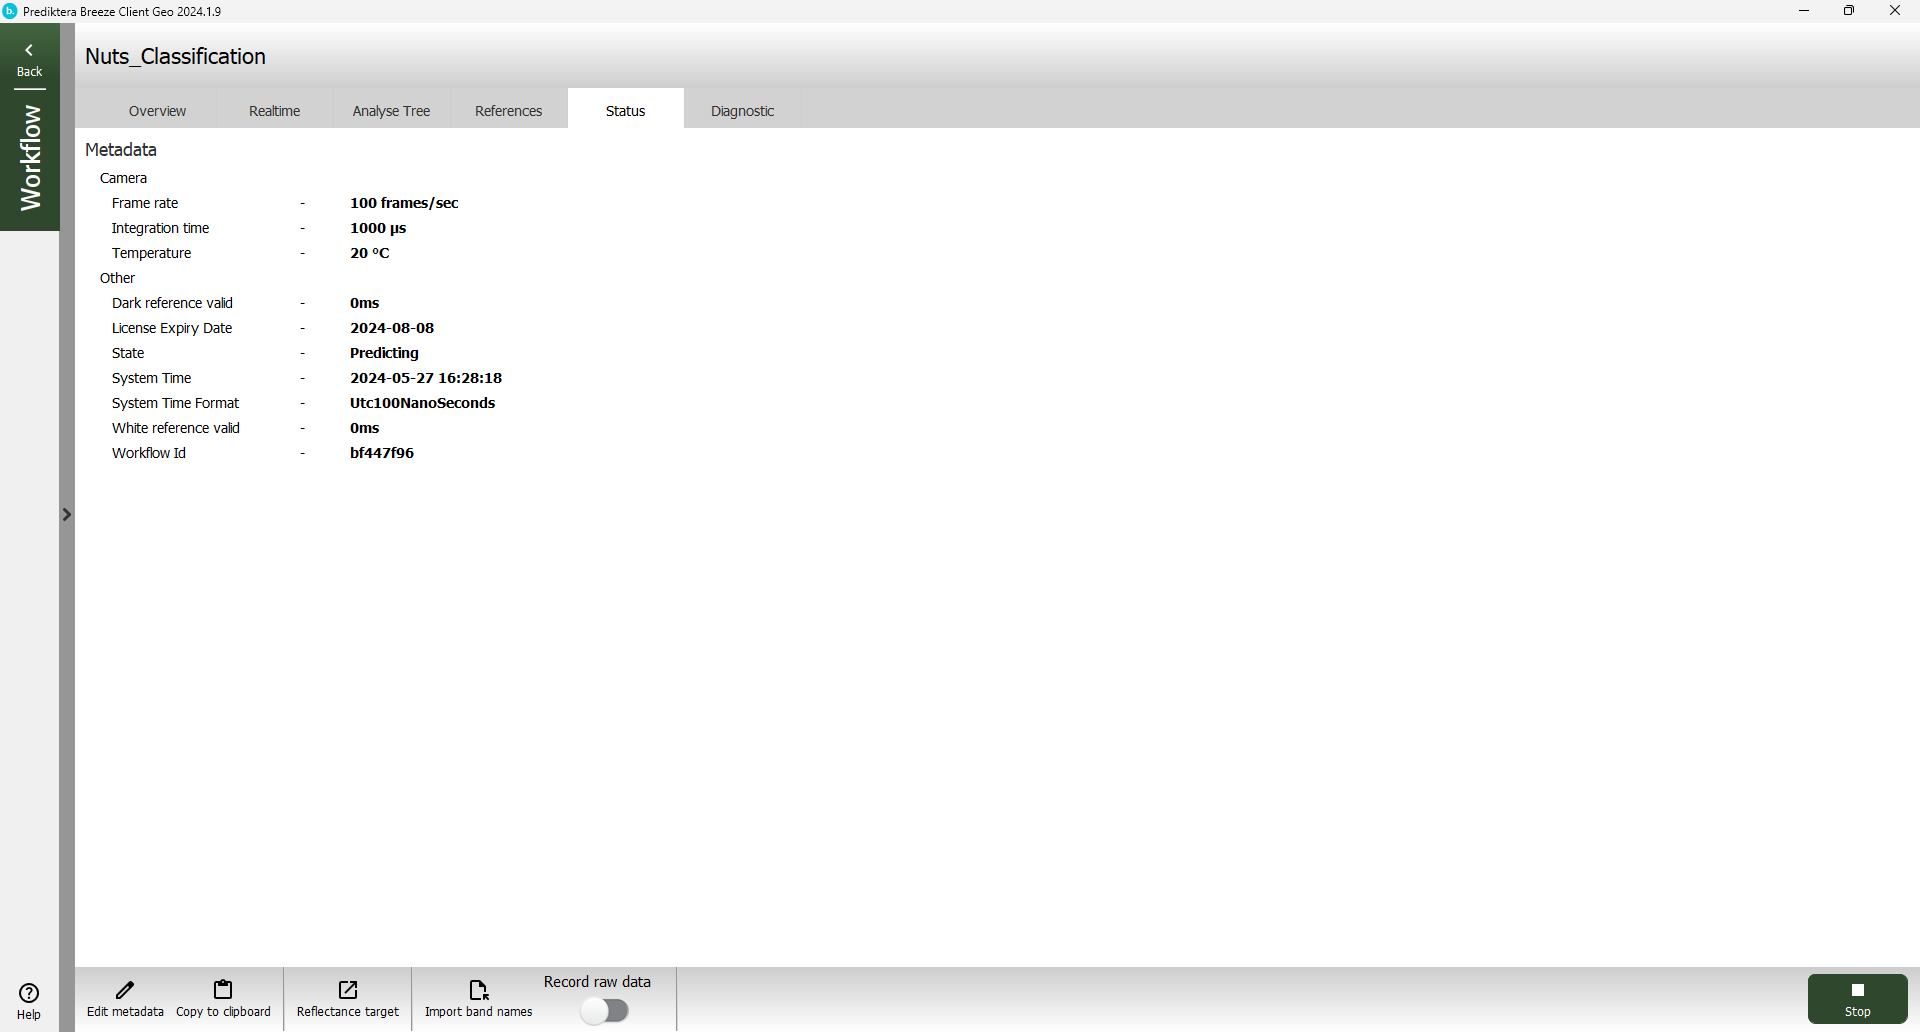
View the Breeze Runtime status under the Status tab
Record raw data during Prediction by clicking the Record raw data switch (this saves the full spectral data). Click the switch again to stop recording raw data.
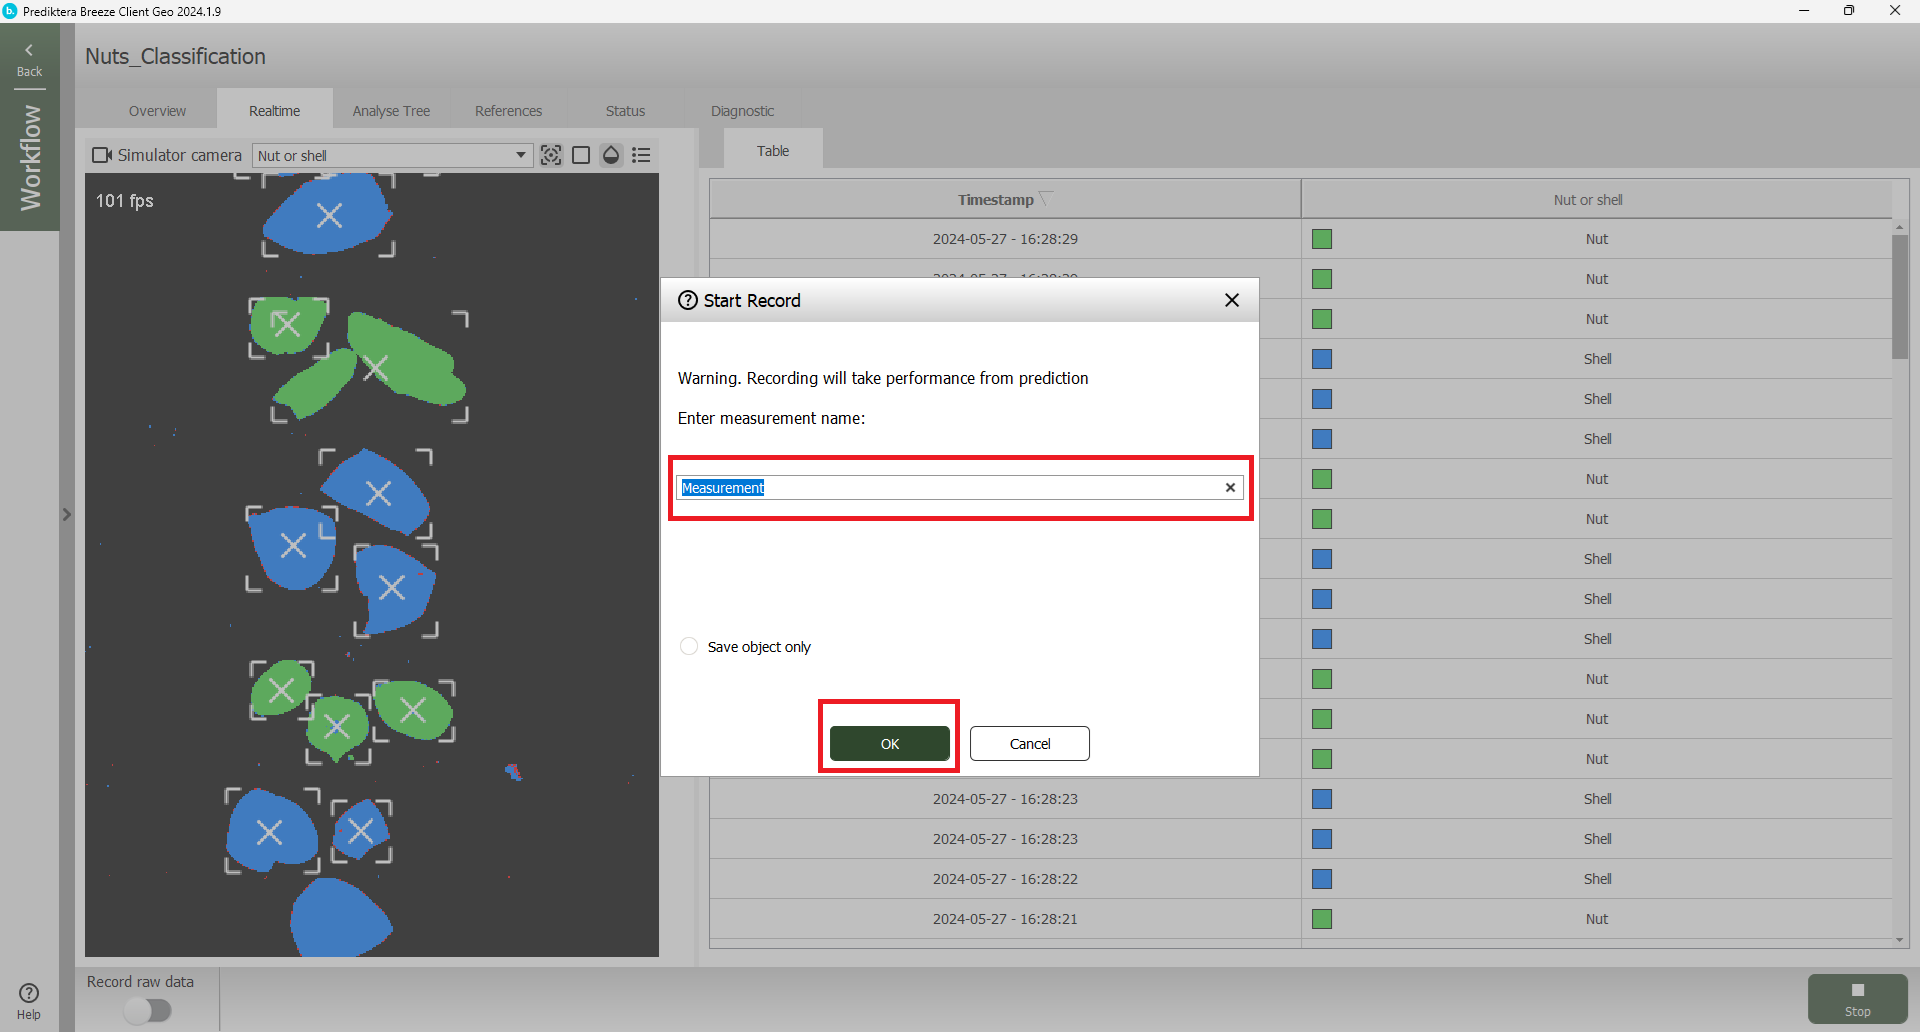
The recorded raw data is stored under [Workspace Folder]\Data\Runtime\Measurements. The Save Object Only option will only save the data for the pixels belonging to the identified objects (and not the background).
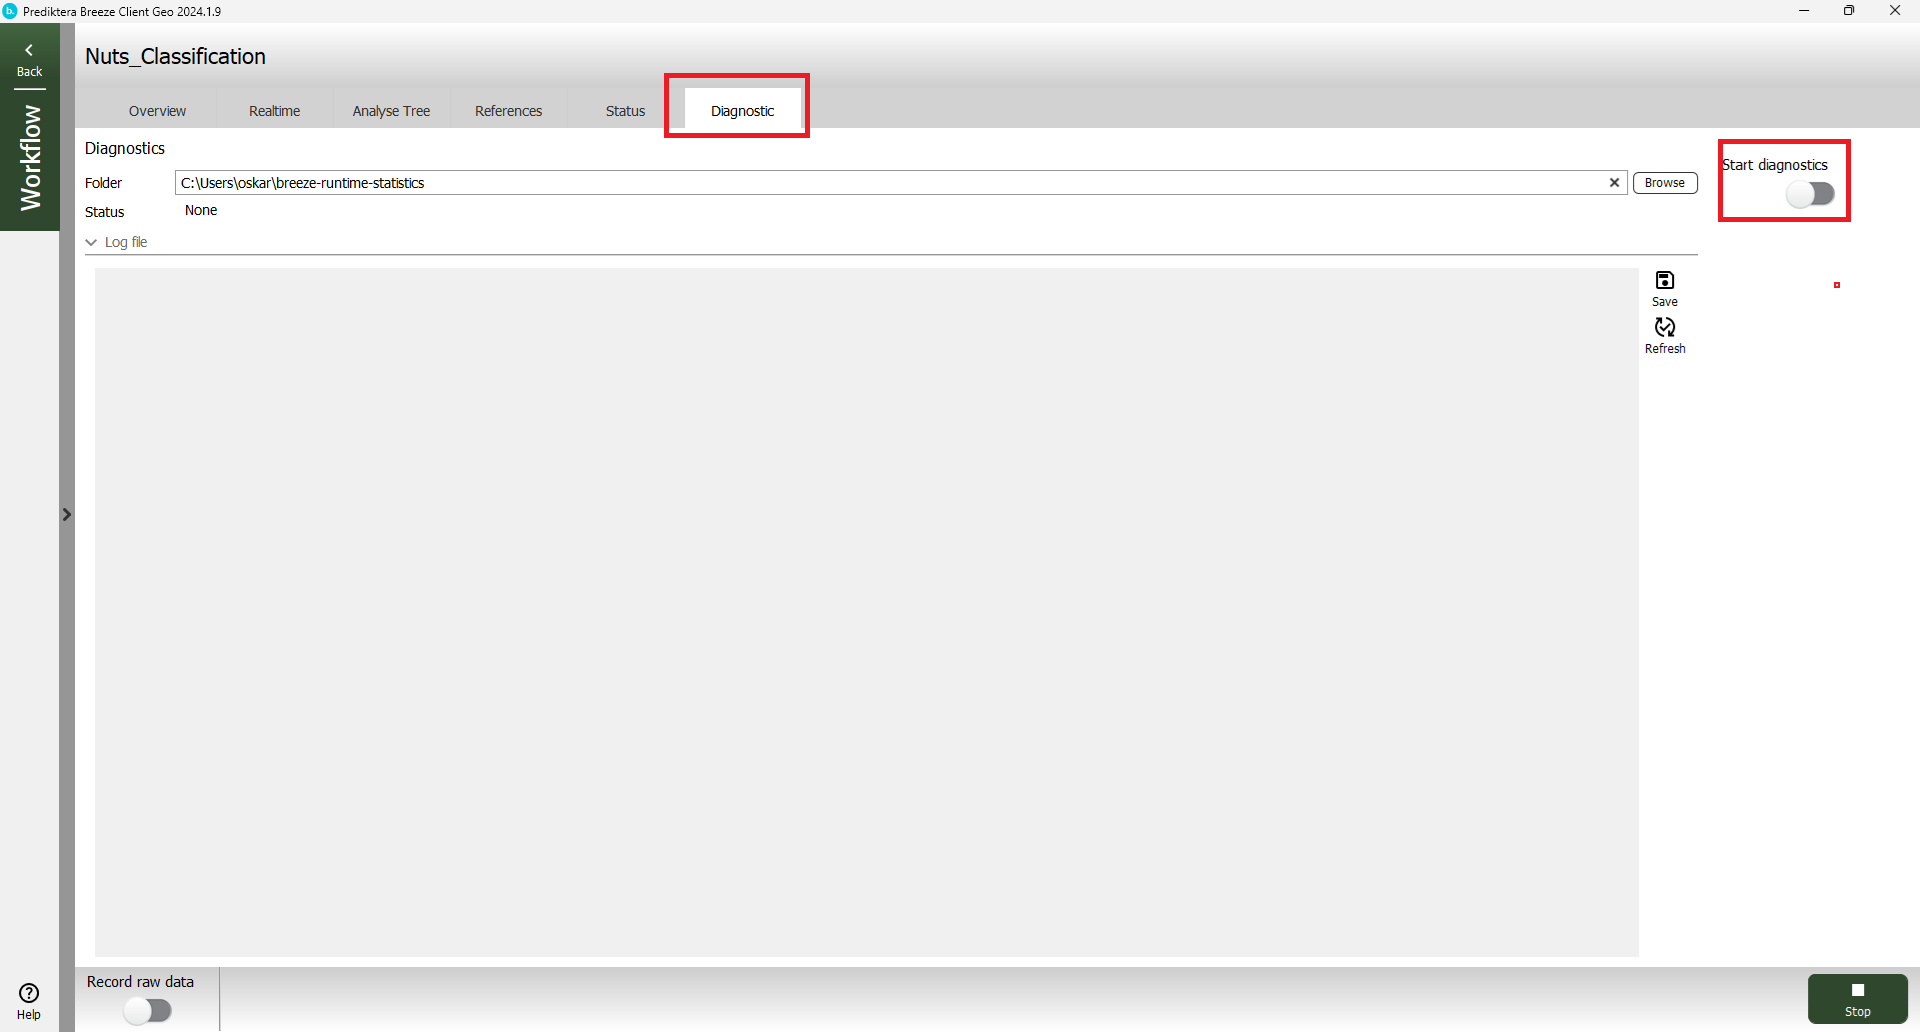
Save diagnostics for a time period from the Diagnostic tab. Press Start to begin logging diagnostic data and then Stop to generate a data.csv file containing log and performance information. This information is also shown in plots that are generated in the output folder.
For more information see Developers reference guide.
Start Breeze Runtime with Breeze Runtime Demo
Breeze Runtime can be started separately by running BreezeRuntimeDemo.exe. This application simulates the scenario of having a customer software client integration. The customer software will be master of Breeze Runtime which means that the Breeze Client cannot load workflow or start/stop prediction and will only be used to view the current prediction. If you close the Breeze Client then Breeze Runtime will continue to run predictions and you can start the Breeze Client view them again.
Close the Breeze Client. Start BreezeRuntimeDemo.exe (C:\Program Files\Prediktera\Breeze\BreezeRuntimeDemo.exe)
Click LoadWorkflow and select your exported workflow from list.

tip If you need to take new white and dark references (not required for this tutorial since these were already selected using the Breeze Client). Click the following buttons sequence:
-
“Close Shutter”
-
“Take Dark Reference”
-
“Open Shutter”
-
“Take White Reference”
-
Click Start Predict
Open Breeze Client and select the Connect button. Breeze Client should automatically load the selected Workflow and show the Predictions under the Realtime tab.
Since Breeze Runtime is started before Breeze Client, the Start and Stop buttons are not visible.
If you have questions about Breeze Runtime and how to run your application in an industrial real-time environment.
Please contact us at https://prediktera.com/resources/support