Export the spectral data from the measurements as different file formats, optinonally converted to a specific spectral format.
How to export
Export always applies to the open project in Breeze, so first make sure a project is opened.
Next, specify the scope of the export by selecting the whole project, one or more groups, or one or more individual measurements inside a group:
Tip: multi-select distinct groups or measurement by CTRL clicking or select a range with Shift-click.
Launch the export wizard on Import / Export tab by clicking the button corresponding to the export you want to do.
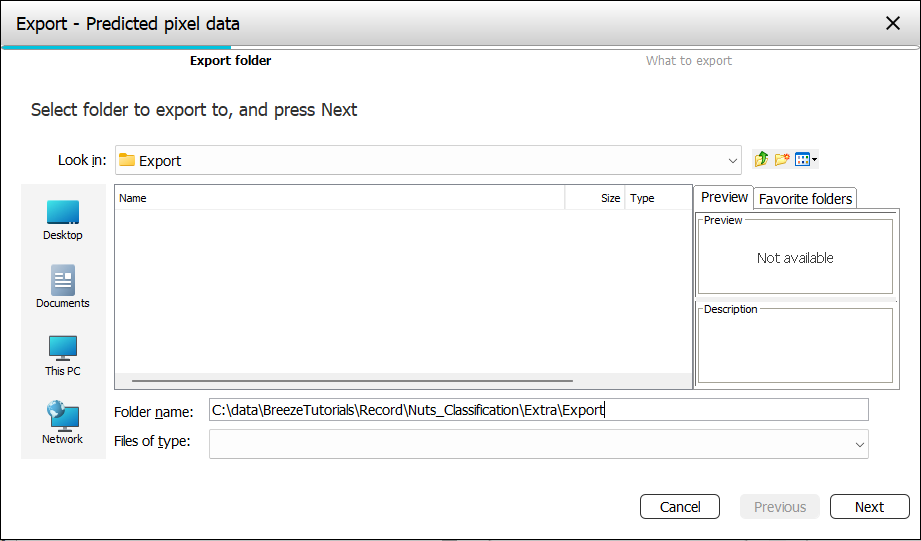
A wizard is started that will guide you through the export process. The wizard will begin by asking you for the target folder for the export:
Click Next, and you will be asked for settings for the type of export you selected (described separately for each export).
Finish the wizard to begin exporting, and wait until it finished. The data for the selected items will be exported to the folder you selected.
If you make a large selection, or make complicated export exporting can take a long time. For larger data, it is a good idea to start on a single measurement before trying to export many at once.
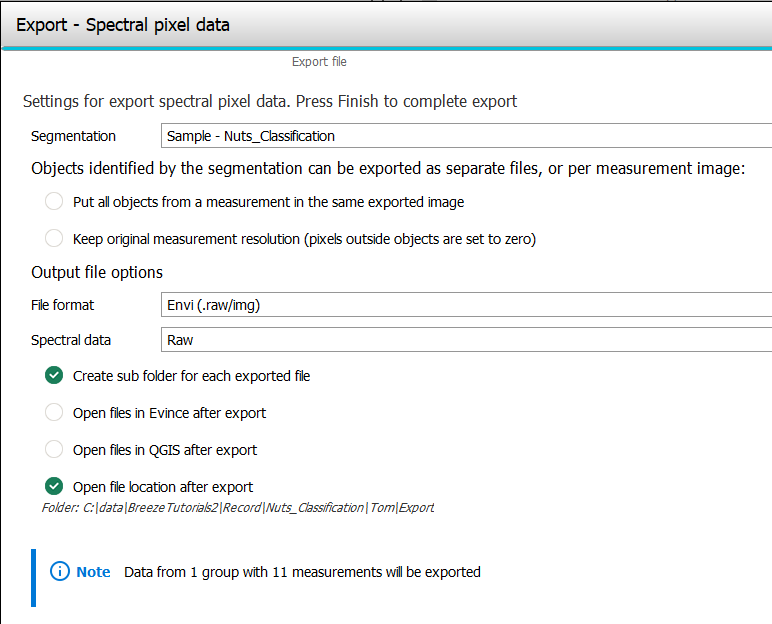
Export spectral pixel data settings
The export settings look like this:
-
Segmentation - The Analysis Tree with its segmentations and analyses can result in many different objects that have different data. During export you select the segmentation you want data for.
-
The objects identified by the segmentation can be exported as separate files, or per measurement image:
-
Put all objects form a measurement in the same exported image. If not selected, each exported object will be a separate image.
-
Keep original measurement resolution (pixels outside object are set to zero). When a segmentation such as Grid and insets is used to create smaller objects, you can optionally save each object in an image with the same size as the original measurement. This makes it possible to use overlay images in external software to visualize the data on top of an original image.
-
Output options
-
File format - select between the ENVI (.raw/.img), HySpex (.hyspex), or MATLAB (.mat), PNG, YOLO annotation file formats (.png & .txt).
-
Spectral data - select between Raw, Reflectance, Absorbance and Radiance, when available. See Spectral imaging.
-
Create sub folder for each exported file - if a folder for each object or measurement should be created. Otherwise, all data is placed in the same folder.
-
Open files in Evince after export. Launch Prediktera’s software Evince and open the exported files for further analysis.
-
Open files in QGIS after export. Launch QGIS and open the exported files for further analysis. This is particularly useful for UAV or other geographical data. (This option is only for exporting spectral or predicted data to images).
-
Open file location after export. The folder you exported to is opened in File Explorer for quick access to the files.
At the bottom of the page you also see a preview of how much data will be exported, given what you selected in Breeze before starting the export.
On exporting saturated values to ENVI or HySpex formats
The ENVI and HySpex file formats are advanced file formats that allow saturated pixels to be handled in the exported file so that they can be dealt with in other software.
This feature was introduced in Breeze 2025.1.1.
A saturated pixel has the value of the max signal allowed for the camera in at least one wavelength. Learn more in Spectral imaging.
Here is how it works when exporting spectral pixel data:
If an image contains saturated pixels, the values for those will be replaced by the data ignore value in the exported image. The exported image’s textual .hdrfile specifies what value was used with a line like this:
data ignore value = 1000
The value used for the data ignore value depends on the Spectral data format used for the export. The value is defined so that it is a (virtually) impossible value for the format, so it is easy to recognize.
-
Raw. The camera’s max signal value. This can be for example 65535 for a sensor with 16-bit resolution, or 255 for an RGB sensor.
A given camera’s max signal can often be found in each image’s text .hdr file as a line that looks like this: max signal = 4096.
-
Reflectance. 1000
-
Absorbance. 10
-
Radiance. 2.0
If you re-import an image exported this way back into Breeze, the data ignore value will be recognized and the values replaced by 0 which is used internally in Breeze.
Also see Saturated pixels and Importing images.