This page outlines how to download, license, install, start and troubleshoot Breeze.
About Breeze
Breeze is the complete software toolset for hyperspectral imaging with features for data acquisition, interactive data exploration, modelling, automated workflows and real-time analysis of data directly from cameras with third party application support.
Learn more about the benefits of Breeze and how it has been applied to real-world problems at the website www.prediktera.com. If you are curious, you can also read about Hyperspectral imaging at Wikipedia.
Learn about optional Modules to unlock optional features.
System requirements
For a demo or trial installation, and to run the Breeze tutorials, any PC hardware is fine.
The Prediktera website lists system requirements and recommendations at Supported Hardware - Prediktera.
For the best performance a fast Intel CPU and enough RAM for your data is recommended. See Breeze log files and troubleshootingfor some information on how to evaluate memory usage.
Breeze does not take advantage of fast GPUs because the complex workflows are not well suited to GPU acceleration.
Software delivery and updates
A free trial license can be easily obtained. Learn more in Free Trial - Prediktera
When purchasing a new Breeze license, customers receive software access together with installation instructions from Prediktera.
Customers with a valid support and maintenance plan receive access to software updates directly within Breeze. When a new version becomes available, users are notified in the application and can install the update without requiring a new software delivery.
Technical preview releases
Prediktera may also provide technical preview releases containing upcoming functionality for testing and evaluation purposes. Please contact Prediktera for more information.
Installation
Breeze comes in the same installation package, regardless of the edition of Breeze you use, including the trial version, or if you are doing a Runtime installation.
You can only have one Breeze version installed on a PC at the same time. Running the installation program will replace any existing version. Learn more about upgrades in the next section.
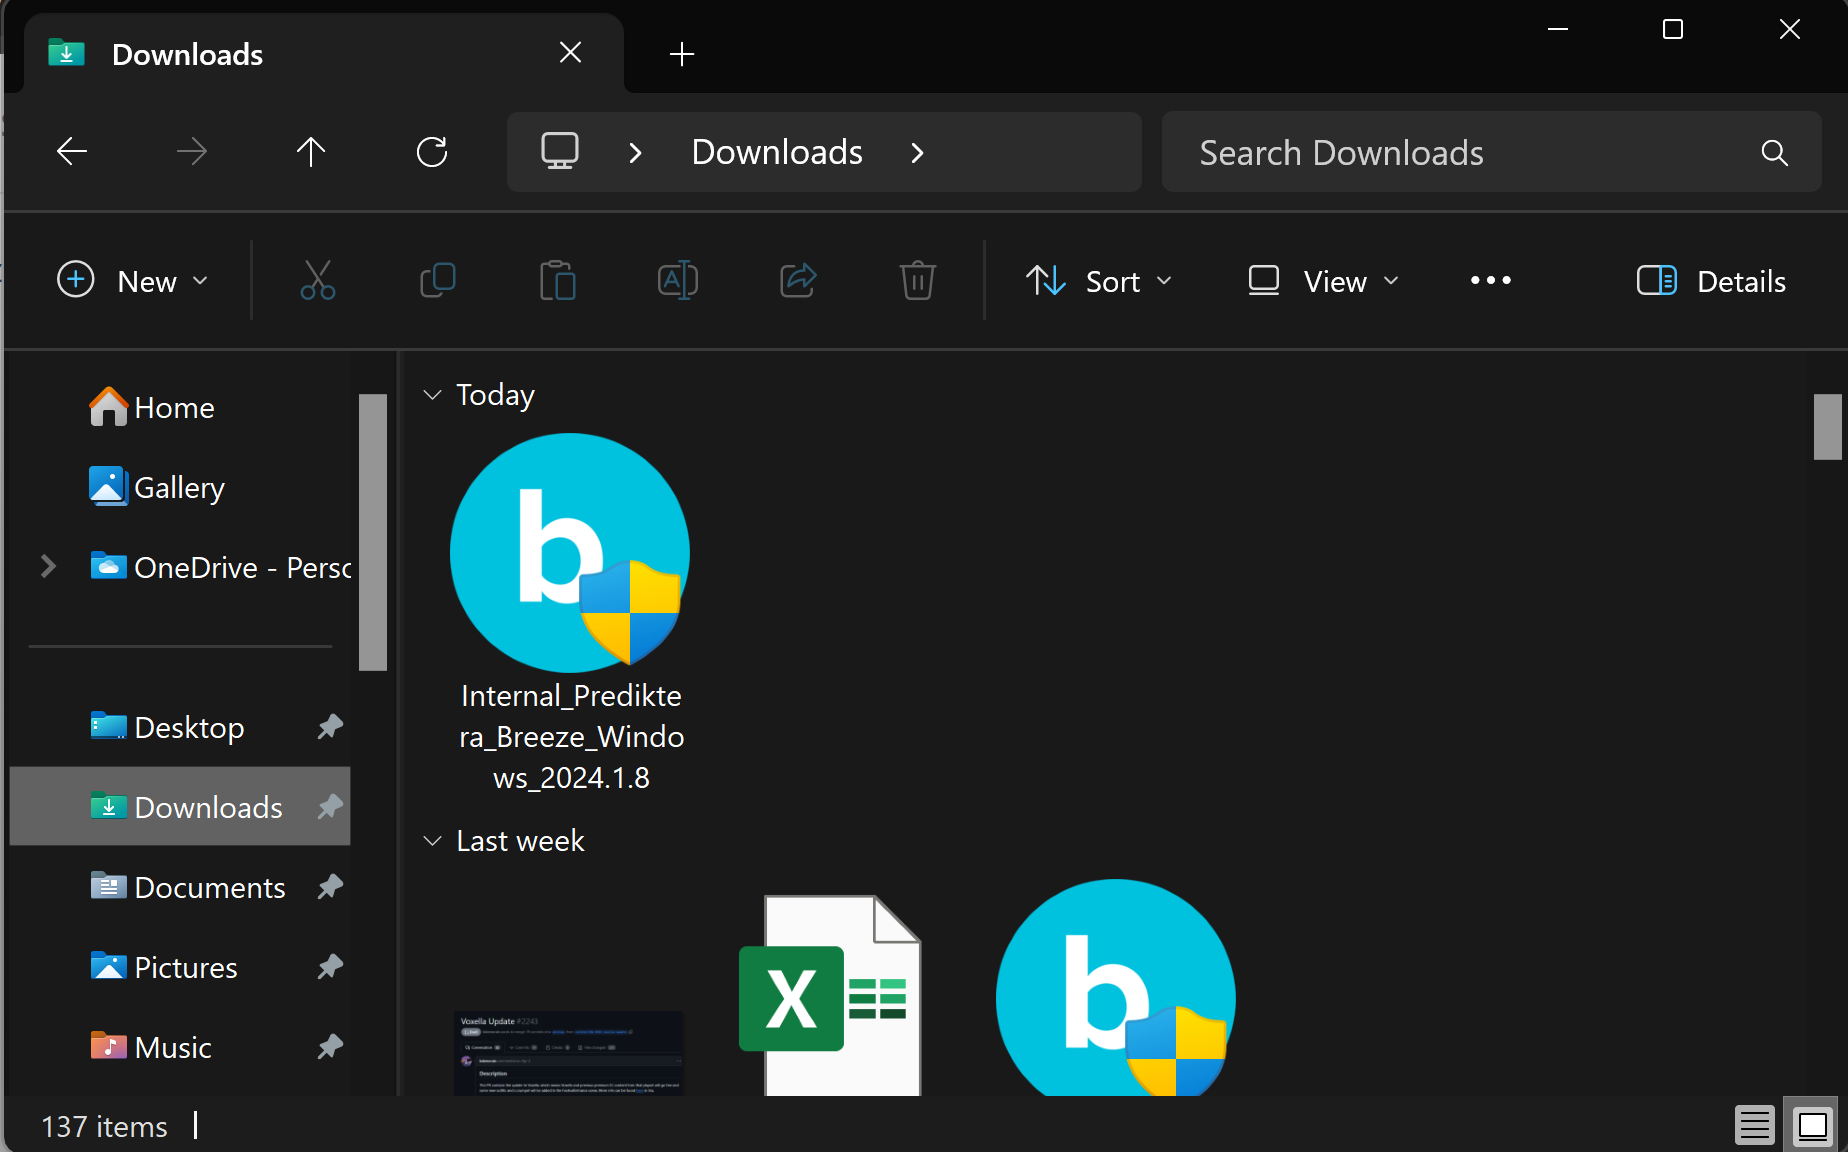
After downloading Breeze, you find the installation program in the Downloads folder.
Start the installation, by opening the file Prediktera_Breeze_Windows_202x.x.x.exe).
The Breeze Setup Wizard starts. Follow the instructions on screen.
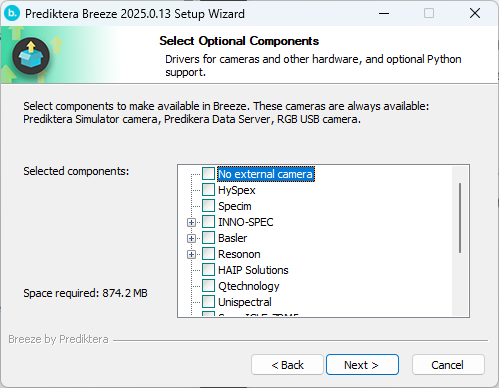
After clicking Next and accepting the license agreement you get to select the optional cameras to use for data acquisition.
If don’t have a camera or just want to run the tutorials, select No external camera.
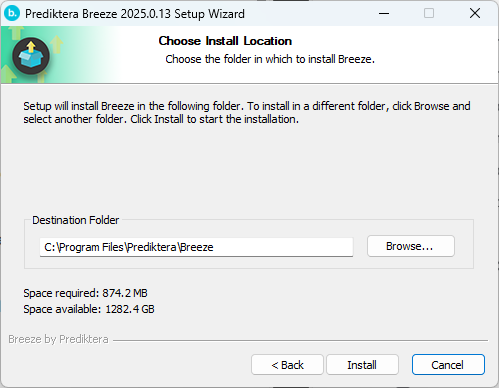
Click Next again and select the destination folder to install to:
Click Install to complete the installation.
The installation program creates installation log files in the logs folder in the program folder (typically C:\Program Files\Prediktera\Breeze\log). Those can be shared with Prediktera support for troubleshooting installation issues.
There is also a Linux installation. It contains a README file with instructions.
Upgrading Breeze
If Breeze is already installed on a PC, running the installation will replace the previous version, and, if necessary, migrate settings in the workspace to the new version.
If you upgrade from an older major version of Breeze, such as 2024.2, the migrated settings will not be backwards compatible with the old version. This means you cannot roll back the upgrade unless you have a backup of the Workspace.
For this reason, it is a good practice to ensure you have a backup of the Workspace before you upgrade. Learn how to backup in Breeze system overview.
You can also create and switch to a new workspace in Breeze as described in Workspace guide, before upgrading. This ensures only the test workspace is migrated.
To revert back to an earlier version, install the older version (in this case, it is recommended to uninstall the newer version first).
Licensing activation
Breeze requires an activated license to run.
Activation of a license is done either online with internet access, or using offline procedure. Detailed instructions are found in Licensing as well as technical details how licensing works.
Getting started with Breeze
After Breeze has been installed, launch it from Windows Start.
The Breeze application starts and displays a Welcome to Breeze list of Tutorials you can run through, with the Intro to Breeze: Classification of nuts step 1 is a good start.
Other features in Breeze you may want to explore are the
-
Hardware guides with information how to connect to cameras and other hardware
-
Workspaces - a folder on disk that stores the settings, but also all projects and their measurements. You can have many workspaces and switch between them. Workspace guide
Fixing too small text and user interface in Breeze
On laptops and other high-resolution screens Breeze can sometimes be scaled incorrectly so that buttons and other components in the user interface is too small to be usable on the screen.
You can fix this in Windows by telling it how to scale the Breeze application.
-
Locate the shortcut you use when starting Breeze. If this is the Windows Start shortcut you can right-click on it and select Open file location.
-
Right-click the shortcut and select Properties.
-
Go to the Compatibility tab and click Change high DPI settings.
-
Check the box Override high DPI scaling behavior.
-
In the dropdown under it, select System (Enhanced).
-
Click OK and restart Breeze.
This should instantly enlarge the text and interface to match the rest of your apps.
Next steps
To learn technical details about Breeze, see Breeze system overview, or learn about Runtime software development in Introduction to Breeze Runtime development.
Support and troubleshooting
Contact Prediktera support if you have questions. Contact information is available on the website at Support - Prediktera.
An efficient way for support to help you is using screensharing software, for example with Microsoft Teams.
Learn how to make use of log files for troubleshooting and how to share these with Support at Breeze log files and troubleshooting.