Export in Breeze is used to make data available to other applications.
Export is performed on the Import / Export tab for an open project in Breeze:
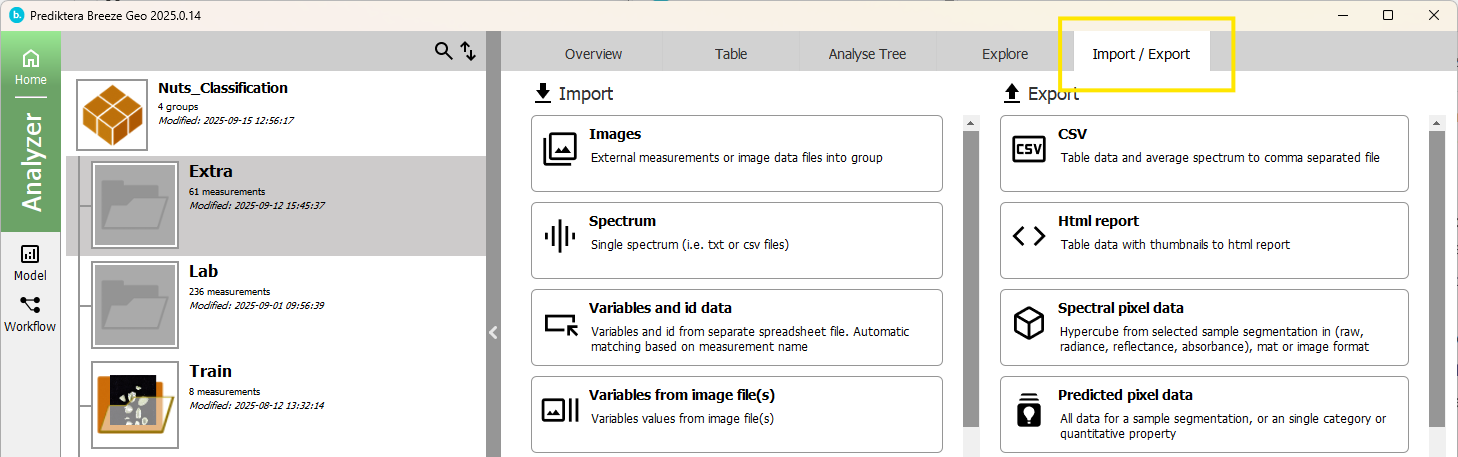
The different ways to export data are:
|
Export |
Contents |
Format |
Usage |
|---|---|---|---|
|
HTML report |
Thumbnails and high-level output data from the Analysis tree |
HTML |
View in a web browser. Tip: copy and paste or import to other software for editing. |
|
CSV text file
|
Output data from the Analysis tree |
A text file with customizable column- and decimal separators
|
Import the CSV file to Excel or other software |
|
Spectral pixel data |
Hyperspectral data, optionally converted |
Binary image in the ENVI, HySpex, MATLAB, PNG, Yolo Annotation formats |
Visualization or image processing software |
|
Predicted pixel data |
Output data from the Analysis Tree |
Binary image in the ENVI or MATLAB format |
Visualization or image processing software |
|
End members |
Wavelength data describing objects |
A text file |
Used in Breeze for the Unmixing (segmentation) in an Analysis Tree to classify similar objects. |
|
Project |
The project, including groups, measurements, models and analysis tree. |
Zip file |
Import to Breeze, for example on another PC or before sending to Prediktera support. |
|
Groups, Measurements |
Whole groups or measurements in selected groups. |
Zip file |
Import into Breeze, for example in another project. You can also unzip the file to see the individual RAW measurements. |
Log files and settings can also be exported, for example before sending to Prediktera Support. See Breeze log files and troubleshooting
How to export
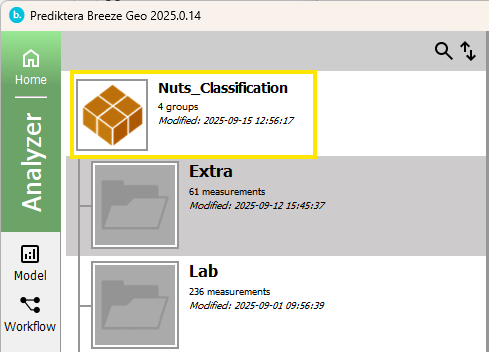
Export always applies to the open project in Breeze, so first make sure a project is opened.
Next, specify the scope of the export by selecting the whole project, one or more groups, or one or more individual measurements inside a group:
Tip: multi-select distinct groups or measurement by CTRL clicking or select a range with Shift-click.
Launch the export wizard on Import / Export tab by clicking the button corresponding to the export you want to do.
A wizard is started that will guide you through the export process. The wizard will begin by asking you for the target folder for the export:
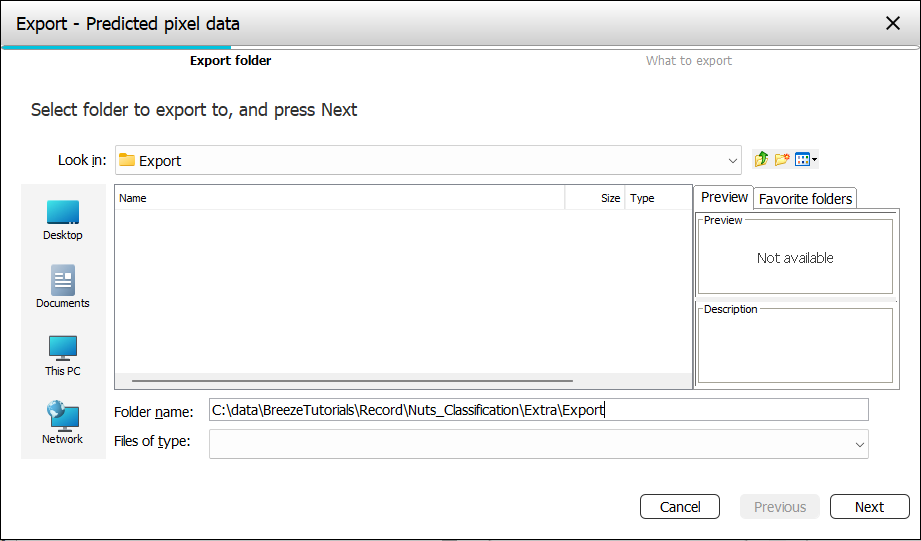
Click Next, and you will be asked for settings for the type of export you selected (described separately for each export).
Finish the wizard to begin exporting, and wait until it finished. The data for the selected items will be exported to the folder you selected.
If you make a large selection, or make complicated export exporting can take a long time. For larger data, it is a good idea to start on a single measurement before trying to export many at once.
Exporting manually created samples/objects to another project
When import measurements that have manually created samples/objects the samples are lost. This is because the Analysis Tree uses different IDs than the measurements.
To ensure that measurements including samples can be imported there is a workaround:
-
Export the Measurements from the Source project.
-
Open the Target project.
-
Before importing the measurements to the Target project, do Import > Analyse Tree. Then locate the workflow.xml file in the
{workspace\Record\SourceProjectfolder and import that.
-
Now with the same Analysis Tree, Breeze will preserve your manual segmented samples/objects.
Details about each export method
Learn more on the different exports in the sub pages: